However, there probably isn’t the demand for a subset of one of many different products, and I suspect the skins are made on request, so it’s not like they have stacks of them sat about.
Assuming each skin is 1 complete template, it’s just how it is, unless they decide to split it up and cut expansion card skins separately.
Not yet. I just got my Batch 15 unit and still “recovering” from the billing process
By the way, I am planning to order some uncut grey carbon automotive vynil and try to apply it myself. From my initial impression the touchpad should come apart fairly easily, making the applying process easier. The most concerning part is the top shell with the logo… I’ll update you as soon as I have some time to actually start thinkering with the vynil.
This is what I’m going to try to apply on my unit at the moment.
Quick update: HD scan of F16 (without dGPU) completed! You can find the images in the github. I’ll do some measuring and some sketching in Inkscape, the goal is to get a black outline .svg.
I’ll get back to you as soon as I have progress!
First attempt update:
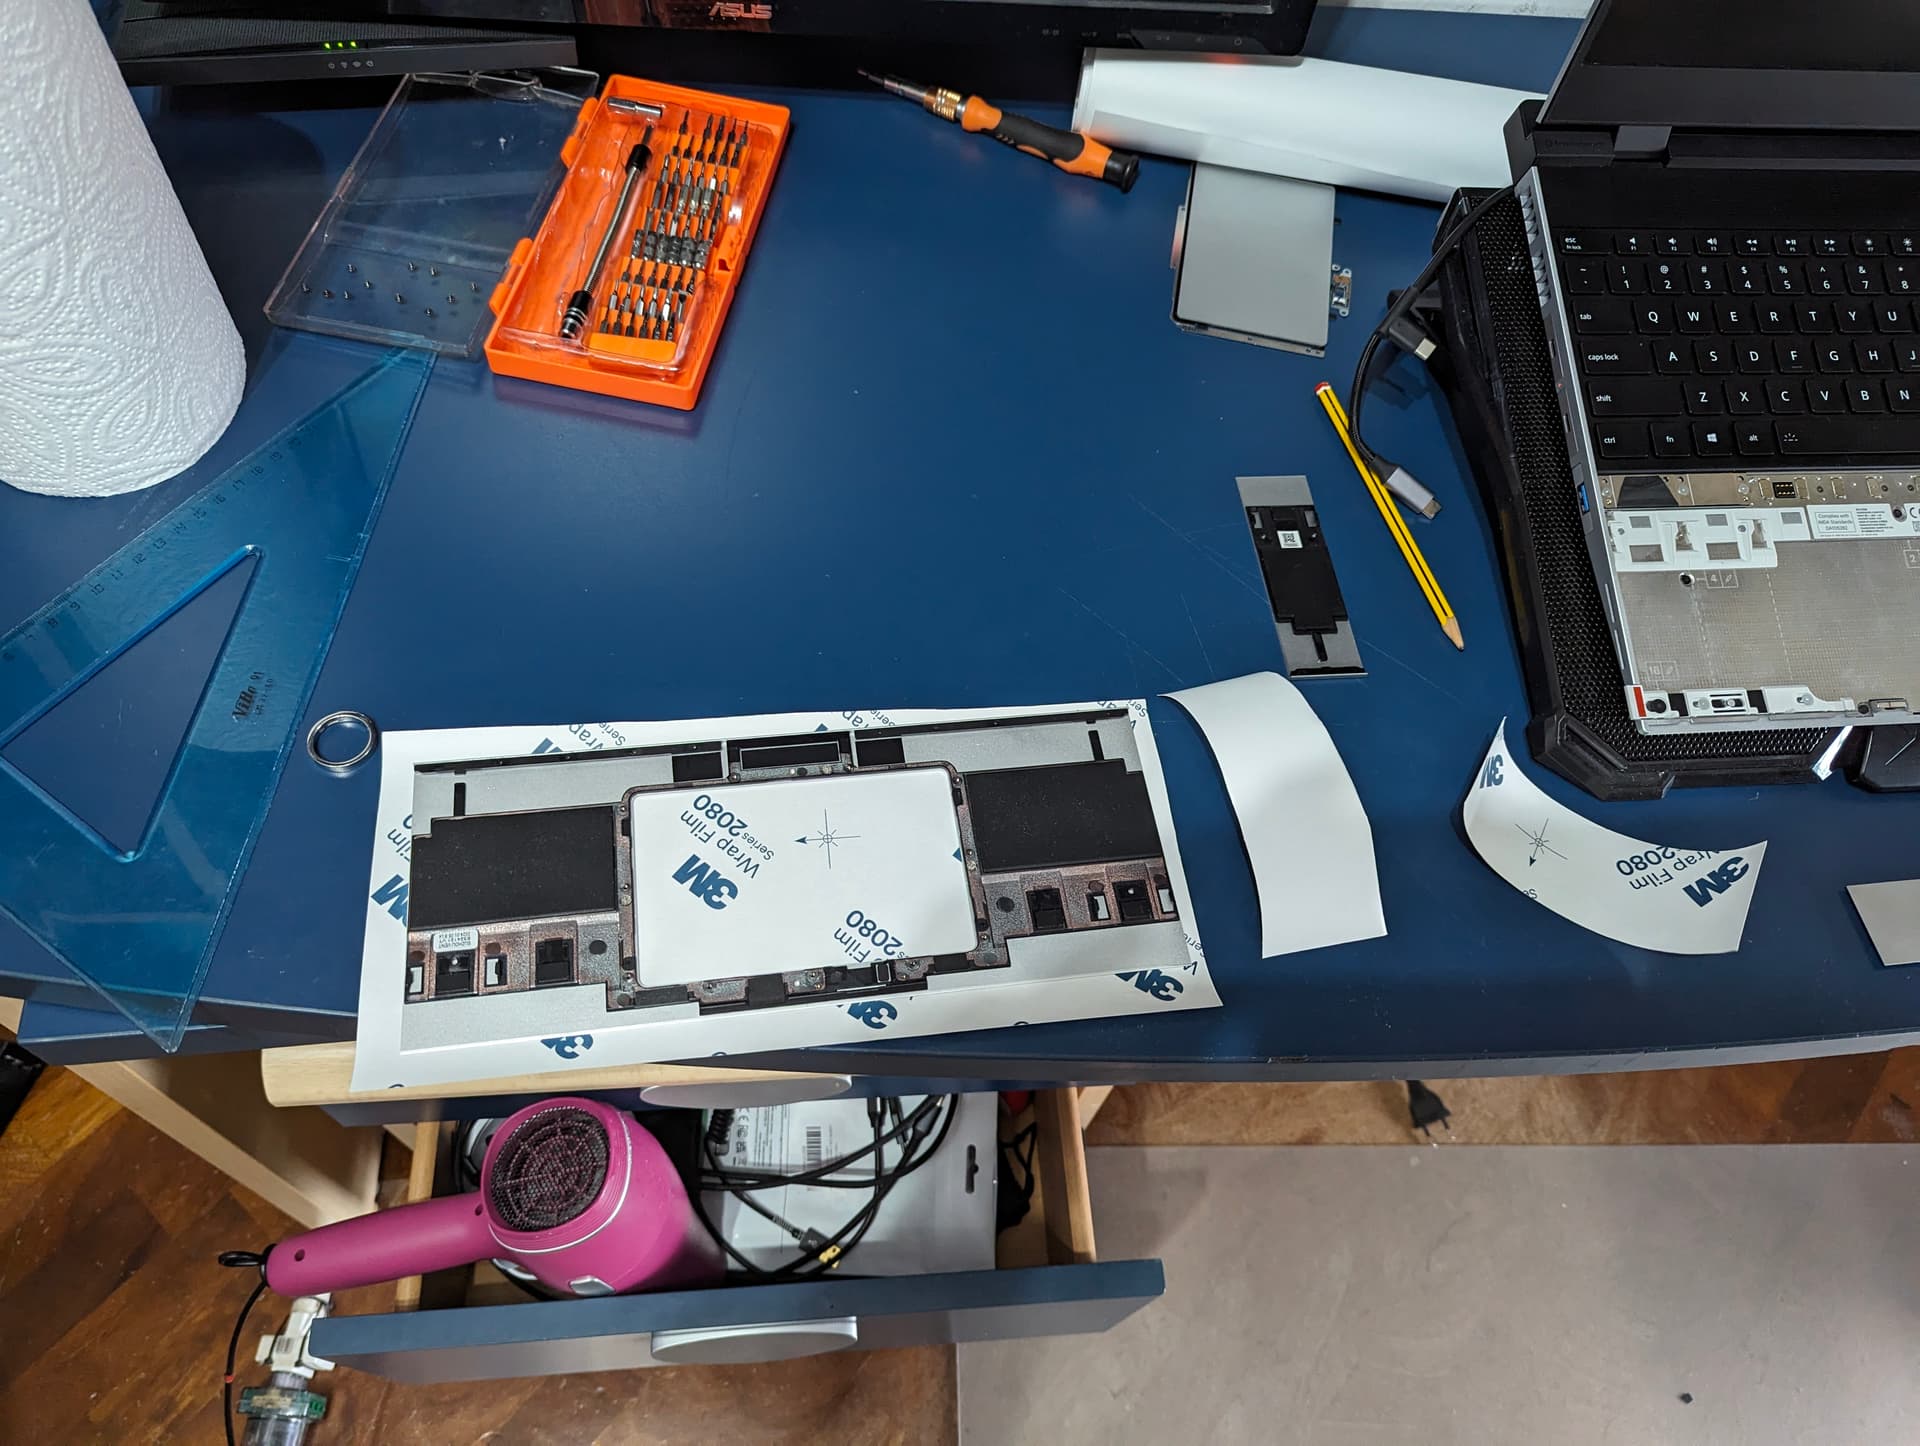
I got myself some 3M 2080 Matte White automotive vynil, and an Exacto knife.
I don’t have much time, and I need my laptop to work, so I only applied the skin on the touchpad/spacers area. No paper stencil needed: I cut 3 rectangles roughly the dimensions of the touchpad module and the two bottom spacers, applied the skin and then exacto’d the extra out, following the sides of the magnesium pieces very closely. Thank you Framework for your square designs, applying the vynil was a breeze and it’s perfect: if you cut it right, putting the edge of the exacto blade on the edge of the module, the finish is perfect.
Disassembly of the touchpad itself from the module was easy, a dozen of screws and it came right off.
I plan to see if this vynil holds the test of time in the next weeks before attempting to apply it to the rest of the laptop. The worst part is going to be the top screen piece, that logo is going to be a nightmare.
Here some quick pictures! I used a common airdryer, no heatgun.
The “gap” is caused by my not-perfect cutting of the touchpad piece, it could be WAY better in fitment but I don’t really plan to re-do it before seeing if it holds up daily usage.
Also, the color does not help. I’m sure that with a black vynil it would be invisible.
EDIT: the closeup picture of the gap makes it WAY worse than it is in person.
It’s my first time wrapping something, so I’m sure my skill will increase.
Make sure to clean the laptop well with Alcohol and paper towels, so the vynil sticks!
Just to make sure you got it on your radar: Framework finally released CAD files
I’m still busy with a few other Framework related projects. After I’m done with those, I’m going to work on this one, too. Would be happy, if you made any further progress until then.