I finally also got my panel and controller ( thanks to the HDMI controller board for display panel thread ) and wanted to build the very fragile panel into a more rigid form.

I started by getting out an old piece of “wood” (it is some protective material used for transporting PCB stencils - basically scrap, so I decided to use it, as it is lightweight and still reasonable solid for a first try). I marked down the outlines, cut out the display connector area and started gluing down everything with tape for a quick test

Next day, I thought “what about 3D printing some clamps?”. The panel is about 2.2 mm thick and has a “clearance” of about 2.5+ mm (the area from the edge of the panel until the screen really starts / picture is shown / the area you don’t want to be hidden by some mechanism). So designed 4 clamps, which can be printed upside down with support and 30% infill and can be fixed down with M3 screws (the hole is tighter, so that you can decide yourself if you will widden it with a drillbit and use some counter screw or just screw into the material - which will not be good for longterm use, but its an option) - I attach the STL at the end ![]()


Attaching the controller a bit hidden so that the displayport connector will still fit on the backside / does not stick out. And yeah, I could shorten the screws …
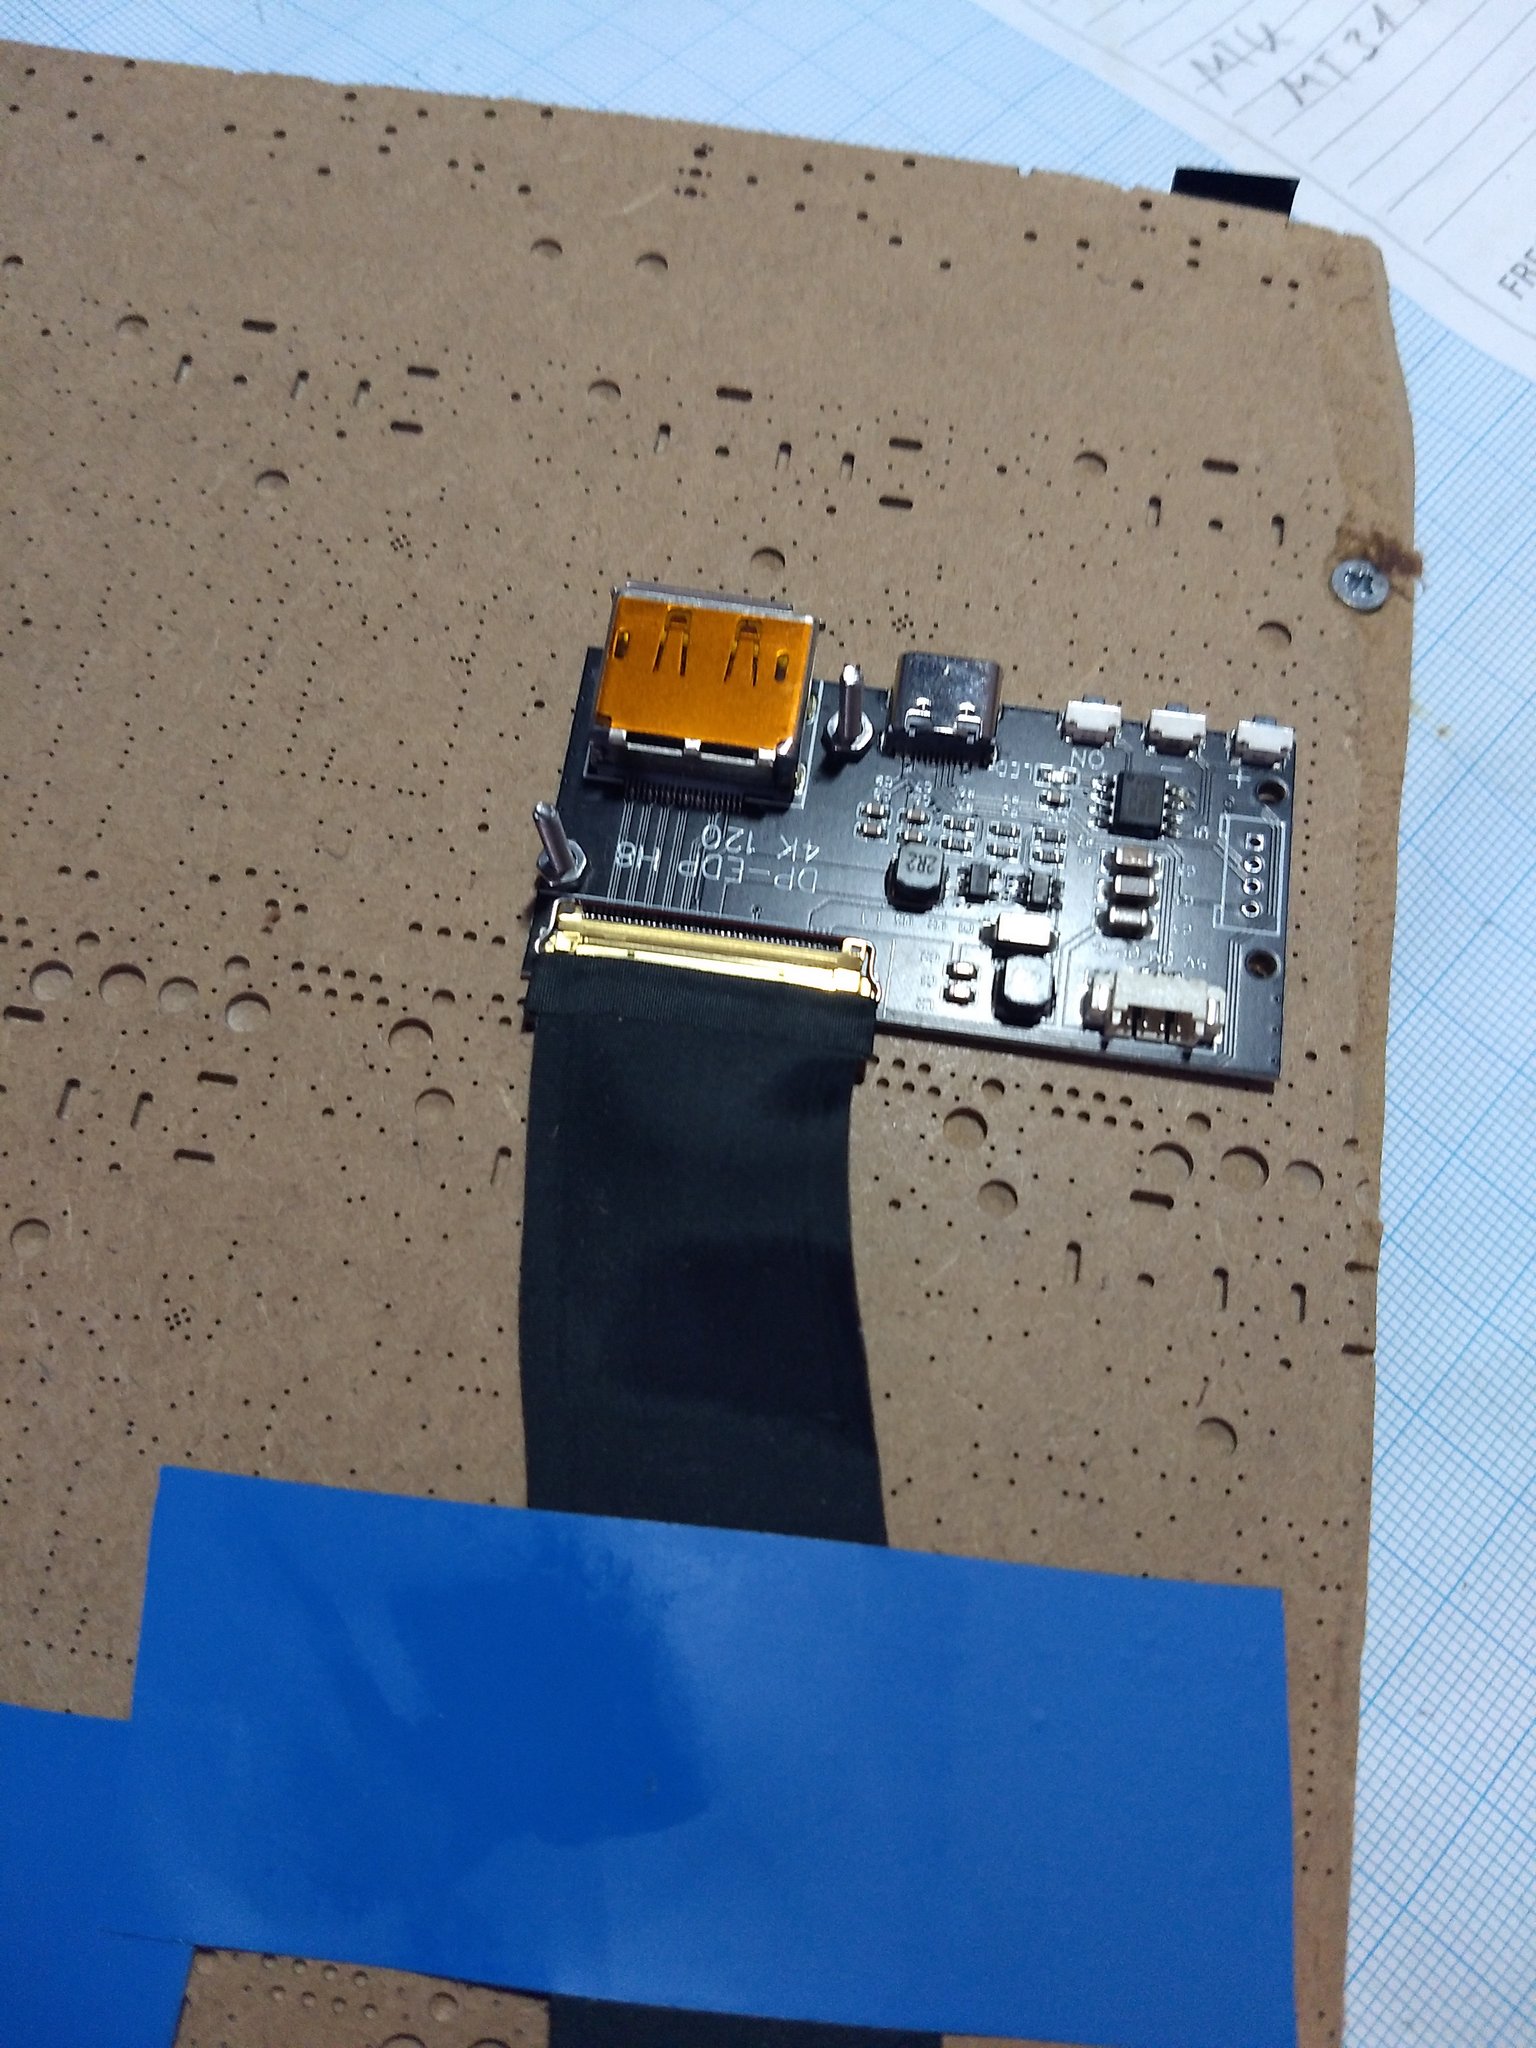
Monitor is working great!

STL file for the 4 clamps, pre-arrenged:
Display Clamp 4x.stl (22.0 KB)