Haven’t seen this pop up on Thingiverse yet, but I did use the .STL files attached above and they worked like a charm; the tolerances are just right, at least for my well-tuned printer. Thanks and great job on this design!

6 Likes
@mxg I was thinking, this could pretty readily be expanded a bit to include a slot to store the screwdriver as well. I was wondering if you’d be willing to post a .sldprt or .step or equivalent CAD file that I could modify for that?
2 Likes
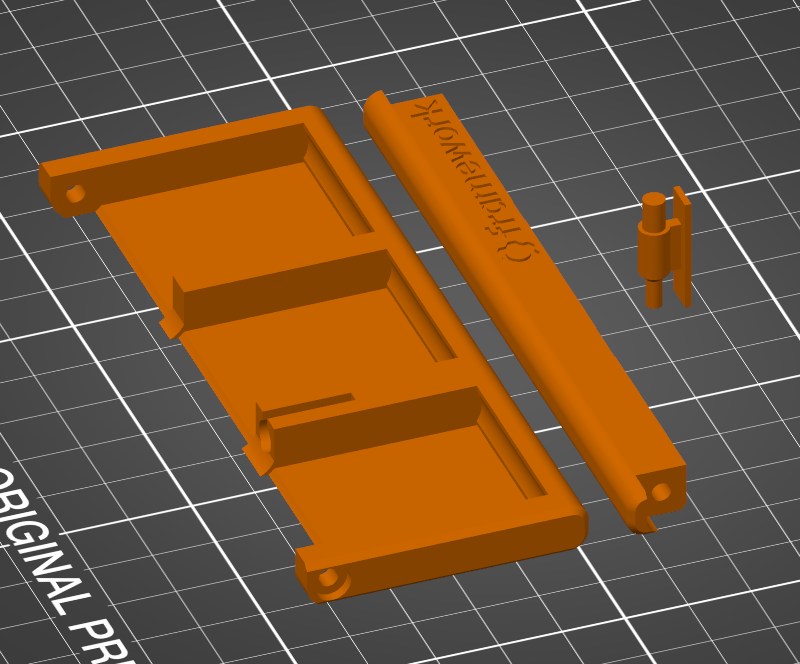
I’m definitely printing this - what orientation on the print bed do you use for each of the three components?
1 Like
These are EPIC. One thing I’d love to see is a “simpler” dust cover that just protects the port and locks into the latching hooks of the module, as I would throw these into a larger organizer (think elastic band “universal” carrying case or similar).
See Module "dust cover" that snaps onto the locking latches? for my thoughts.
1 Like
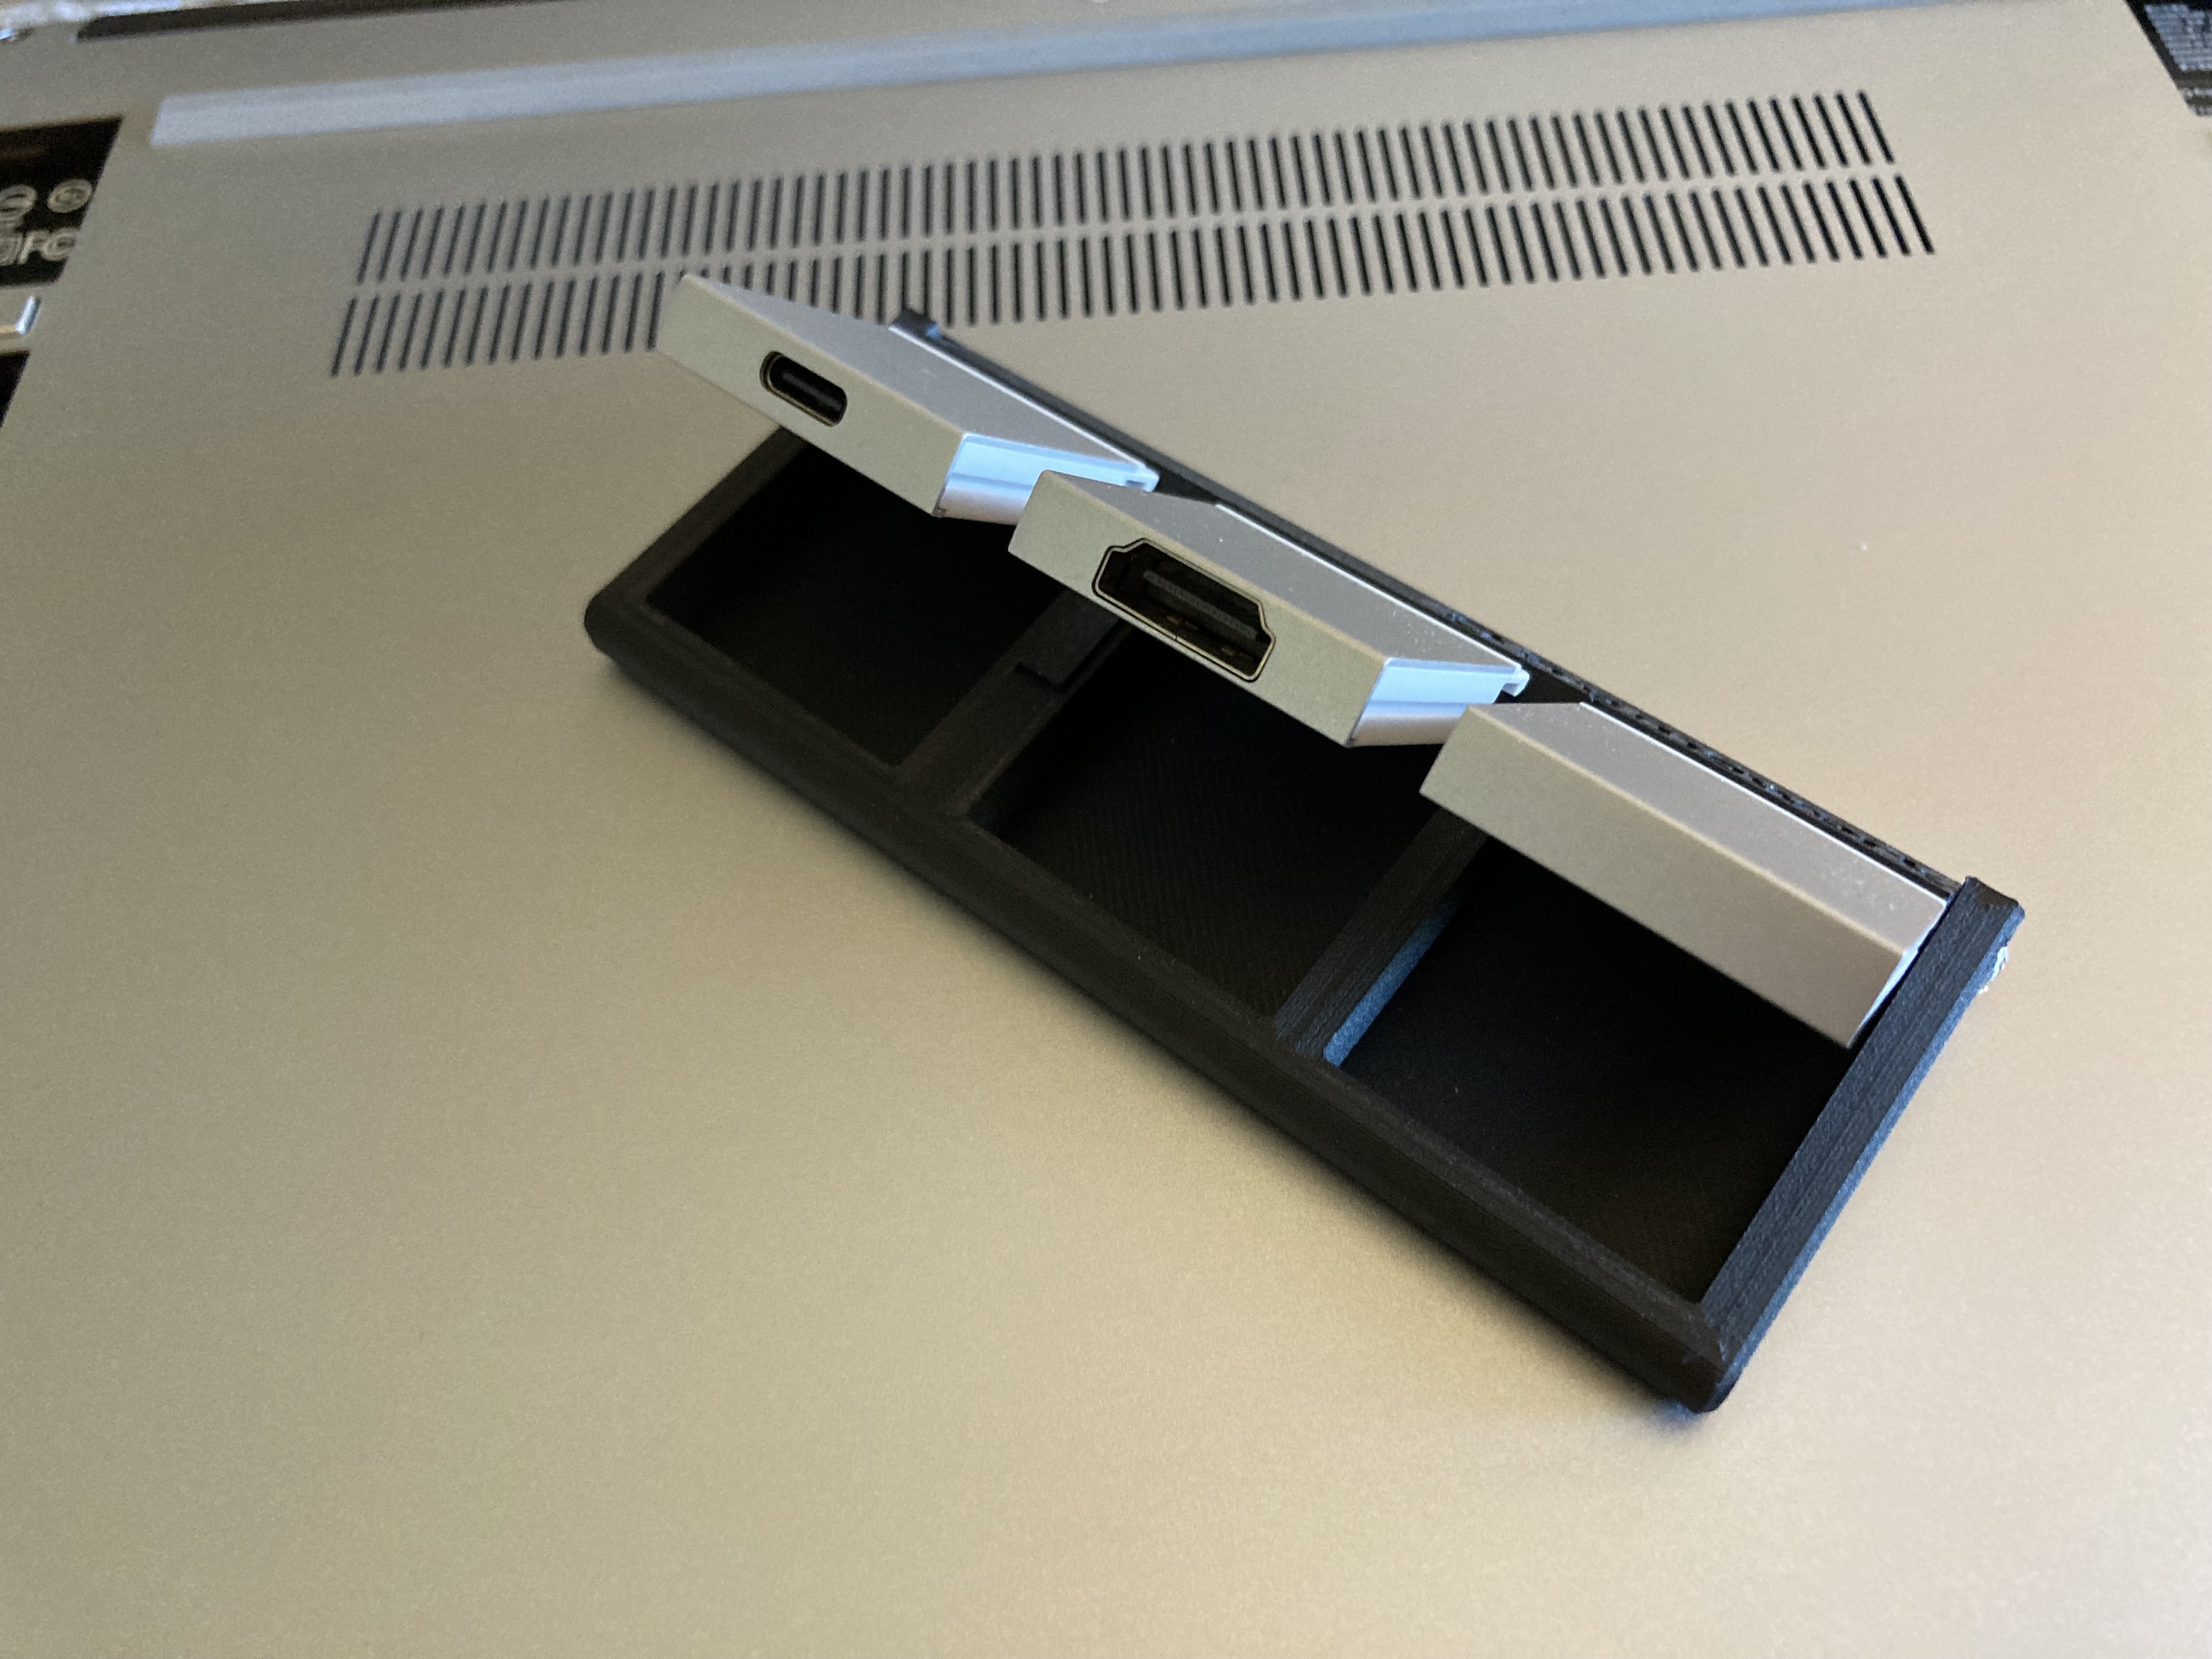
Like this! The height on the slots for the usb-c ports is pretty specifically setup so when it bridges it should be the correct slot thickness for optimal grabby-ness but not too stiff… at least on my machine. If it doesn’t come out properly you might want to play with it by downloading the models and adjusting the height of the hole.
Printing the locking peg in that orientation is a bitch so you might just want to use your slicer to remove the lower, smaller peg and cover… they’re mostly aesthetic.
@bradstopher99
Knock yourself out, here’s a link… can’t upload STEP files here, apparently. (cc @nrp ?)
There’s a little bit of ownership info hidden on the model that I ask you don’t remove. Aside from that, released under CC BY-SA
6 Likes


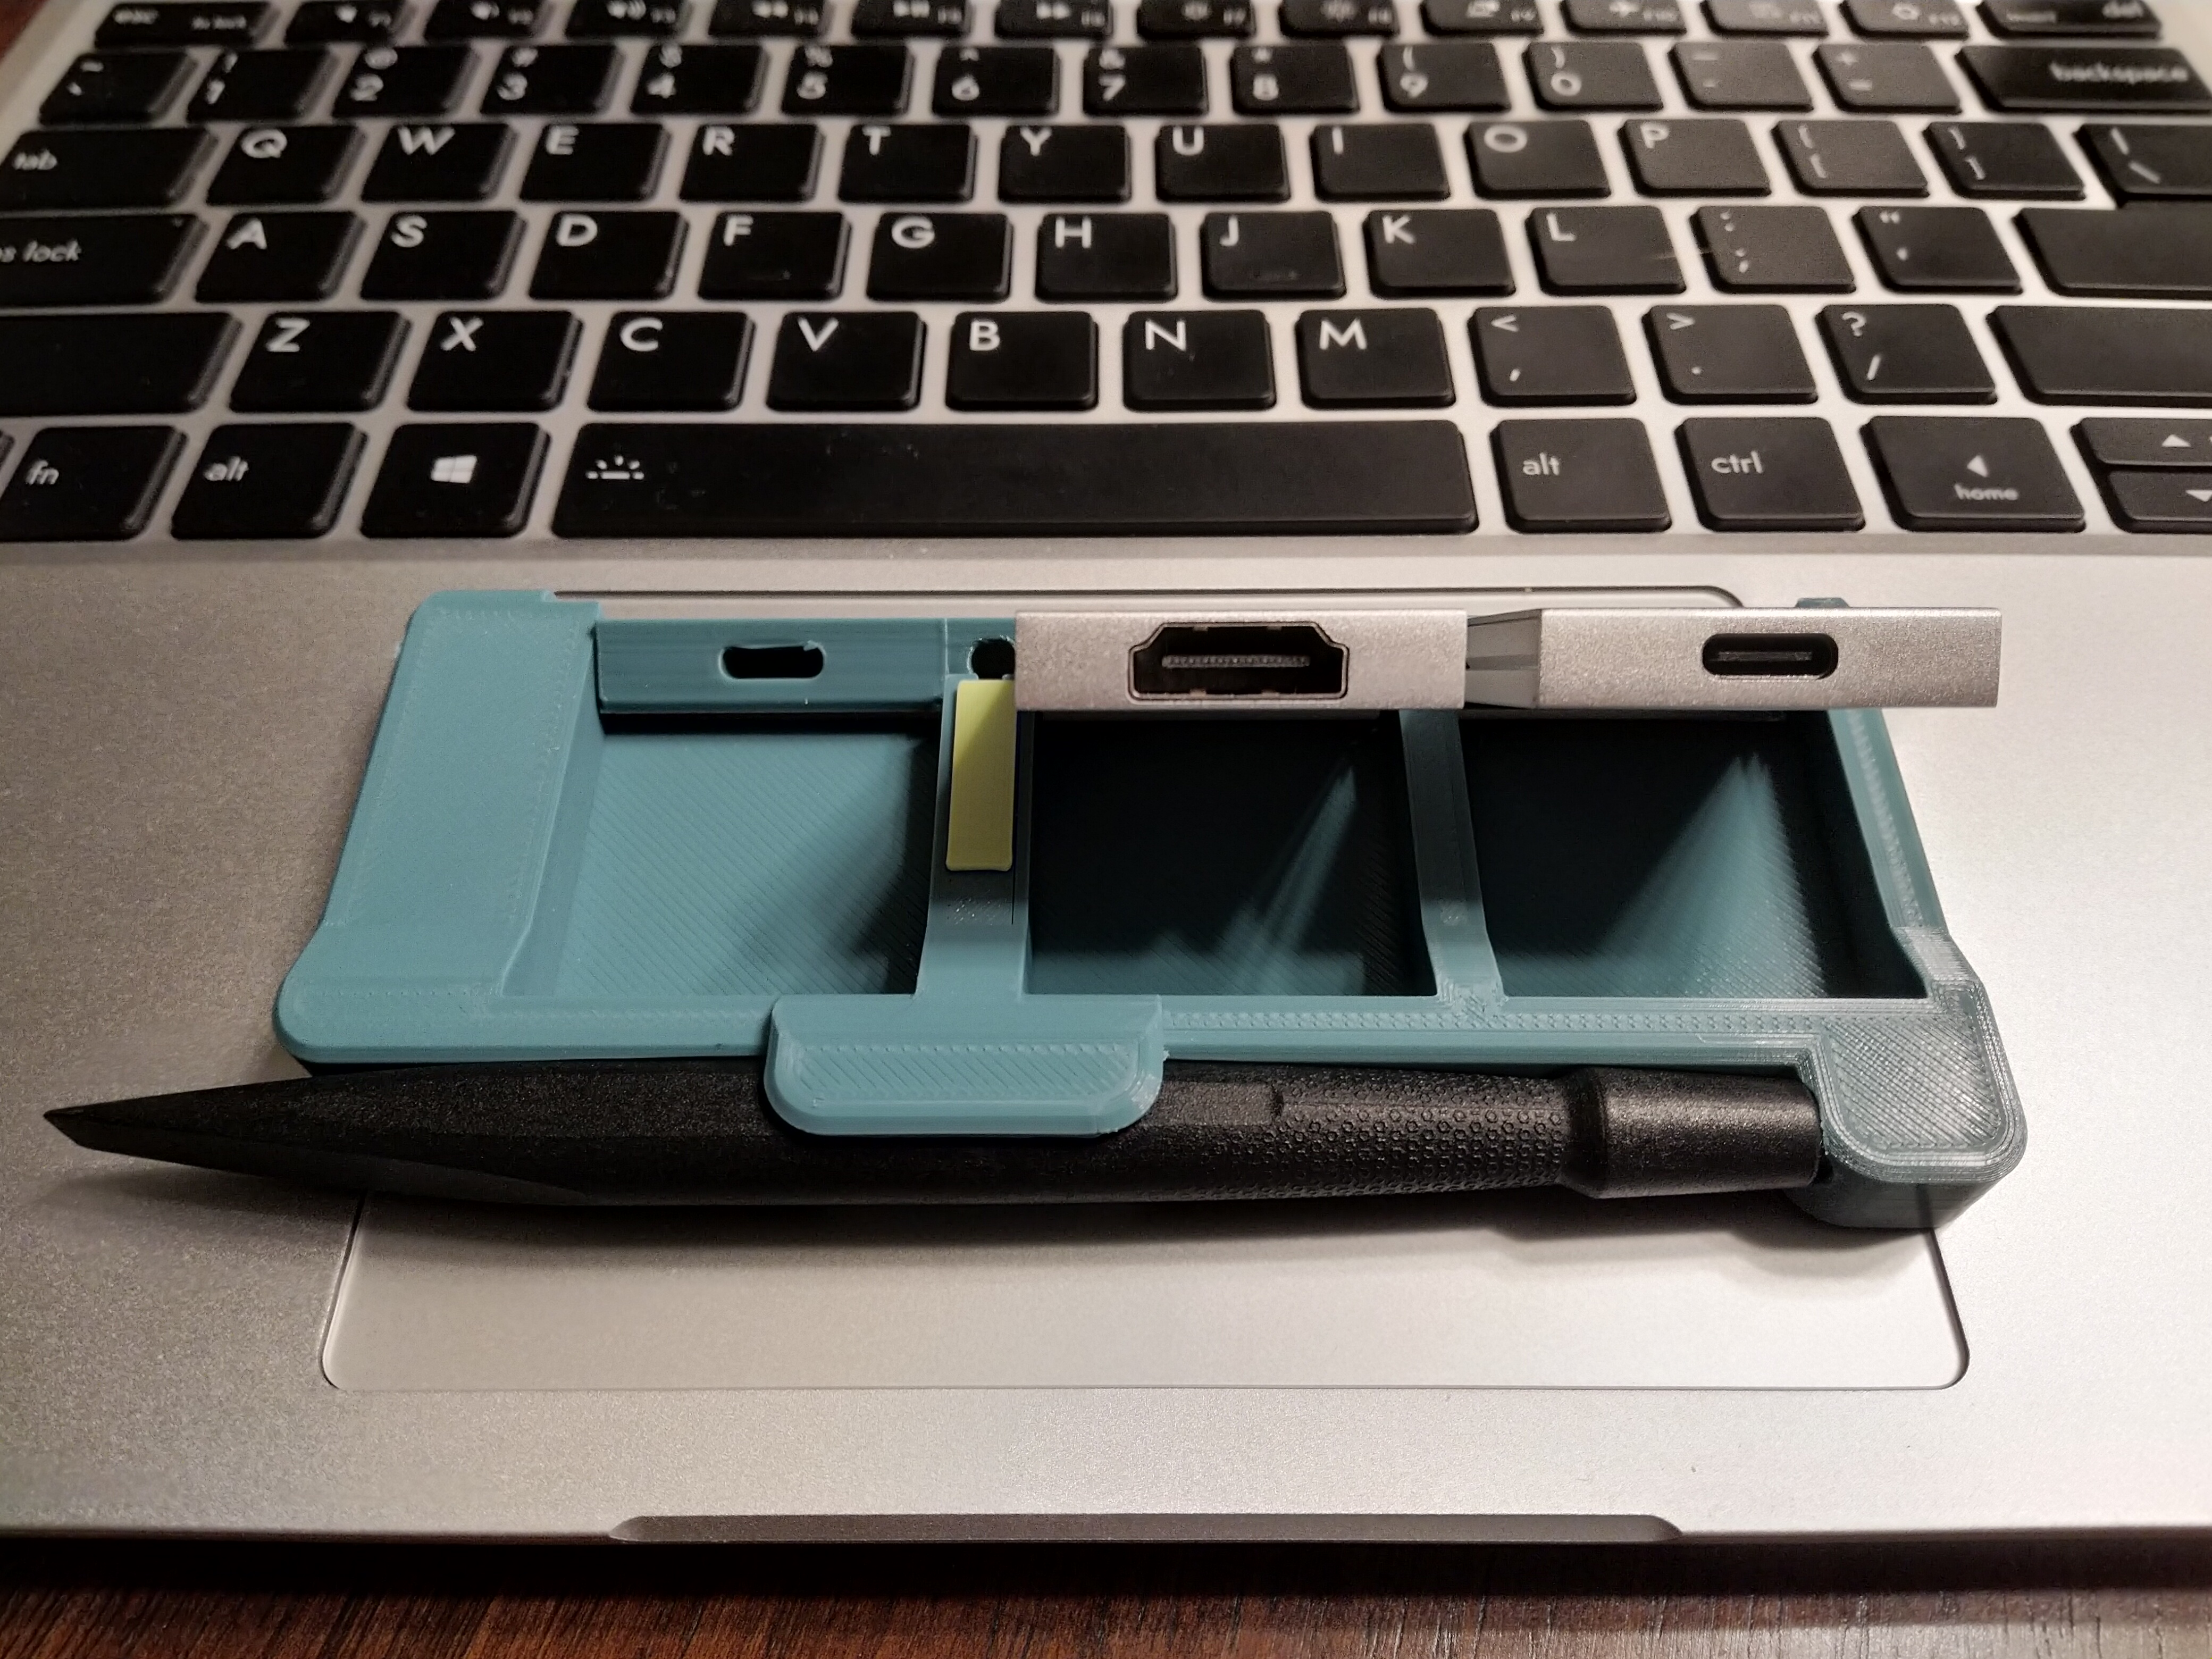
Modified version with screwdriver holder! I also threw in a USB dongle holder for fun. Prints much the same as the original. Also distributed under CC-BY-SA, modified and original available on Thingiverse here:
13 Likes
How does the size compare to the cardboard boxes the modules come in?
1 Like
Shout out to my buddy @Mikail_Nelson for printing one for me on his 3D printer!

No more digging around in my bag for an expansion card when on site!
6 Likes
Just finished printing my own! I got a 3D printer a couple of weeks ago and have been working toward this project the whole time. It took several tries, and when I finally got over my fear of using supports, it turned out great! Thank you to you both, @mxg and @bradstopher99!

5 Likes
Dang, ya’ll. I prefer the one without the screwdriver, but… thanks to the OP and the modifier - these are legit awesome!! Completely love it and hope to get a couple printed.
Appreciate the community - the designs are awesome.
pAULIE42o
. . . . . . . . .
/s
1 Like
Thanks so much for making this, as well as for making all the files available. I just have a question as to how I would print this (I am a 3d printing noob).
I’ve only ever worked with STL files, so what are the step, SLDPRT, and SLDASM files for? And which files do I download/print if I want the modified version? Is it just the three files named
card-holder-slider-modified.STL
card-holder-hinge-modified.STL
card-holder-body-modified.STL
Thanks for any explanation and help ![]()
1 Like
@CSab6482 Happy to help!
Anytime you’re 3D printing something, STL is always the one to use. For the modified version, yes, you’ll need those 3 files you mentioned.
For a complete overview, parts can be created in a program like SolidWorks and saved as a SLDPRT. They can be exported to other design programs via saving as a STEP file, and they can be exported for 3D printing by saving as an STL file. I included all of those just so that people could modify the design if they wanted. Hope that all makes sense!
2 Likes
Just an update, one user requested that these be made into 4-card versions, so those are available too!
https://www.thingiverse.com/thing:5041903


10 Likes
Fantastic, I was hoping for a 4-card version! Thank you ![]() Now I just need to find someone with a 3D Printer
Now I just need to find someone with a 3D Printer ![]()
1 Like
I printed the three pieces, but I had no luck putting the holder together. The slider has two holes on the side, and a hole in the middle. Do each of these holes use a hinge? Also, it is really difficult for me to remove my expansion cards from the USB-C receptacles. Is there anything I can do to improve that? Thank you guys for your help.
1 Like
I got it printed at a library. What instructions should I give for a proper print?
1 Like
So, the two holes on the side are where you use 2 screws (M3, 12mm long) to attach the two pieces together. They also function as the hinge-point. The 3rd hole is where the locking tab inserts into when in the locked position. OP calls for a ballpoint pen spring to spring-load this latch, but friction honestly holds mine in place fine.
Okay, that’s cool. I hadn’t heard of libraries that have 3D printers. I guess it makes sense since a lot of people go there to use printers and copiers, so why not 3D?
As for instructions, I’m honestly not sure how to guide you there. To me, it sounds like they might be overextruding during the print? i.e. pushing too much filament through the printer, which causes it to print thicker lines than it should. It just sounds like they don’t have their printer/filament dialed in quite right, which makes tolerances problematic.
I’m not sure how much it costs to have them print it, but one possible solution you could try is to request that they print all 3 parts at 102% scale. This would make the USB-C holes a tiny bit bigger, but it would also make everything else bigger. I’m not sure how well the screwdriver holder would fit, or the USB dongle on the end, but if you’re printing the version without those, you might be okay.
Last, you could try sourcing it from other places. I haven’t had a lot of experience with this seller on Etsy, but what experience I have had was excellent. They take custom orders and are a professional business that has everything dialed in super tight. The contact’s name was Scott and he was extremely helpful and communicative.
Sorry if that got a bit rambly, but I hope it helps.
2 Likes
Thank you for the Etsy recommendation, I’ll definitely give them a try. Specifying the lengths of the screws was also super helpful because I found many different lengths for M3. If possible, could these assembly instructions be added to the Thingiverse post? I’ll order another print and hopefully this one will be better!
1 Like
Thanks for this! Just printed the four port version with the screwdriver holder.
Two suggestions:
- There is a missing notch on the hinge piece between the 3rd and 4th port.
- It would be nice to have a matching 'bump" on the other end of the hinge piece, to shield the end of the screwdriver from getting snagged on things.
Thanks @mxg and @bradstopher99 ! Printed mine today… the hinge was perfect, but my printer bodged the body slightly… nothing a sharp knife+mini file couldn’t fix 


I wanted to put them in upside down, but I think there is a small offset from center which prevents all of them from going in. Might print the body again at 101% scaling.
Thanks again for the designs saved me serious procrastination time 
1 Like