Just an update, one user requested that these be made into 4-card versions, so those are available too!
https://www.thingiverse.com/thing:5041903
10 Likes
Fantastic, I was hoping for a 4-card version! Thank you ![]() Now I just need to find someone with a 3D Printer
Now I just need to find someone with a 3D Printer ![]()
1 Like
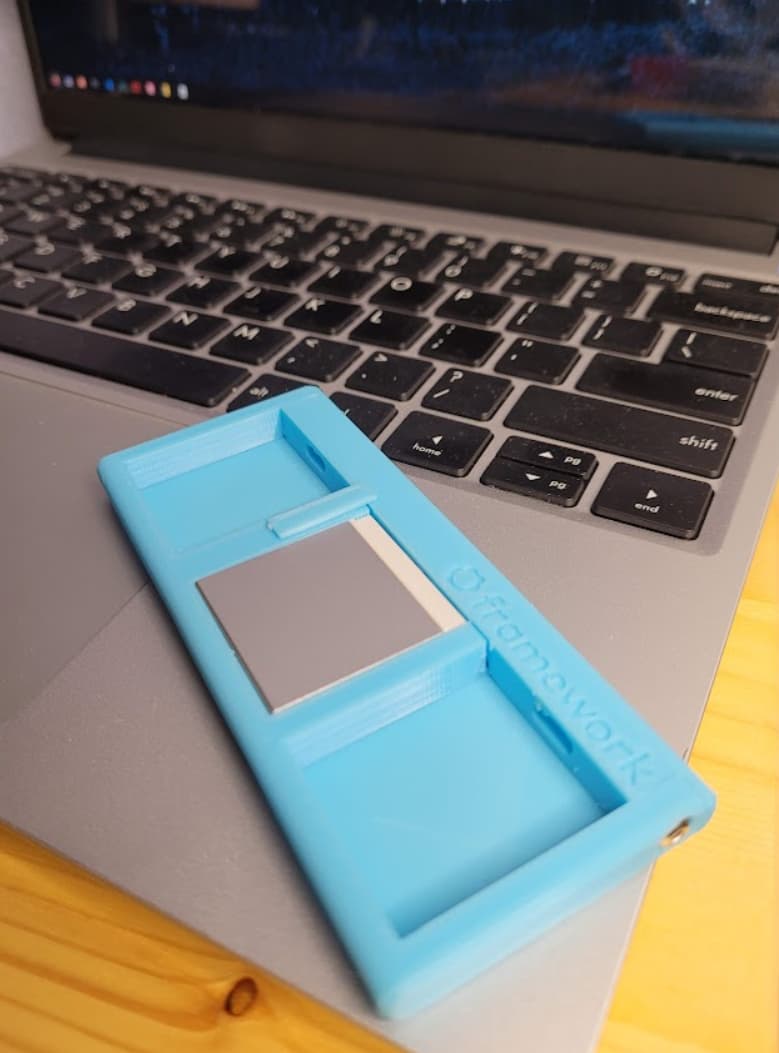
I printed the three pieces, but I had no luck putting the holder together. The slider has two holes on the side, and a hole in the middle. Do each of these holes use a hinge? Also, it is really difficult for me to remove my expansion cards from the USB-C receptacles. Is there anything I can do to improve that? Thank you guys for your help.
1 Like
I got it printed at a library. What instructions should I give for a proper print?
1 Like
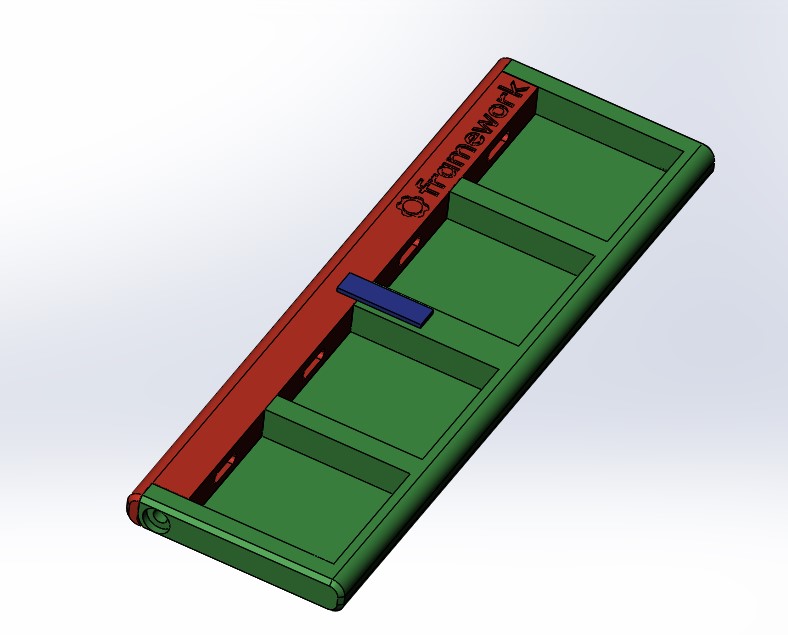
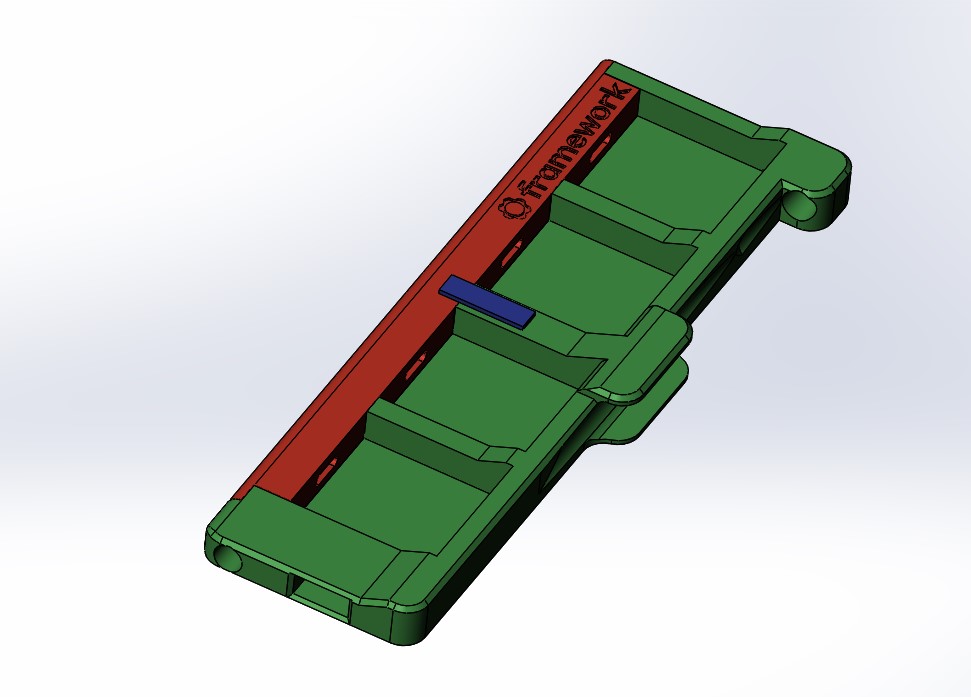
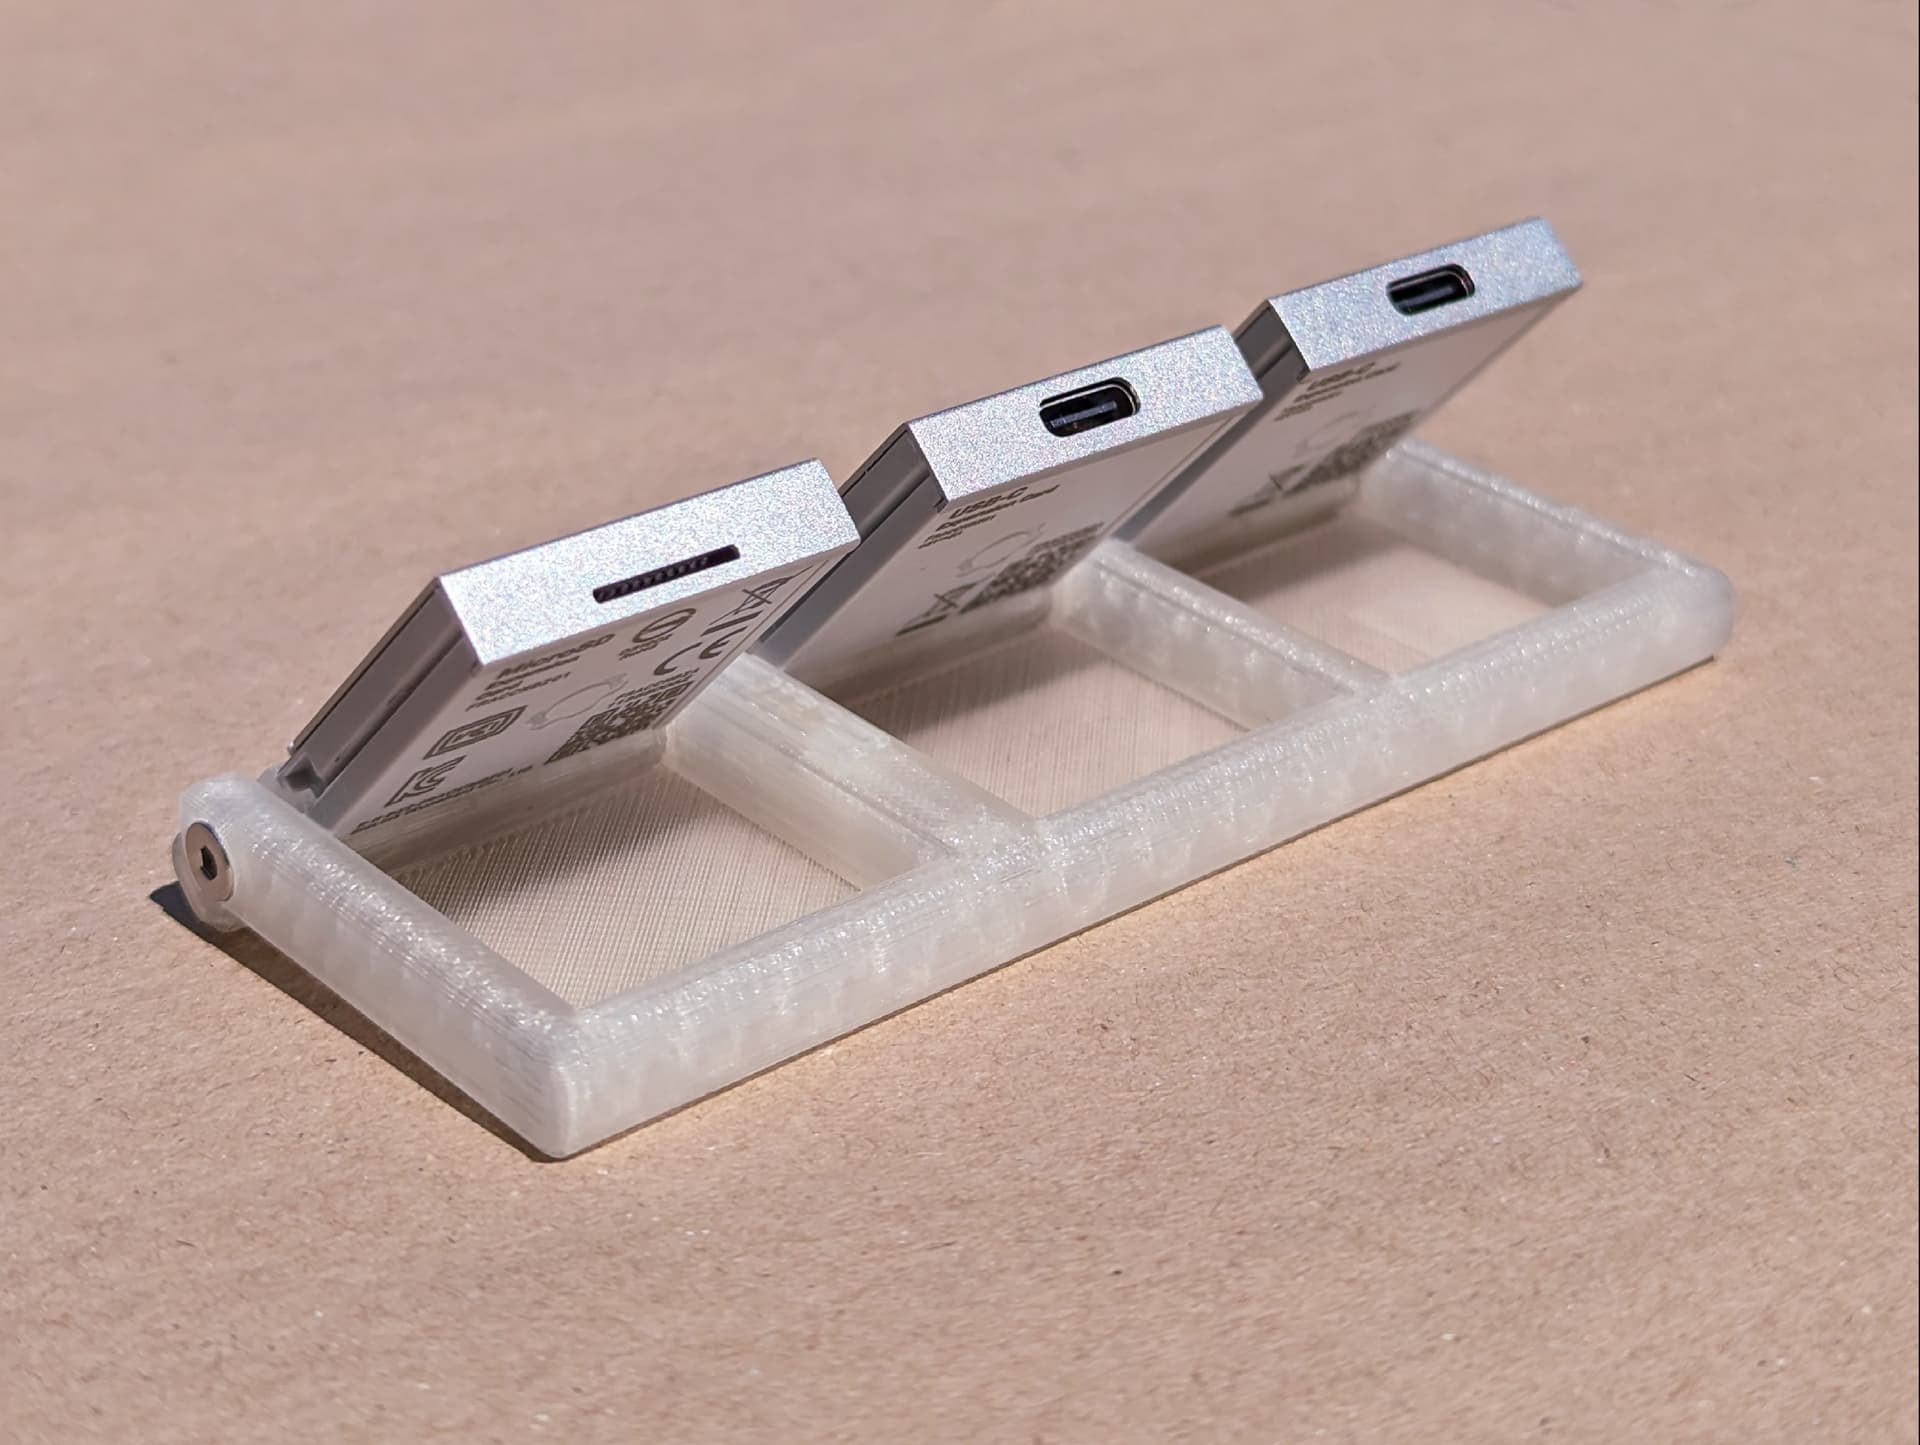
So, the two holes on the side are where you use 2 screws (M3, 12mm long) to attach the two pieces together. They also function as the hinge-point. The 3rd hole is where the locking tab inserts into when in the locked position. OP calls for a ballpoint pen spring to spring-load this latch, but friction honestly holds mine in place fine.
Okay, that’s cool. I hadn’t heard of libraries that have 3D printers. I guess it makes sense since a lot of people go there to use printers and copiers, so why not 3D?
As for instructions, I’m honestly not sure how to guide you there. To me, it sounds like they might be overextruding during the print? i.e. pushing too much filament through the printer, which causes it to print thicker lines than it should. It just sounds like they don’t have their printer/filament dialed in quite right, which makes tolerances problematic.
I’m not sure how much it costs to have them print it, but one possible solution you could try is to request that they print all 3 parts at 102% scale. This would make the USB-C holes a tiny bit bigger, but it would also make everything else bigger. I’m not sure how well the screwdriver holder would fit, or the USB dongle on the end, but if you’re printing the version without those, you might be okay.
Last, you could try sourcing it from other places. I haven’t had a lot of experience with this seller on Etsy, but what experience I have had was excellent. They take custom orders and are a professional business that has everything dialed in super tight. The contact’s name was Scott and he was extremely helpful and communicative.
Sorry if that got a bit rambly, but I hope it helps.
2 Likes
Thank you for the Etsy recommendation, I’ll definitely give them a try. Specifying the lengths of the screws was also super helpful because I found many different lengths for M3. If possible, could these assembly instructions be added to the Thingiverse post? I’ll order another print and hopefully this one will be better!
1 Like
Thanks for this! Just printed the four port version with the screwdriver holder.
Two suggestions:
- There is a missing notch on the hinge piece between the 3rd and 4th port.
- It would be nice to have a matching 'bump" on the other end of the hinge piece, to shield the end of the screwdriver from getting snagged on things.
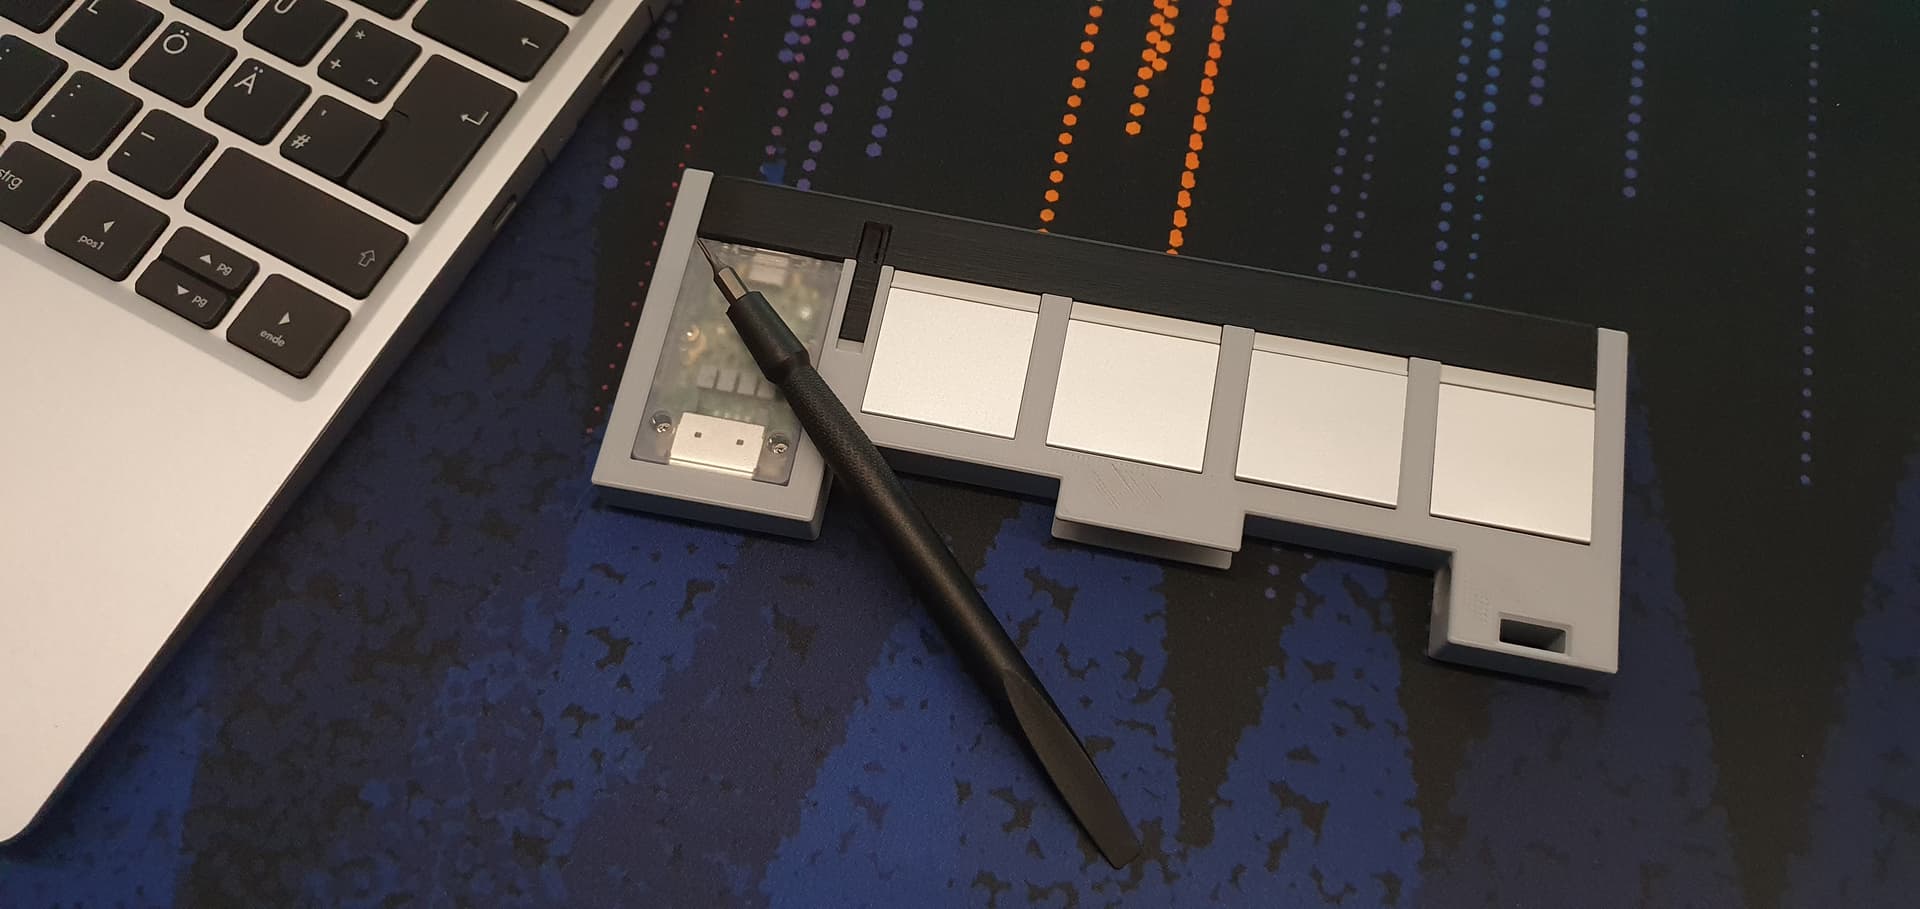
Thanks @mxg and @bradstopher99 ! Printed mine today… the hinge was perfect, but my printer bodged the body slightly… nothing a sharp knife+mini file couldn’t fix ![]()


I wanted to put them in upside down, but I think there is a small offset from center which prevents all of them from going in. Might print the body again at 101% scaling.
Thanks again for the designs saved me serious procrastination time ![]()
1 Like
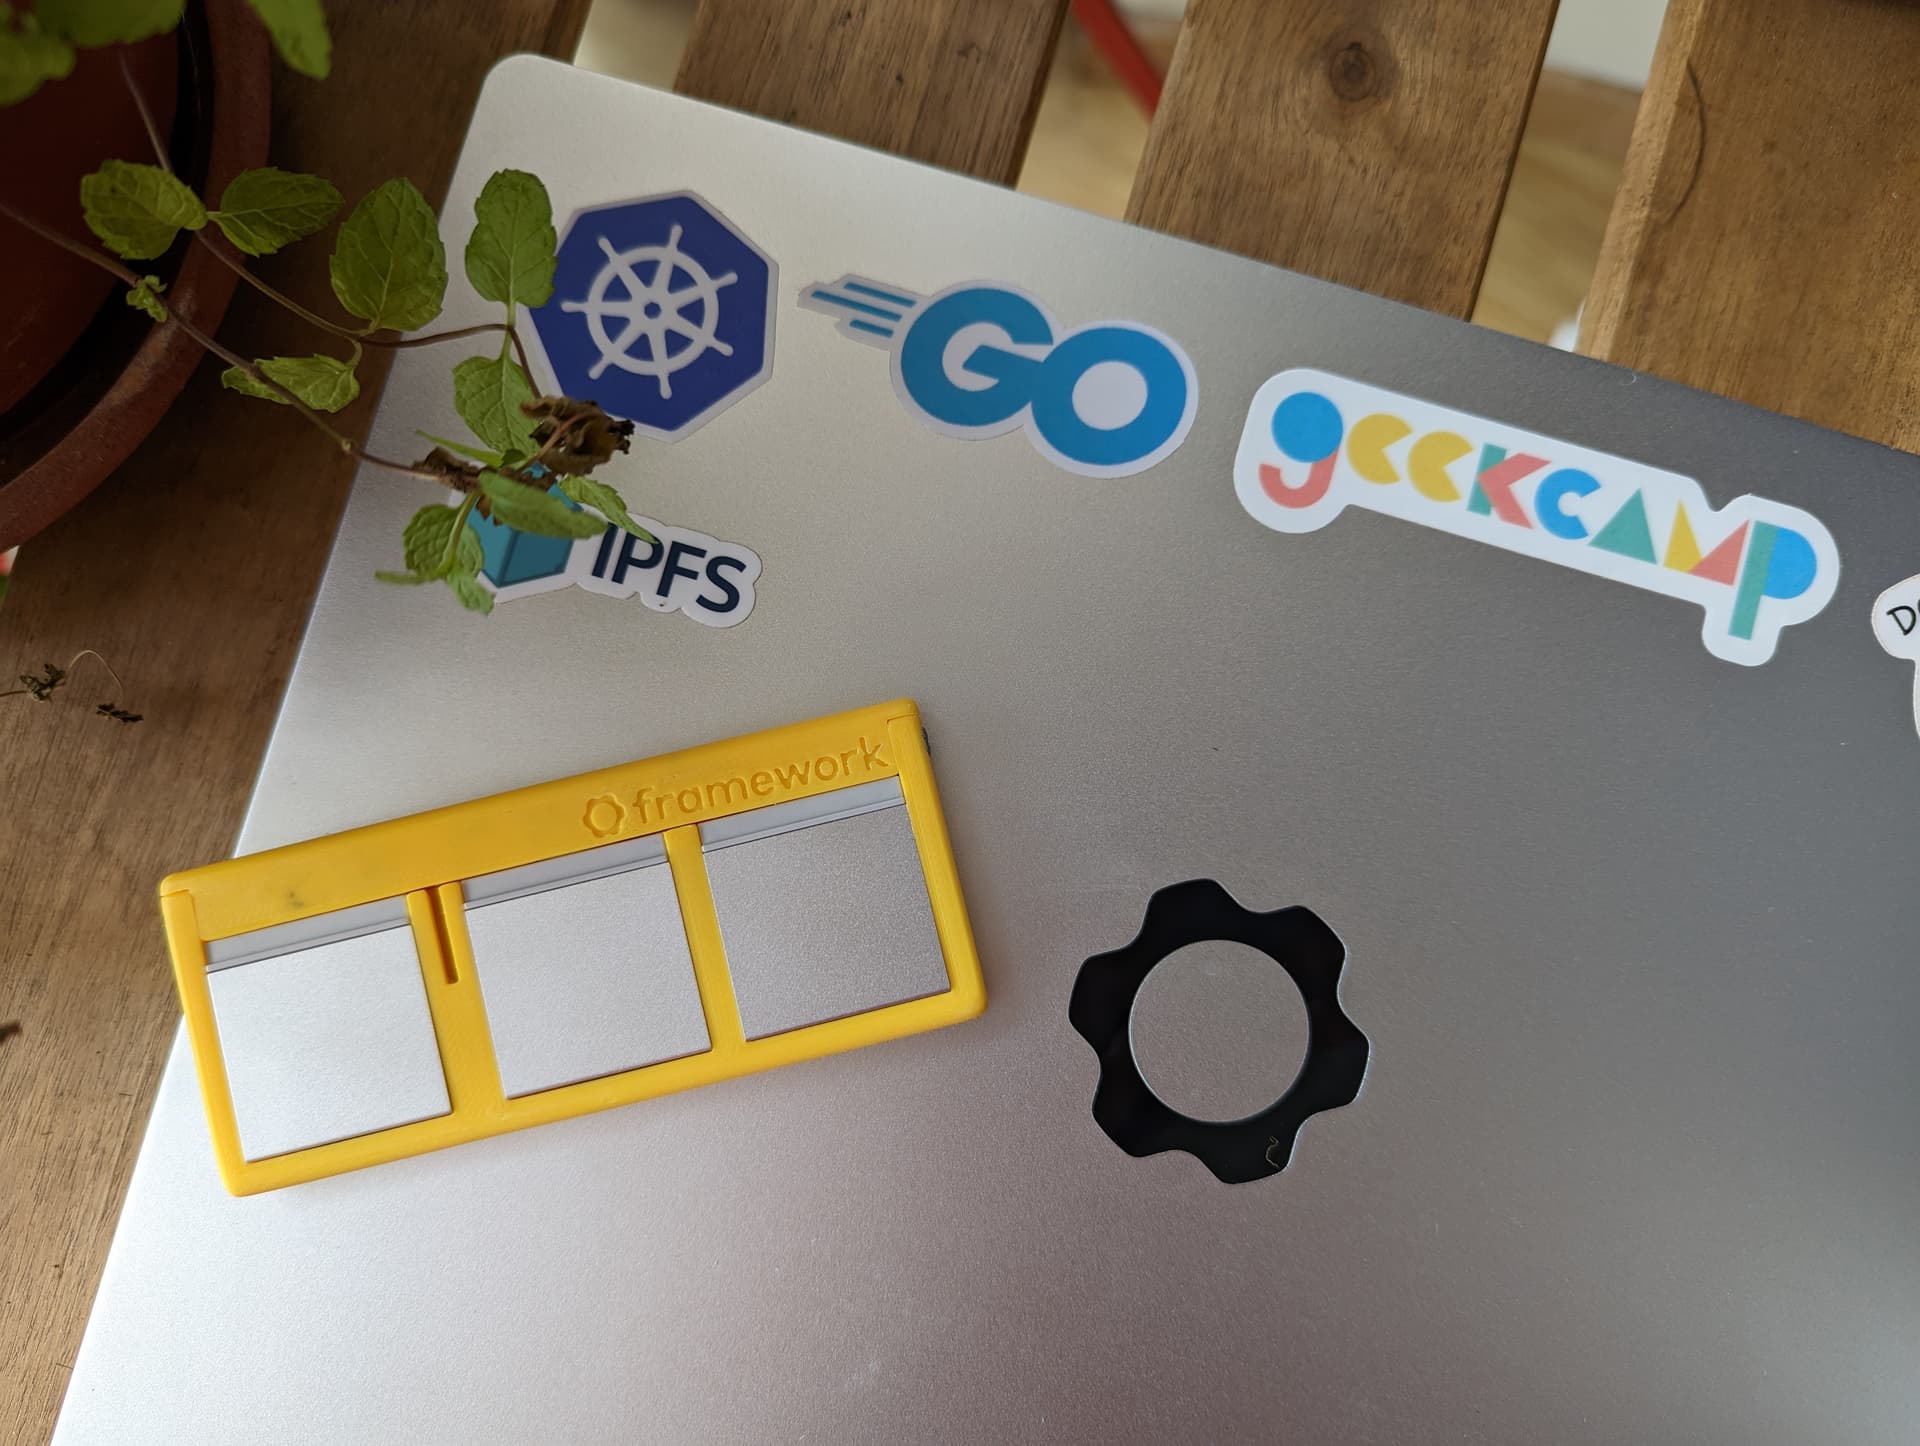
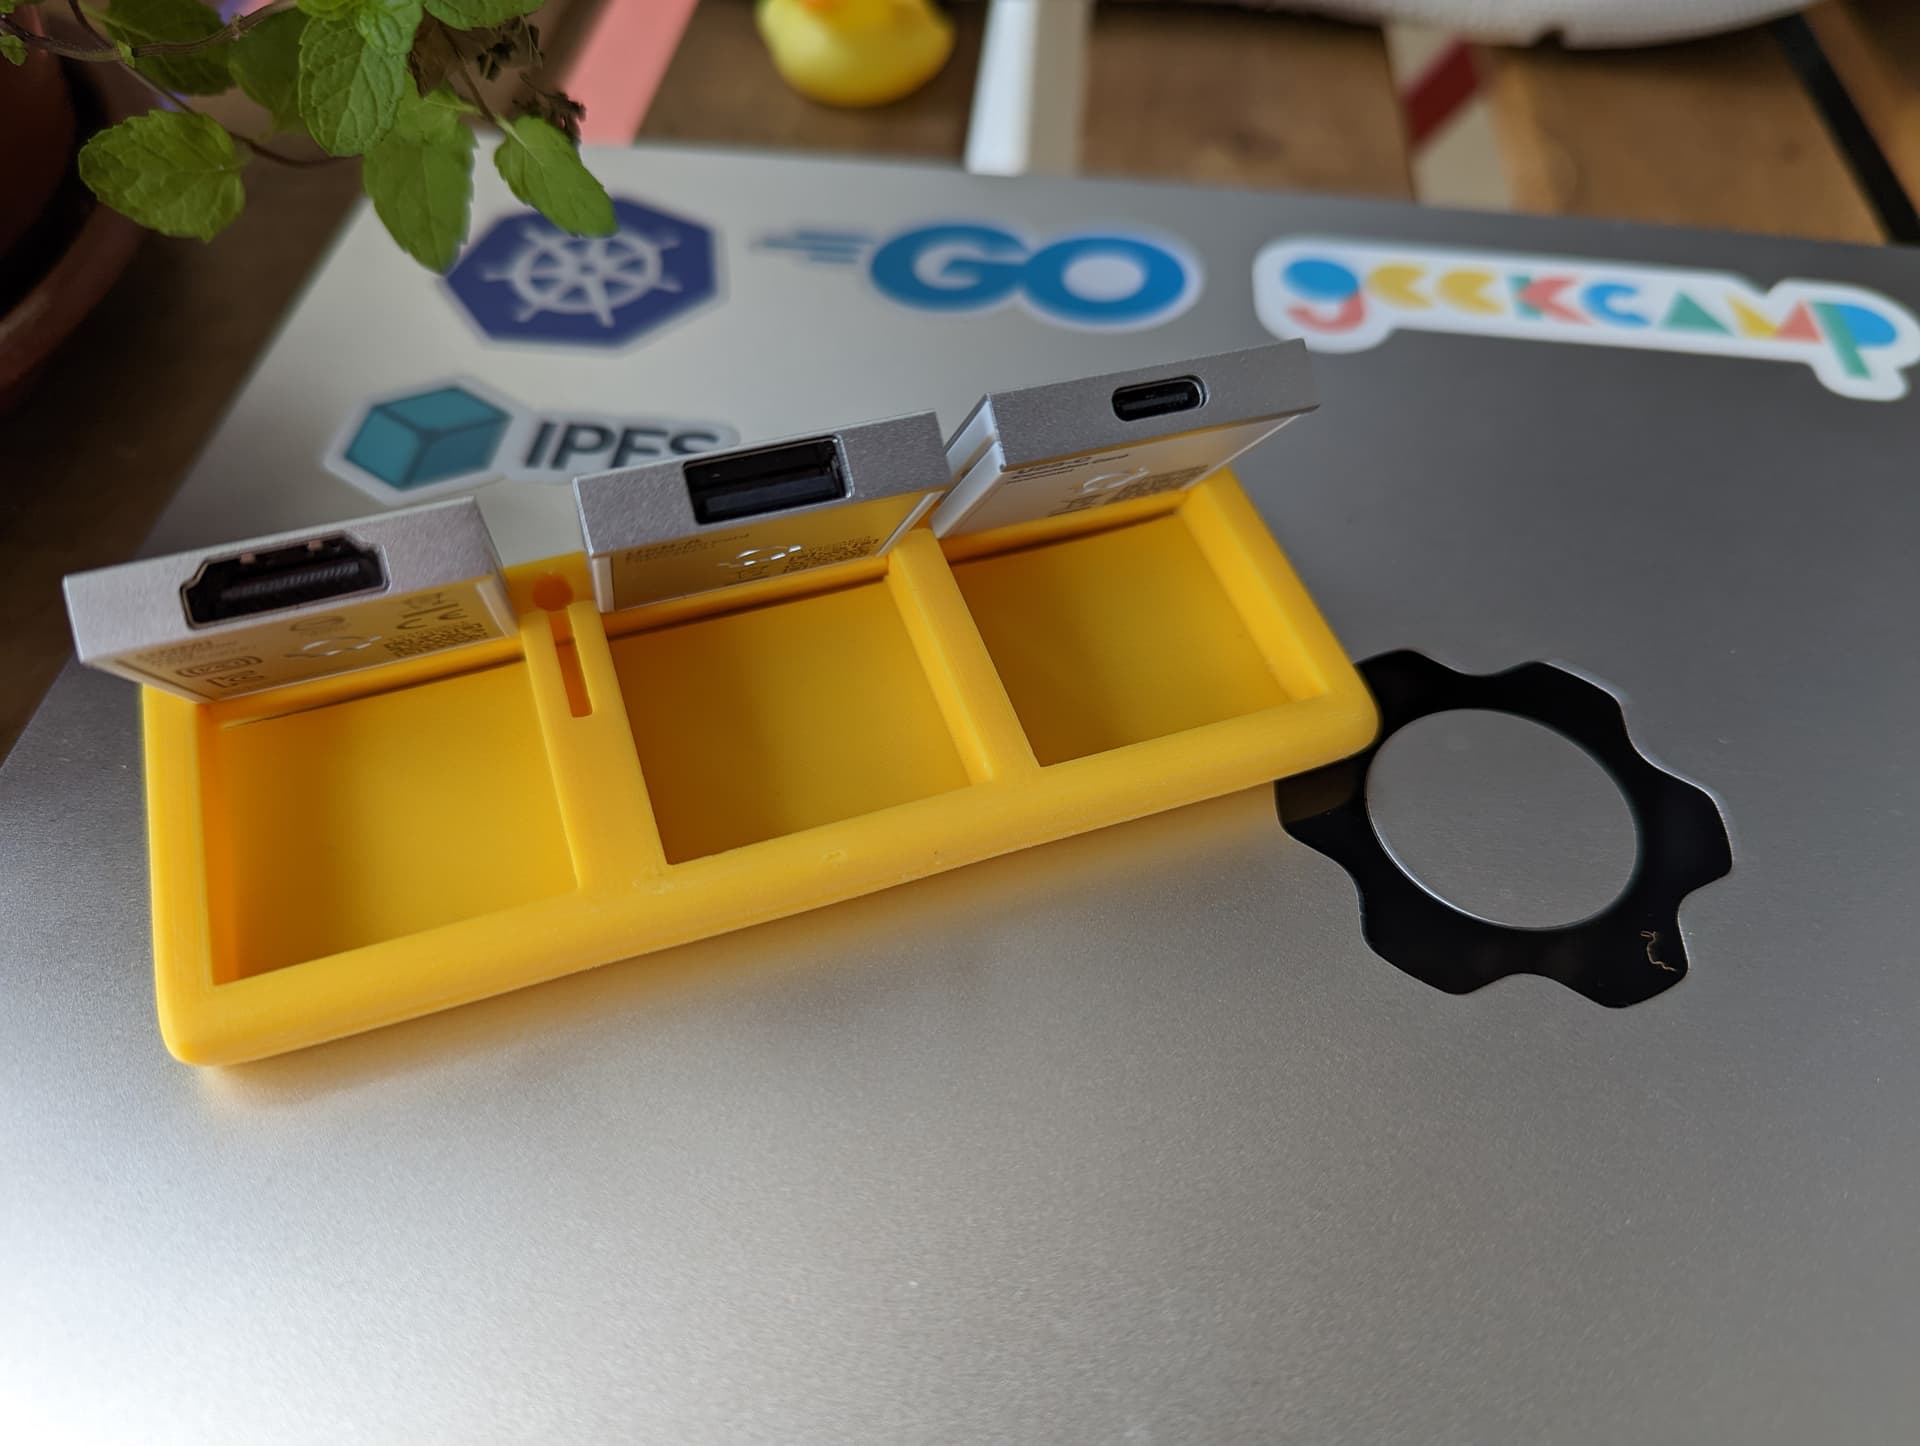
I love your amazing work @mxg! Here’s photos of my print. The friction of the expansion cards against the frame is sufficient to hold it in place for me.
4 Likes
This is so cool!!!
3 Likes
Love the designs on these, any ideas on how to make the new Ethernet expansion card work with it?
2 Likes
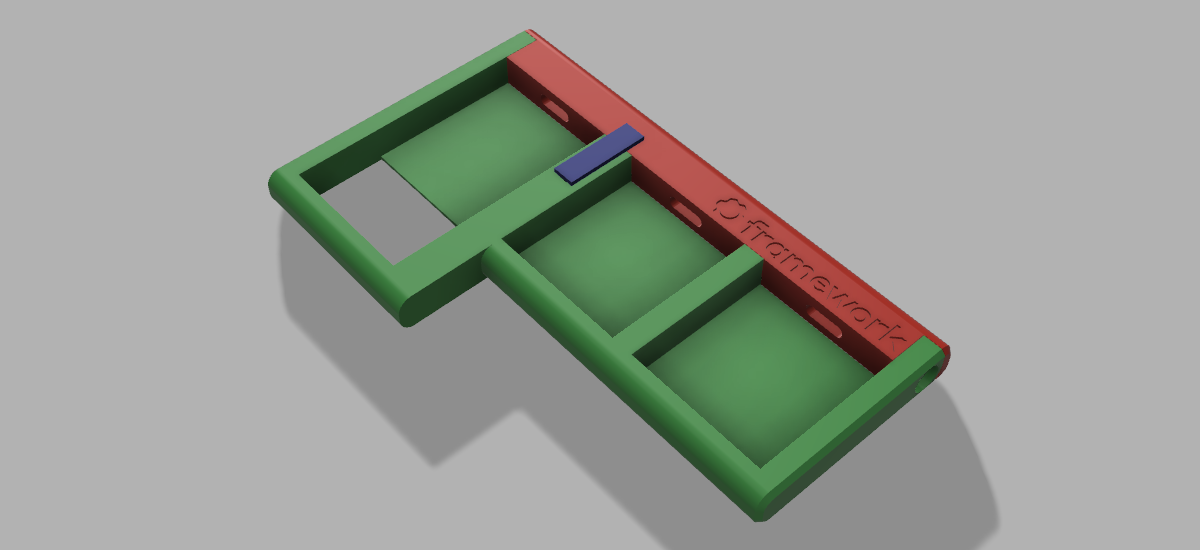
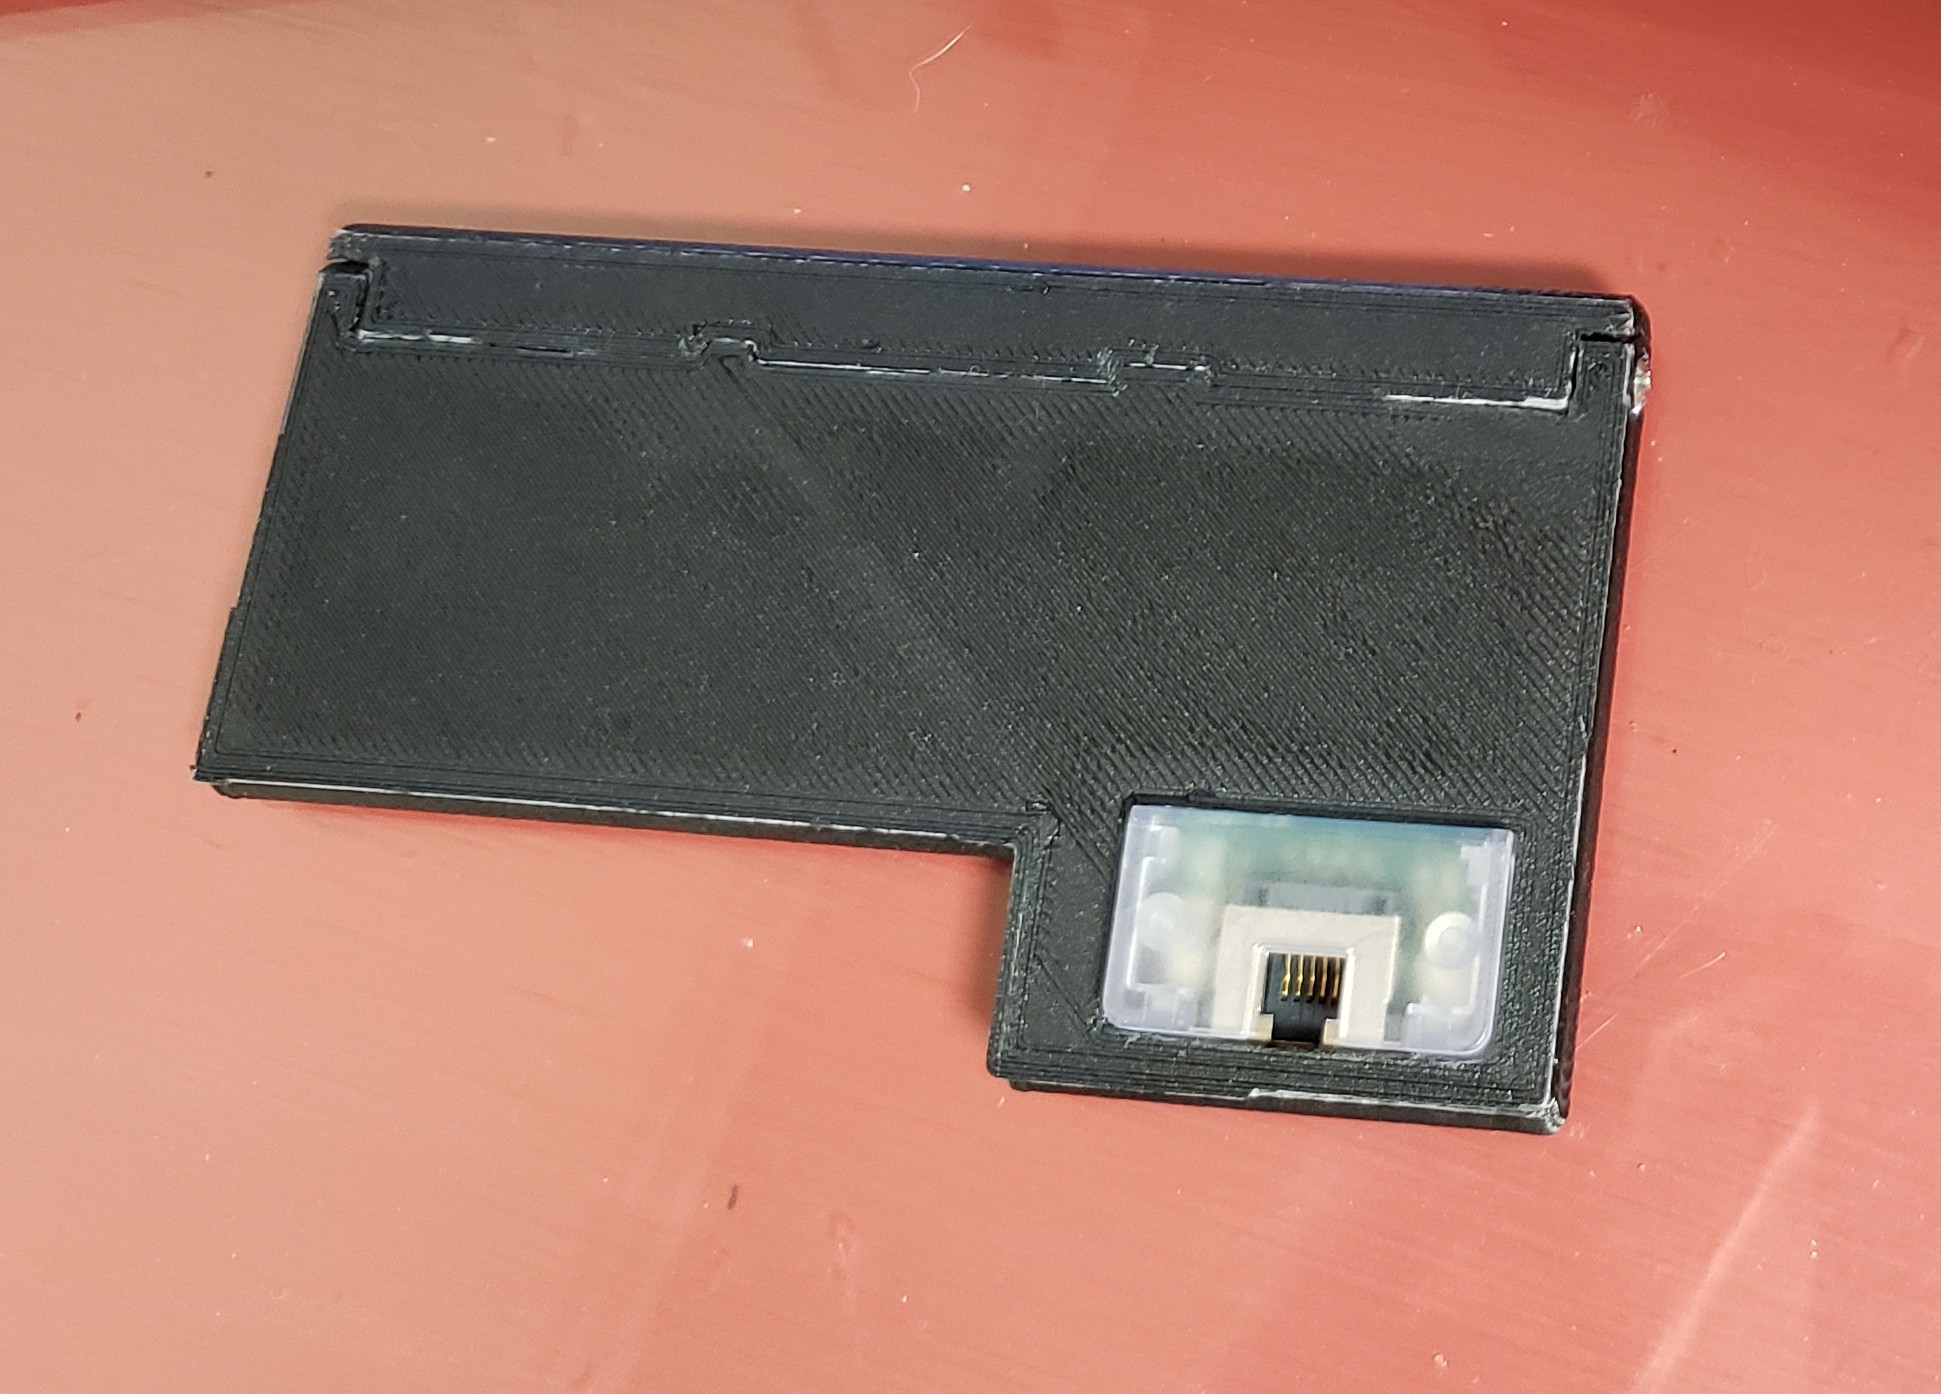
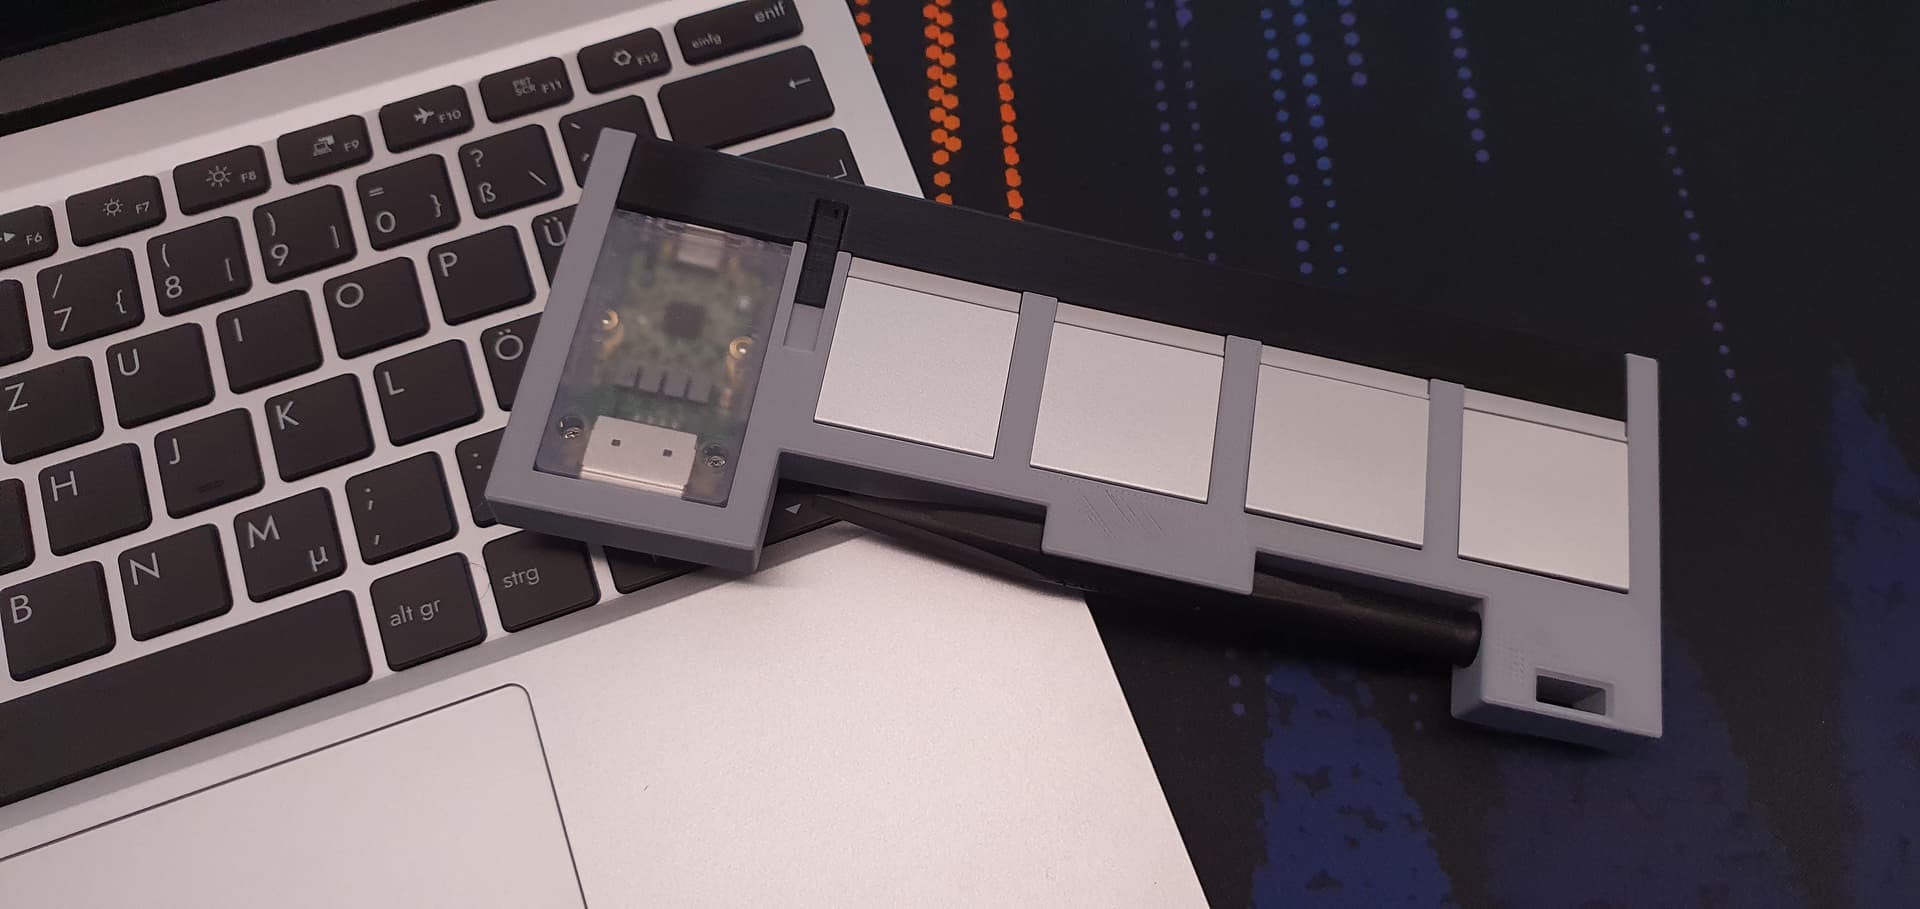
Funny you should say that because I wanted the same thing. I took bradstopher99’s STEP file and modified the design in Fusion 360 to accommodate the Ethernet adapter.
The files are available at https://www.thingiverse.com/thing:5760284 .


8 Likes
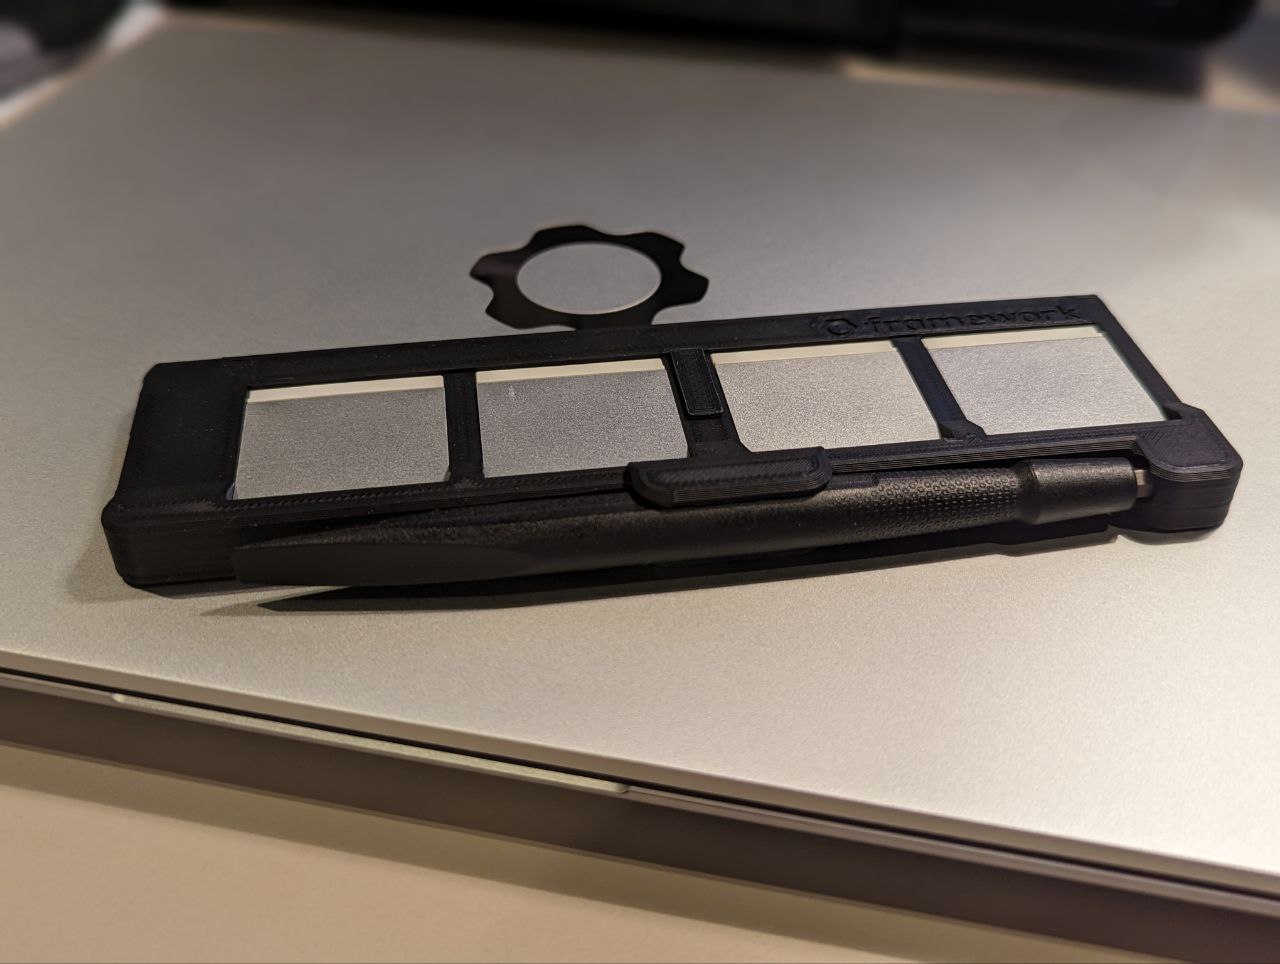

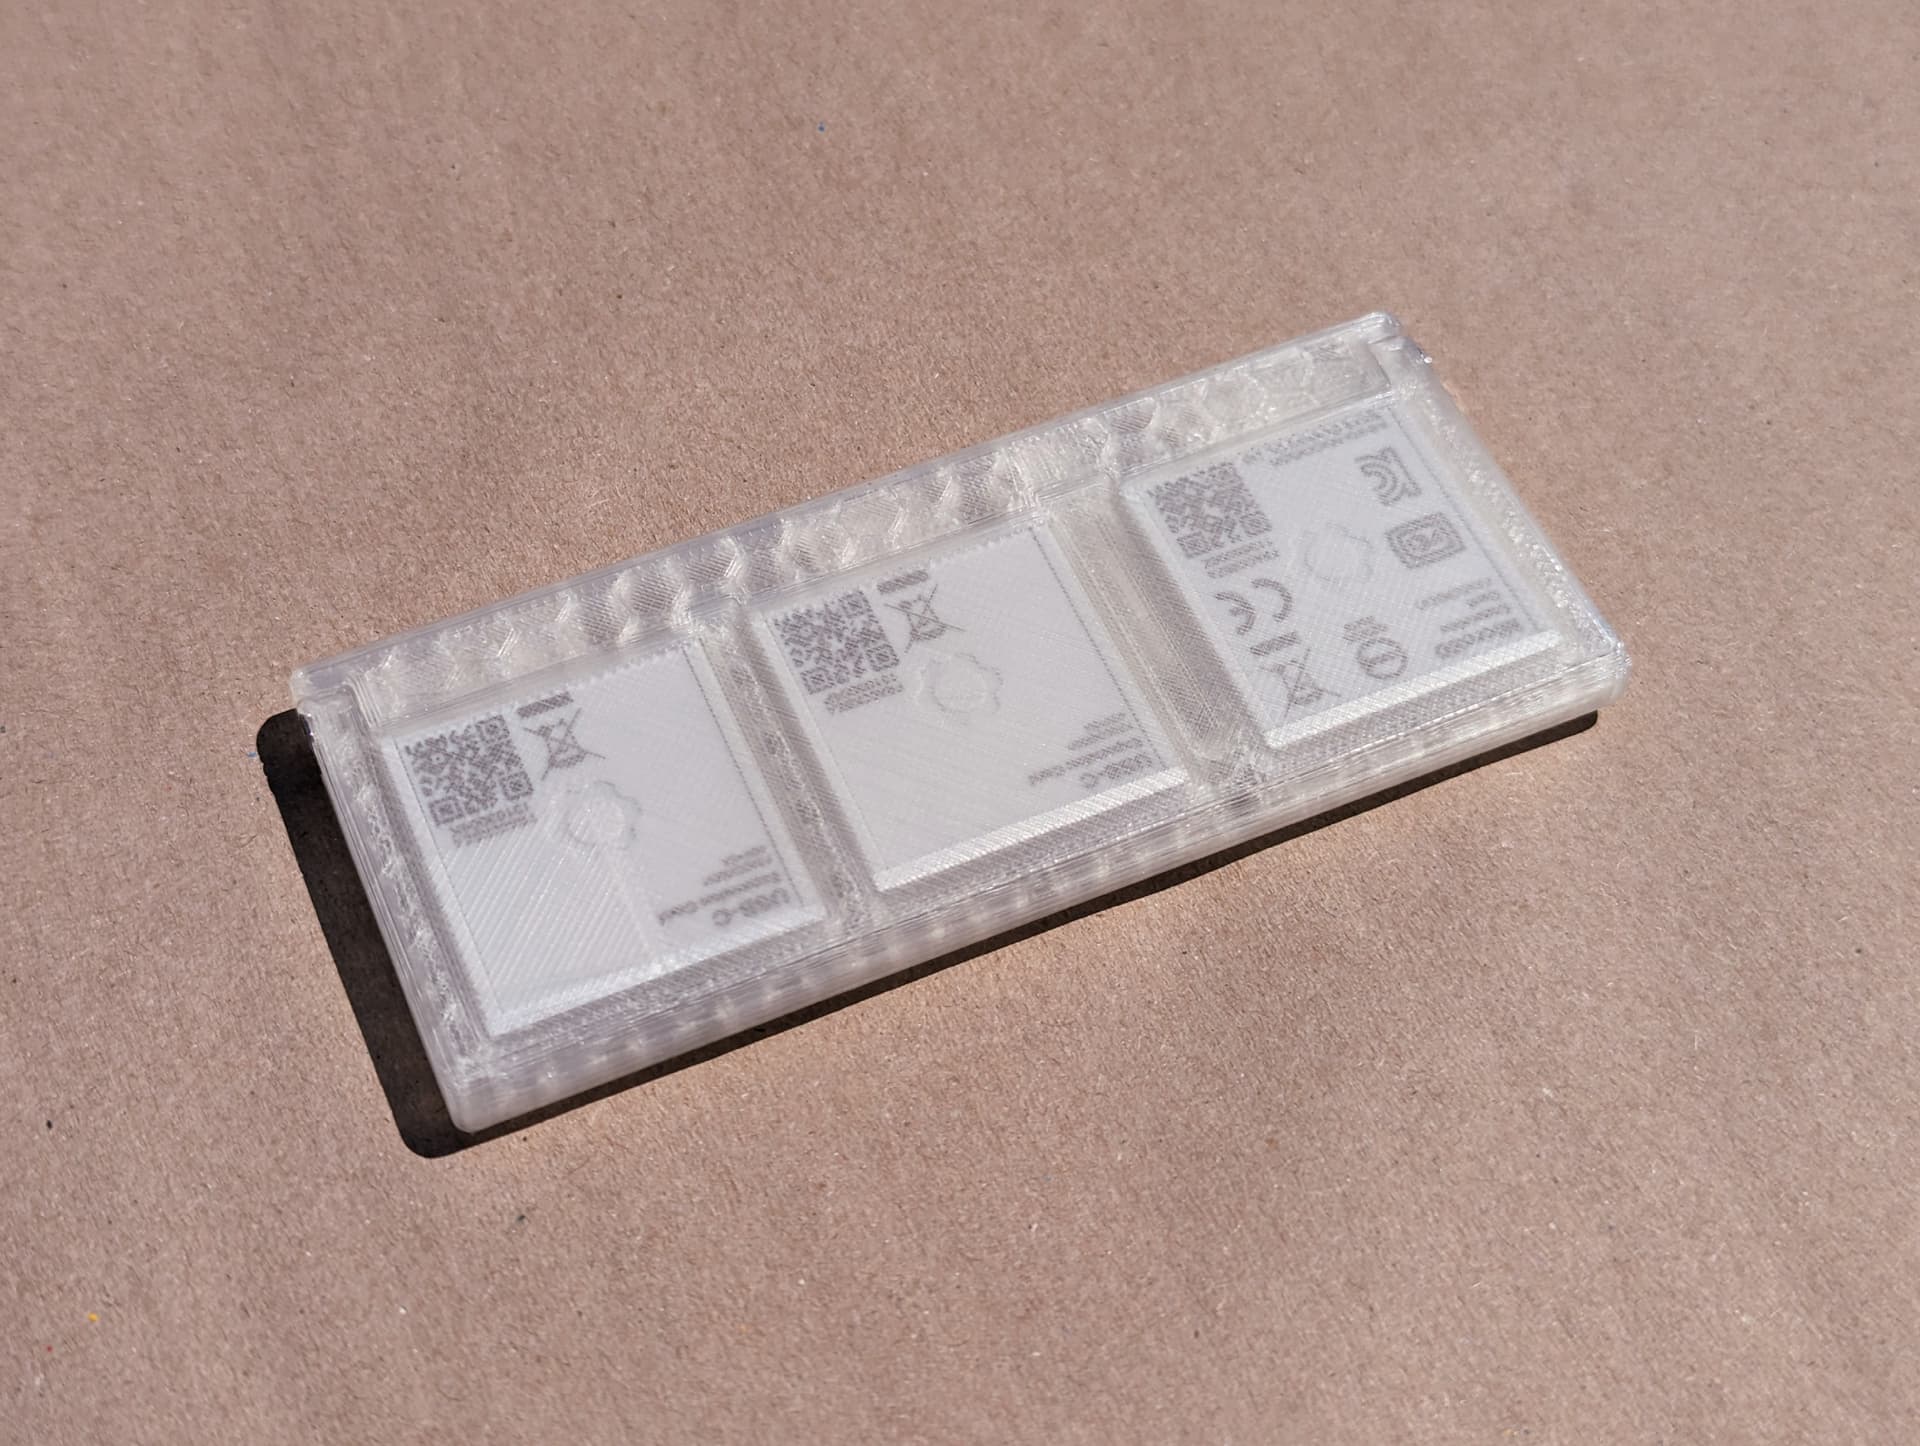
As part of my quest for everything translucent, it had to be done. Just need that elusive bezel ![]()
Great design @mxg

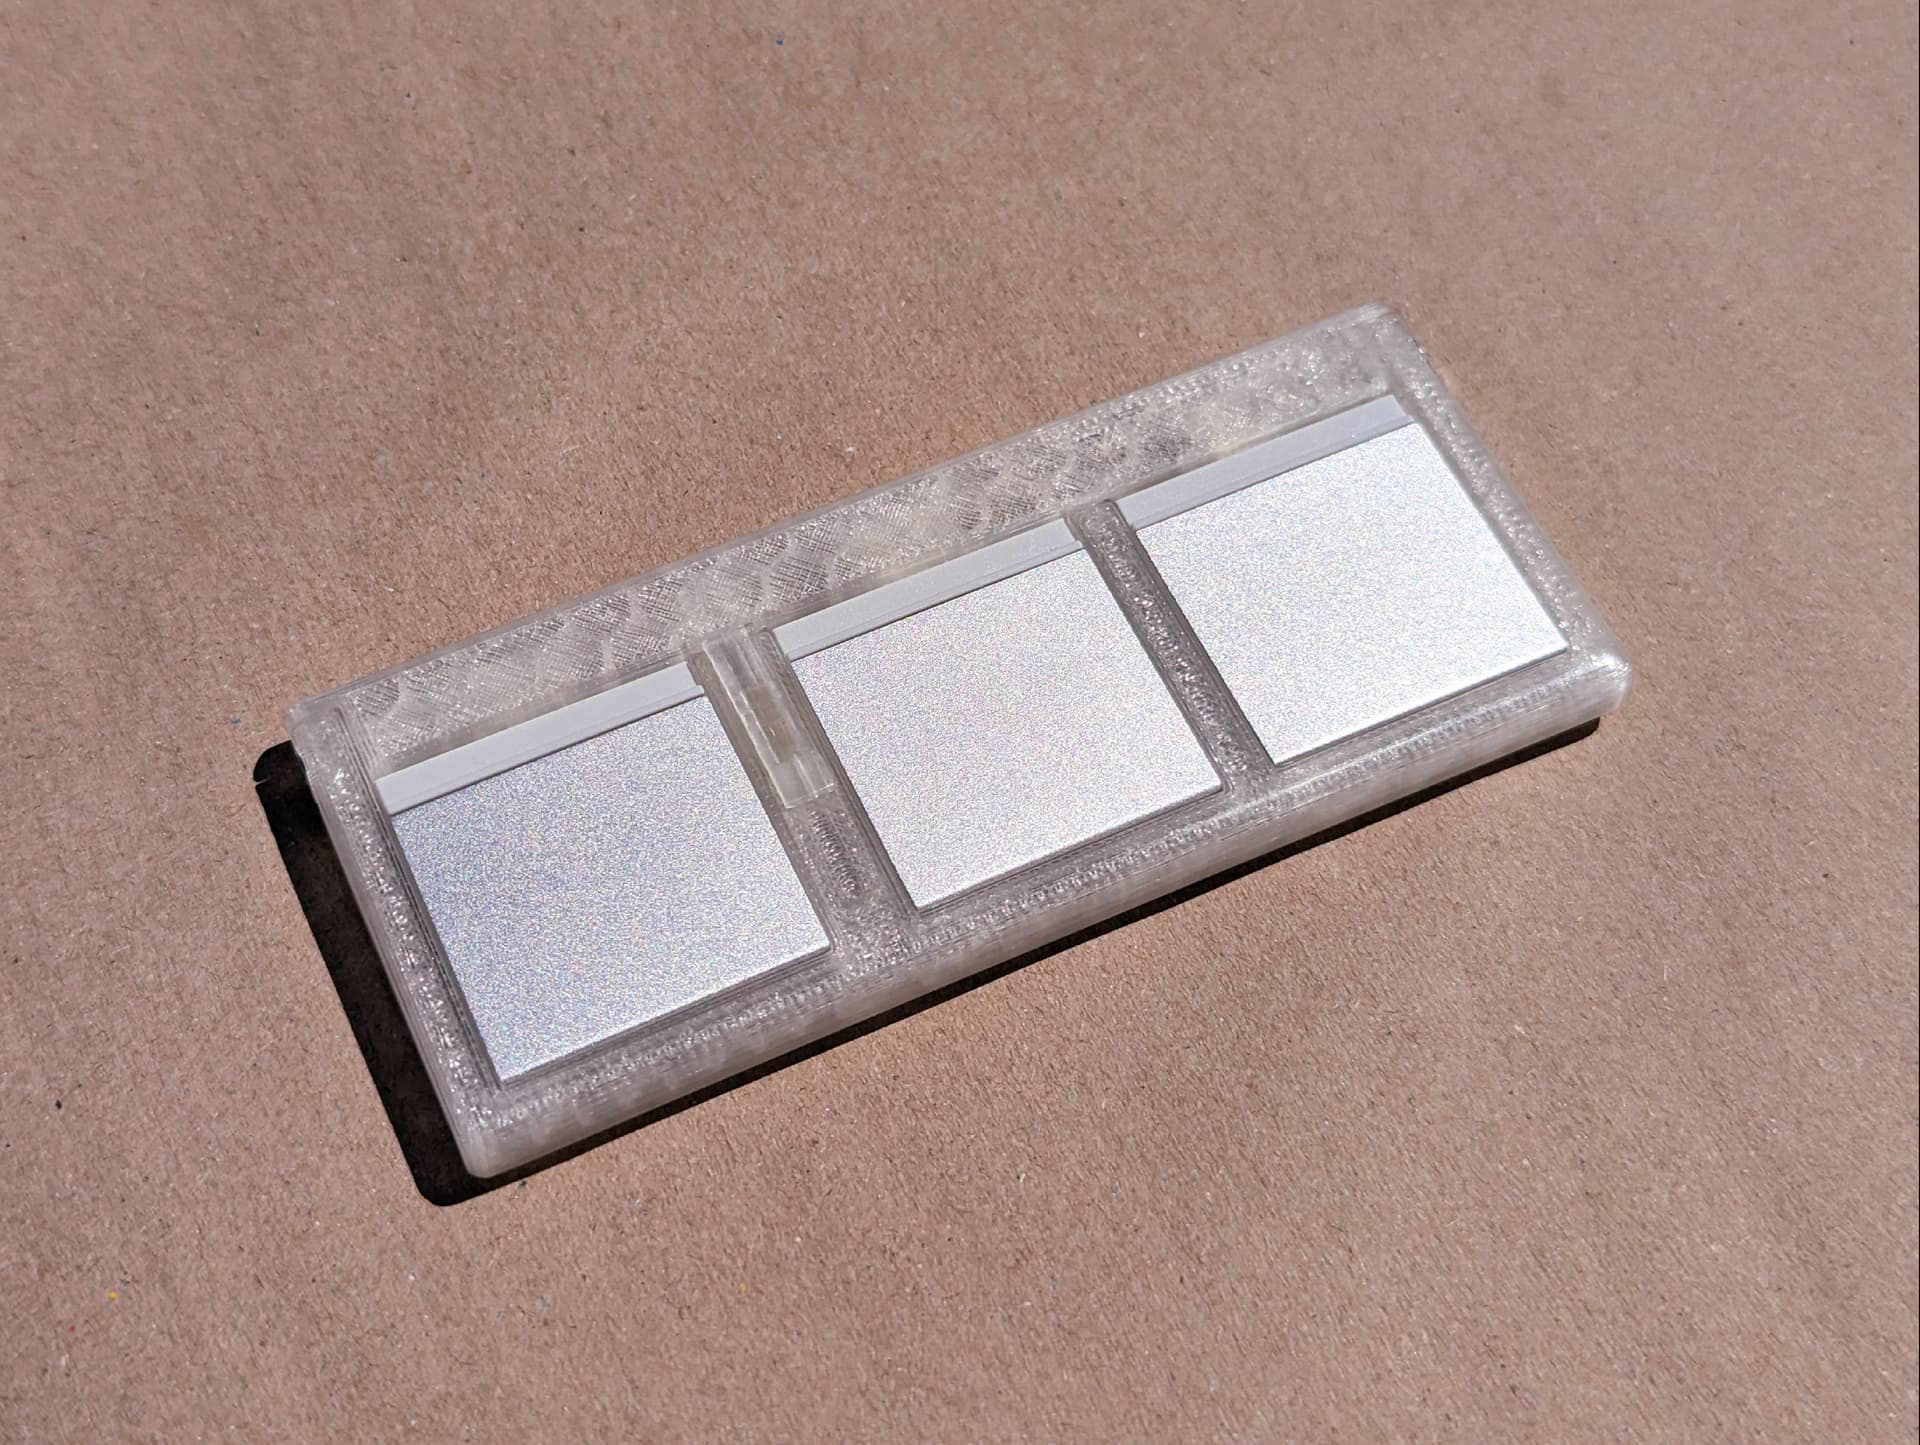
4 Likes
Nice. What material did you use?
I don’t have a 3D printer so I found someone on Etsy to print it for me - so all I know is clear PLA filament.
I’d like to have had it printed in a clear resin, maybe it would look closer to the keyboard then, and be truly transparent but the price was way too high to try.
Would anyone be willing to make a 4 module version of this (with one being ethernet sized), I might try my hand at it but I’m only experienced with cinema4D
Love the community that framework has, these holders are exactly what I was looking for!!
1 Like
I really liked some of the designs, but wanted to have one with all features included! So I made my own you can find here :))
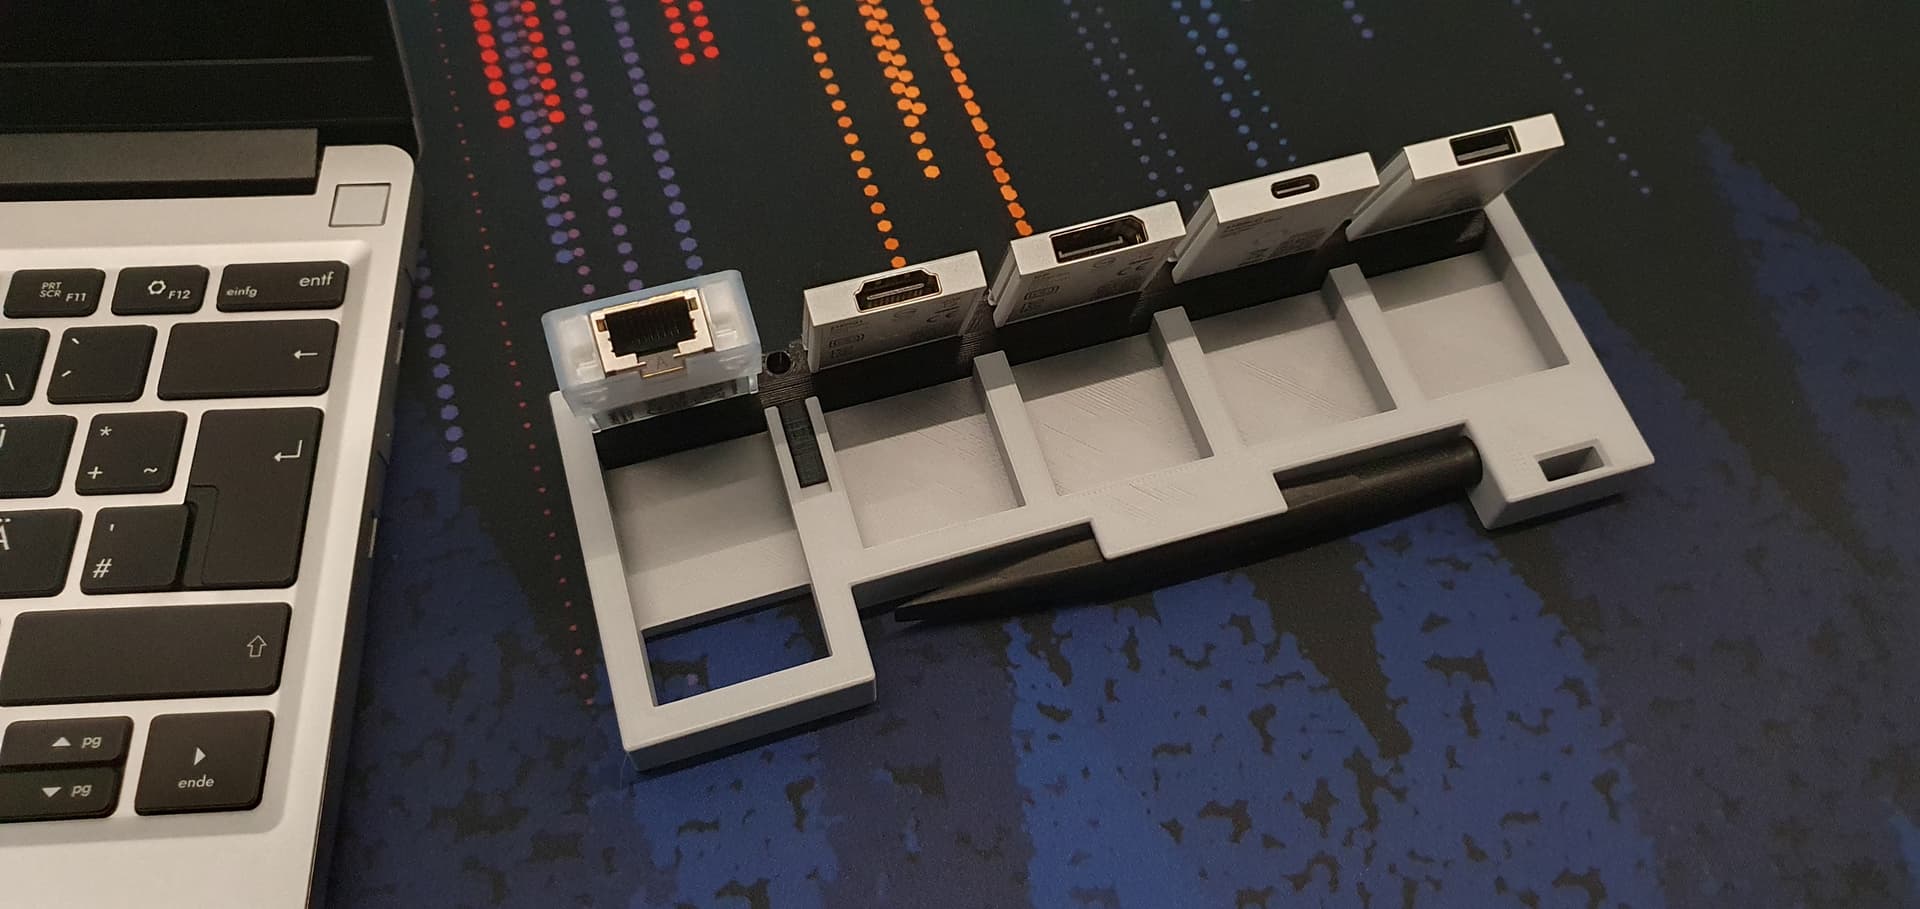
12 Likes
Finally!!! This is exactly what ive been wanting. Thank You!!!
1 Like