Sorry for the delay! I use Linux with RyzenADJ. I think XTU uses it as well? I think there was a setting to make it reapply after a shutdown, but you had to have the program auto-start with the computer.
I used CoreCycler on my desktop when checking CO, it stress tests individual cores/threads to check stability. I’ve not done anything similar for my laptop though.
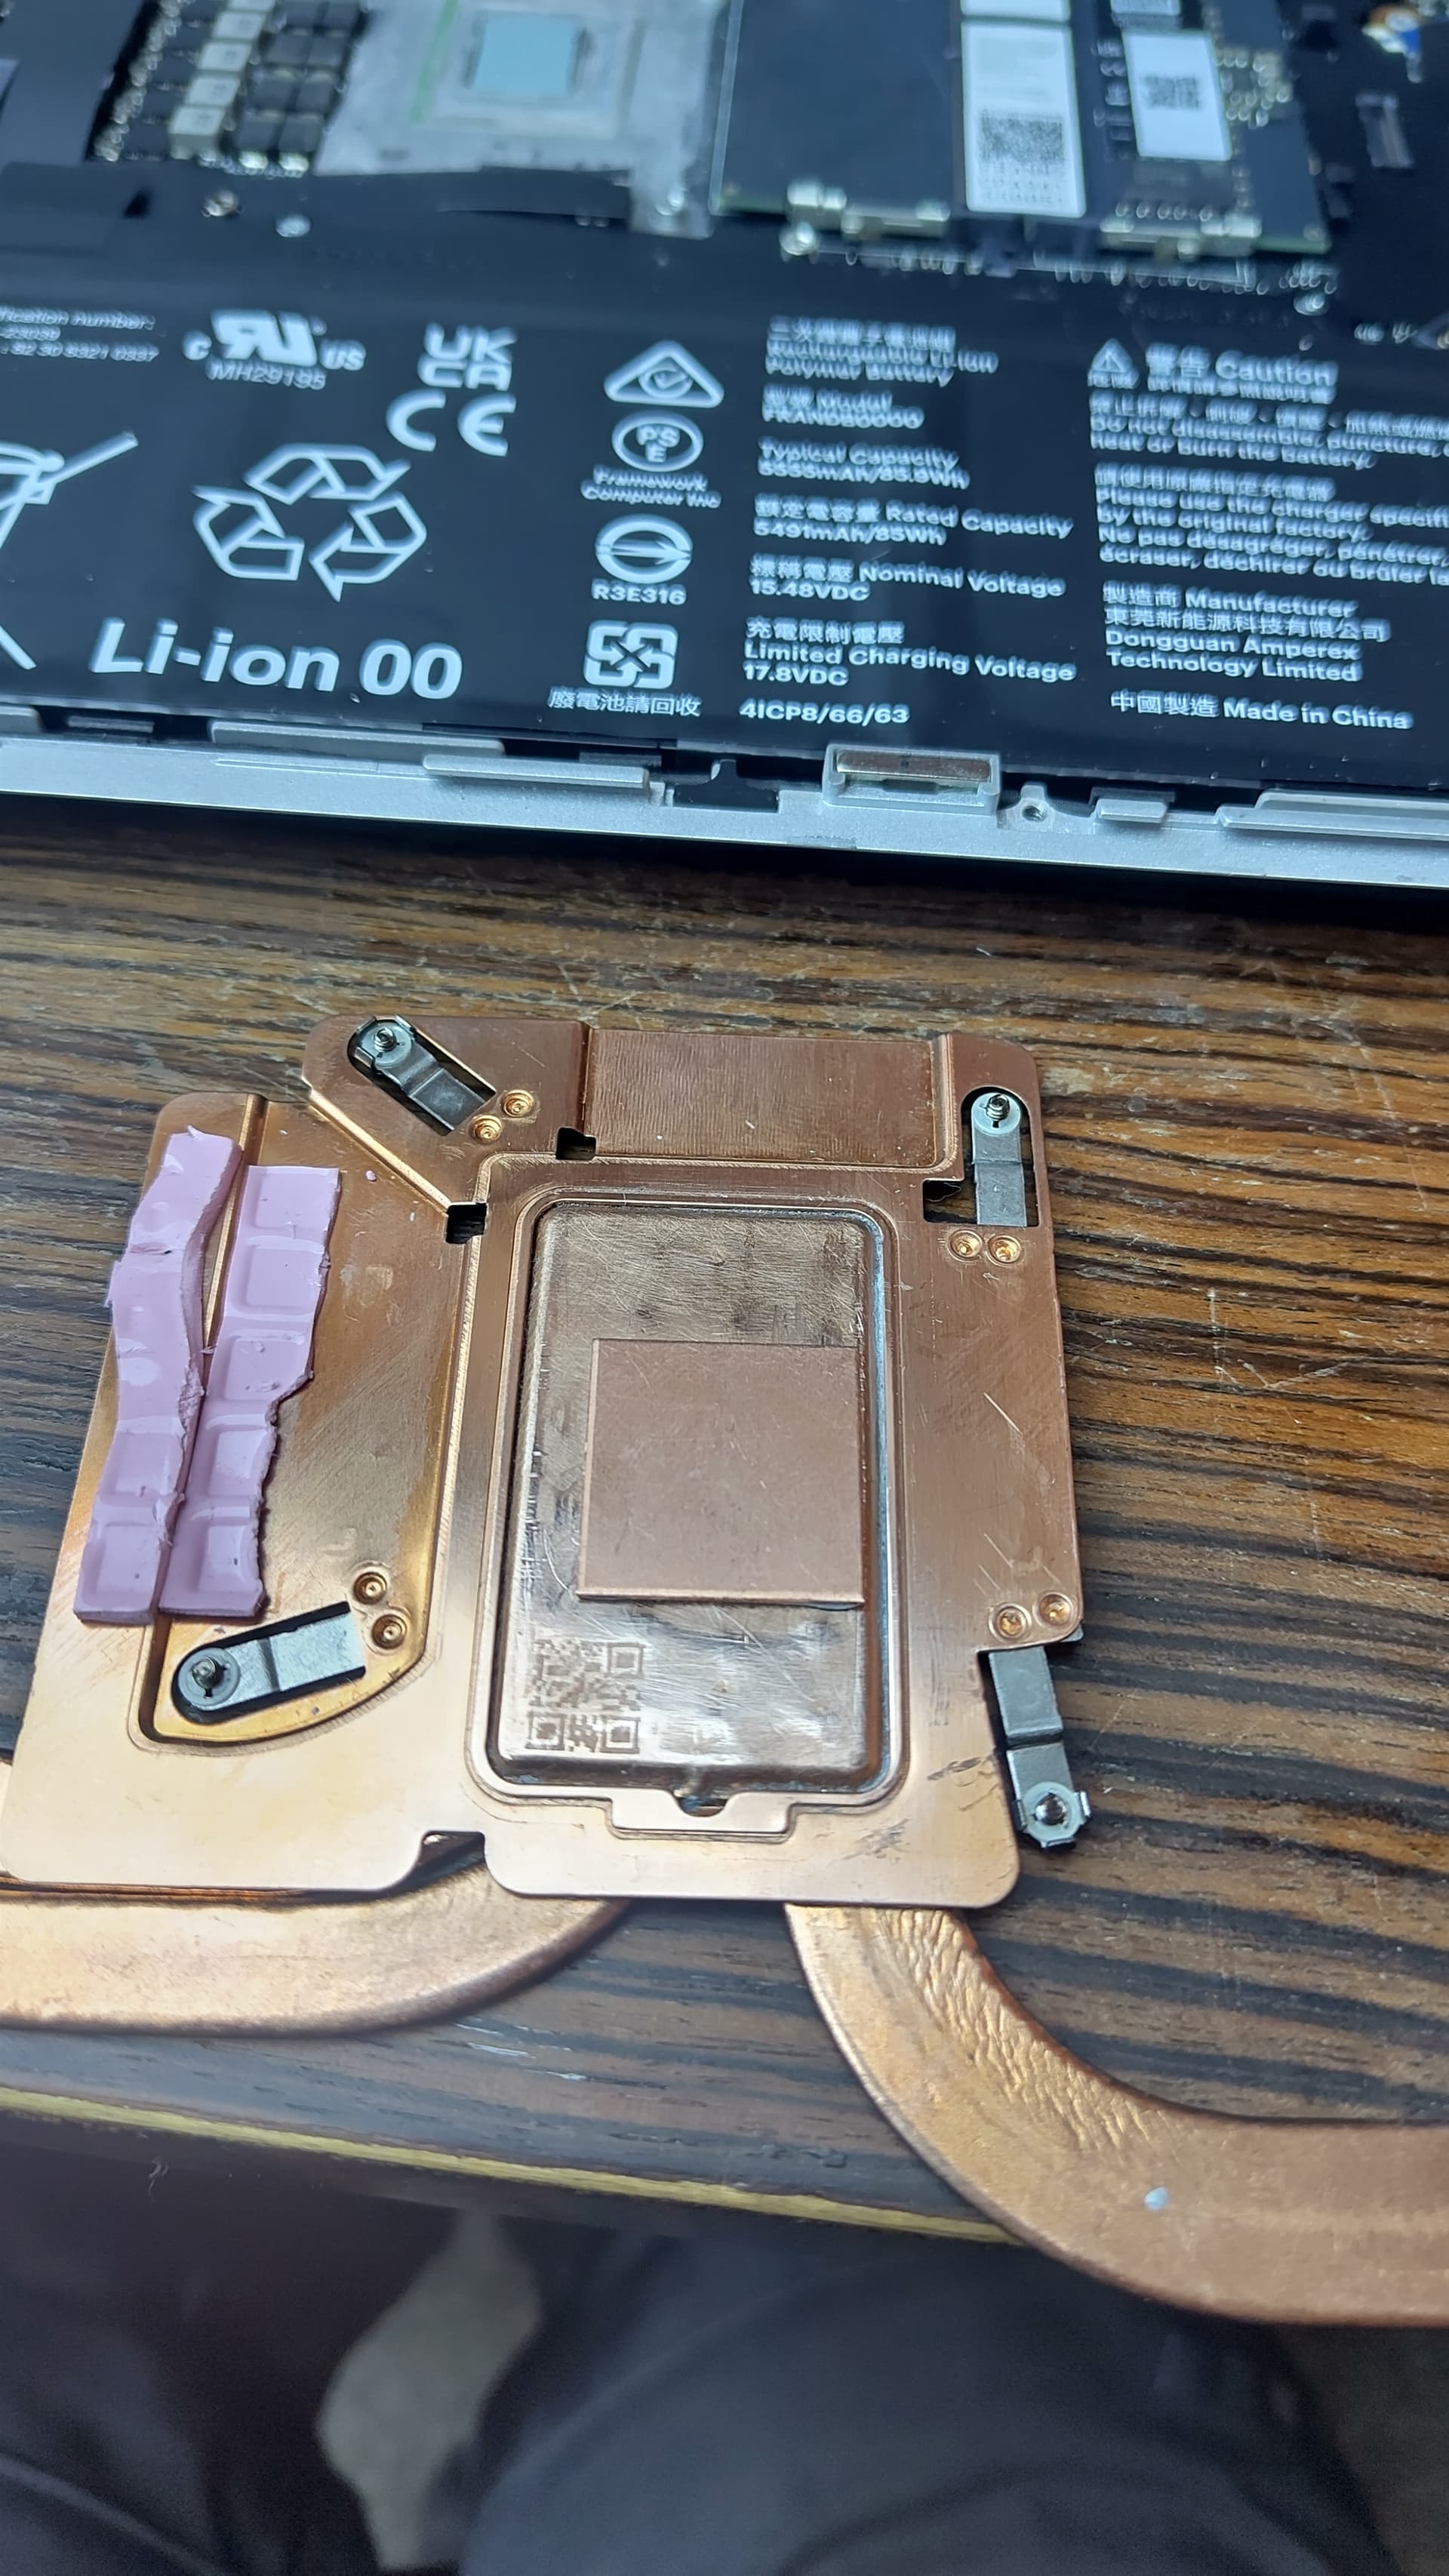
I applied the PTM from FW for my FW16.
Took a while to do, checking that no metal was left behind.
It seems to have worked. The amdgpu_top reports more even temperatures now.
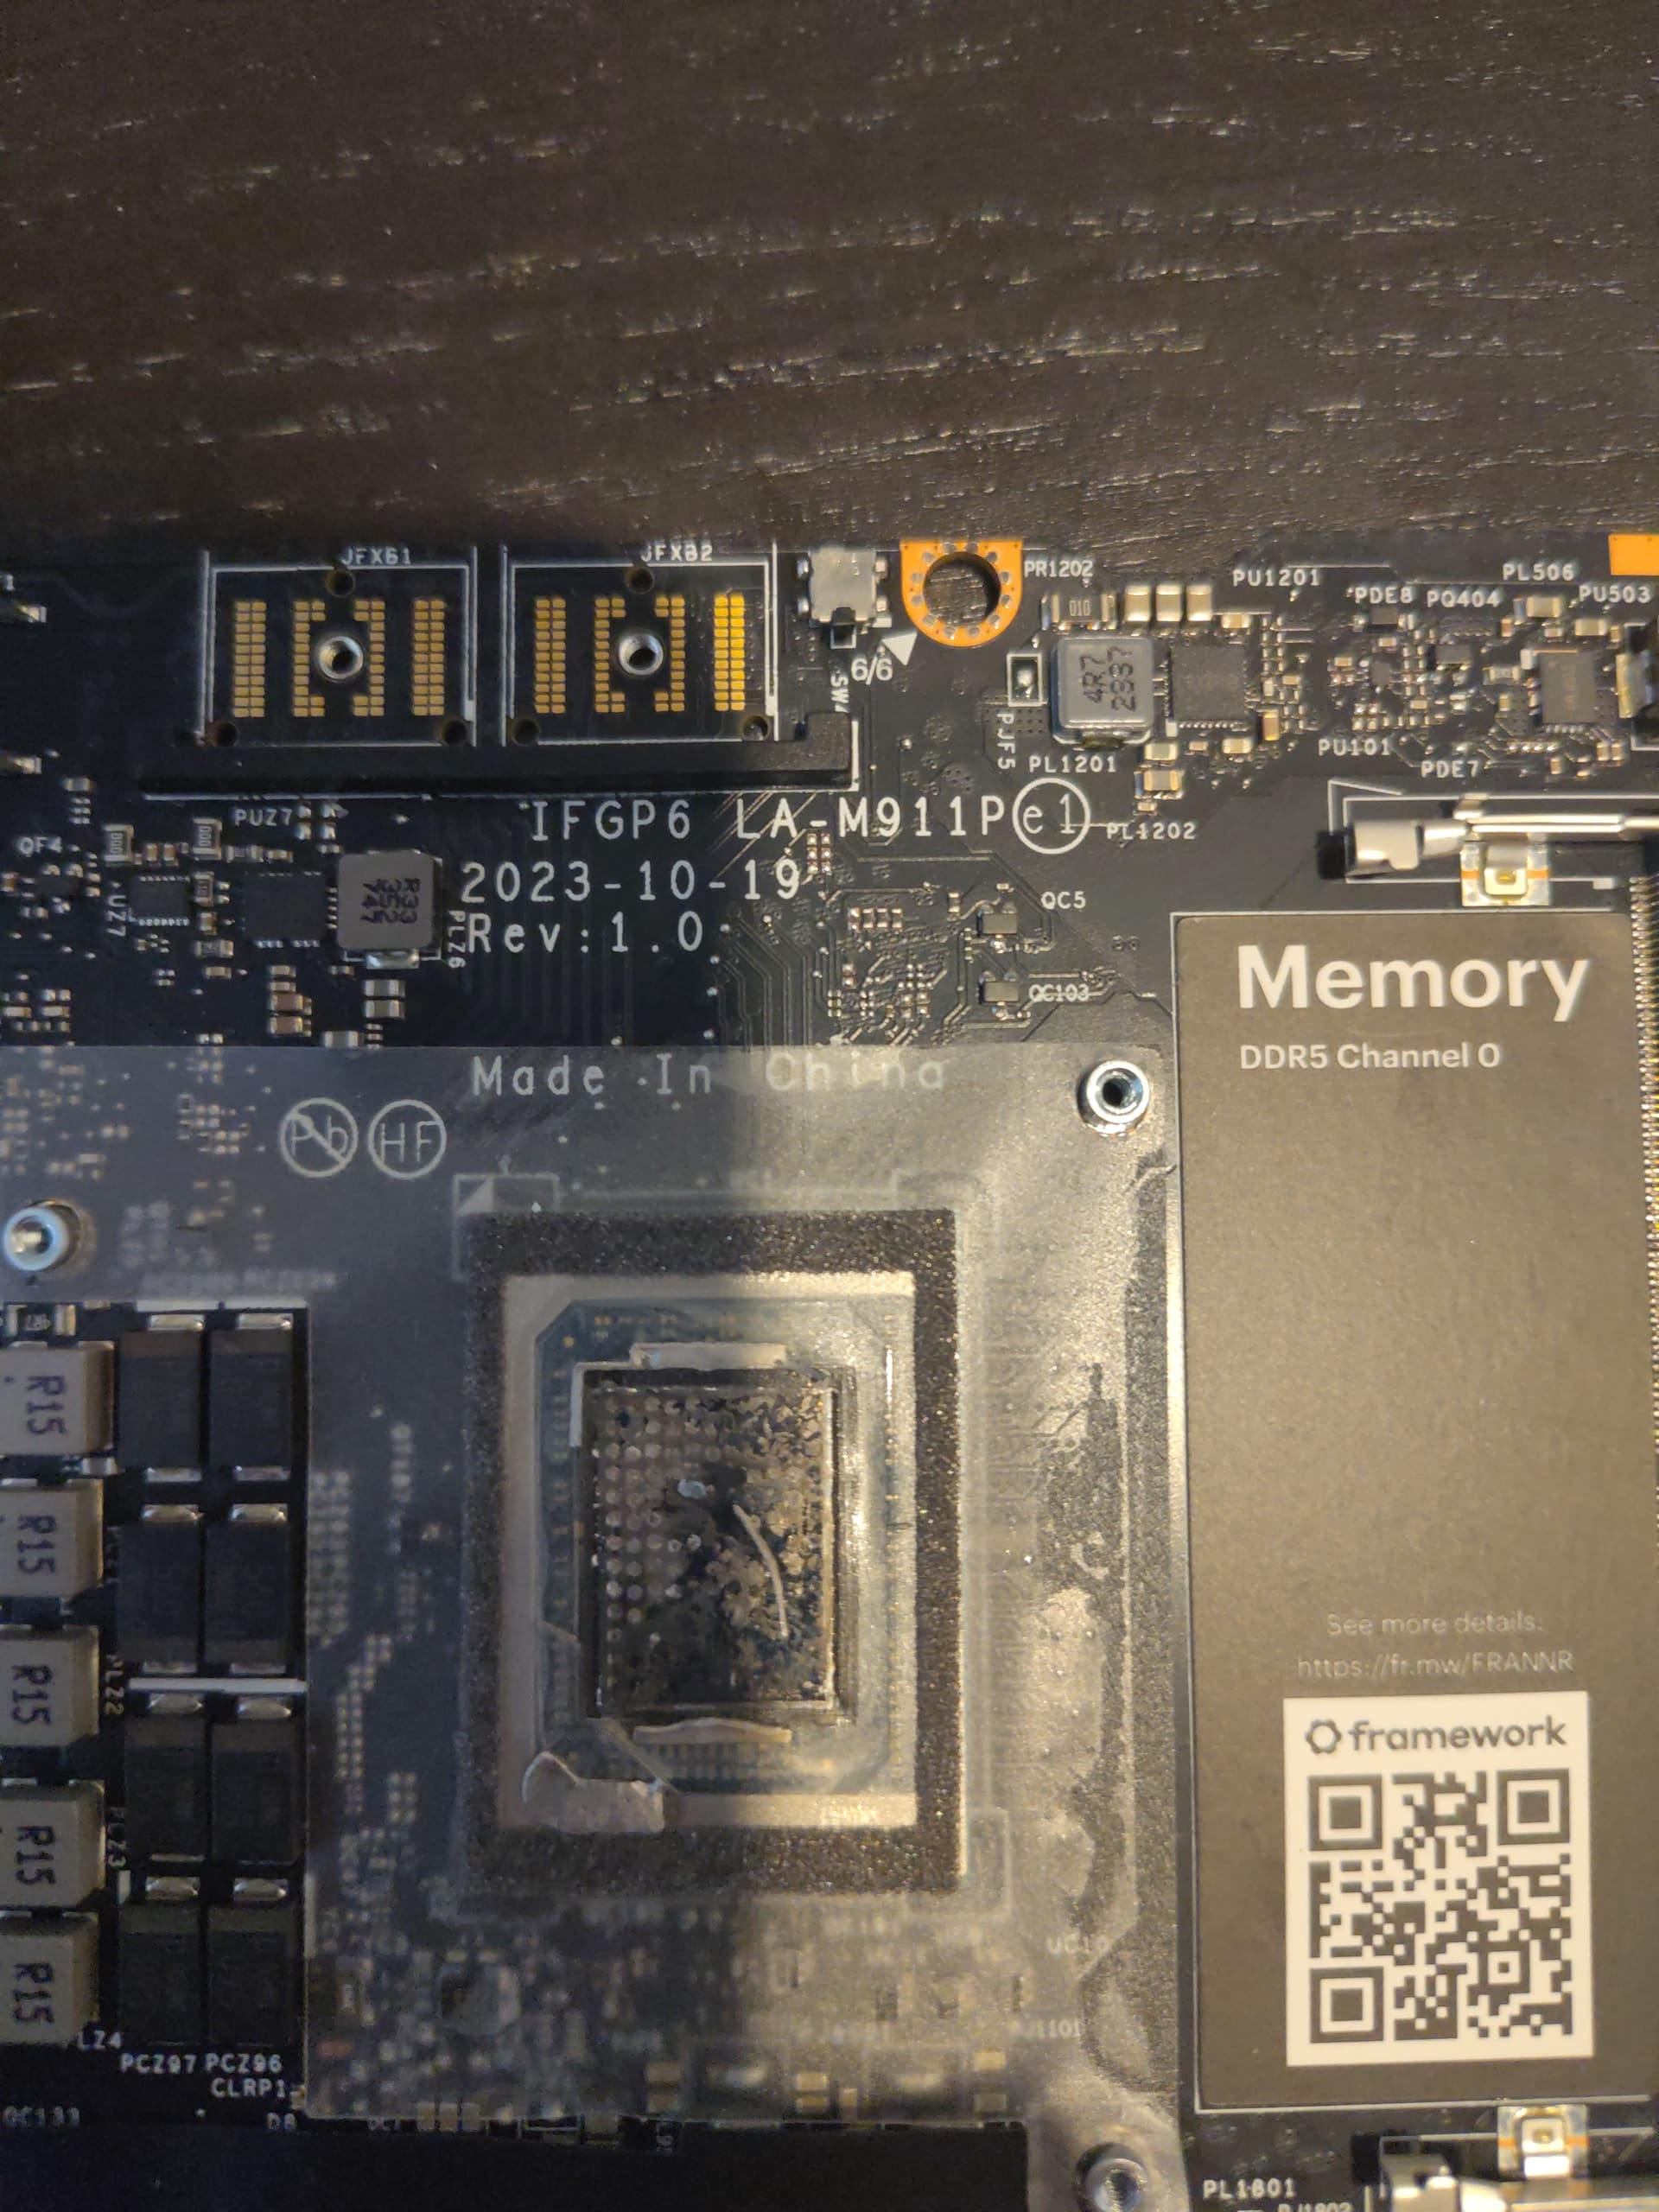
Note: the FW16 mainboard does not boot standalone. It needs the fans connected.
Just finished applying PTM that framework sent me. I Think I did a job removing the liquid metal but it was my first time handling PTM and I screwed up applying it.
It will probably be fine. I read somewhere that it will spread out a bit due to the heat sink pressure on it.
When my kit arrived, the customs form said it was worth $ 0.20
Why don’t they include 2 pieces, just in case?
If you have some small bits that broke off, just try to stick them back down where it is currently lacking. Use the small piece of plastic that was on the PTM to position the last bits.
That looks absolutely fine. That stuff will get liquid when warm and the pressure from the cooler also helps. Mine looked way worse after applying it (on the Framework 13 though), and the temps are still very good.
I ran cinebench and got a score of 16023, up from 14470. Seems to be good
BTW for anyone that still hasn’t replaced the liquid metal supposedly you can put the ptm pad in the fridge to cool it down so it’s easier to work with according to LTT (wish I knew that)
Tried undervolting with Universal x86 Tuning Utility, but I didn’t get great results. It seems to have a very big positive effect at first, getting a lot more points on Cinebench, but as the benchmark continues and it renders more passes, it starts to go lower and lower (like to the 14000 points range and below). I also can’t get the voltage to get much lower than the baseline before Windows crashes and the laptop gets stuck in a reboot loop.
There’s a lot of variables that could be affecting these results, so anyone who comes across this should take it with a grain of salt. But I still notice that the fans are a lot less stressed during low-power usage scenarios, and I’m happy enough with that result.
Sharing a trip report. I had a particularly bad case of LM pooling it turned out. I found at least 25% of the LM beaded up on the side of the heatsink sponge during the swap, and there was almost none on either the CPU surface or the heatsink surface. Just the outer “frame” and the bead.
Conditions: Default power profile, 100W charger (so Windows “Best Performance” is active), a couple dozen tabs, all the cloying background programs for work (DropBox for Teams being the biggest load, and it constantly triggers search indexing). Baseline idle CPU time is ~10% (generally 1 core loaded).
Before: hit 100C and pretty high fans at ~18W CPU package power. Cinebench R23 of 10877.
After: 60-ish C (max 82 during turbo) at ~32W CPU package power. Cinebench R23 of 12255 (+12.7%)
Very worthwhile change. Someday I’ll turn off the cruft and see what this thing can really do.
Side note: When taking the heatsink off, the solid LM’s cracking sound was horrible. I ended up heating the area with a heat gun just for my own peace of mind.
I replaced the factory LM with MODDIY PTM 7950 (30mm x 20mm x 0.25mm) in about 90+ minutes tonight. The worst parts were the initial removal of the heat sink (it makes an uncomfortable “cracking” sound when it pops off) and the removal of the rubber ring around the CPU die. Tools used included the Framework screwdriver, copious amounts of paper towels, copious amounts of 91% alcohol, several q-tips, a hair dryer, a razor blade to scrape the LM and tarnish off the heat sink, and little aluminum foil balls to polish the heat sink. Once I was “in”, I found a large “burn mark” at the center of the heat sink. Most of the (solid) liquid metal seemed to be stuck to the sides of the heatsink and CPU.
I ran Cinebench 23 and s-tui to get some numbers. CB 23 multicore went from 15252 to 15908, CB 23 solo core went from 1752 to 1786, and s-tui went from 4042 Mhz at 99 C to 4242 Mhz at 96 C.
As for the Framework supplied PTM, I never received any despite requesting it in December 2024 and being reassured a few weeks ago that I was still on the list to receive it. After waiting 2+ weeks for it to ship from Framework, I found it easier and less stressful to pay $15 to MODDIY and wait 2 more weeks for it to arrive direct from HK.
I did the “PTM Sandwich Concept” a few days ago and I am really impressed how good it works.
My machine now does high 16000 points (at first cold run after start) in cinebench and in S-tui it reaches barely 96 degrees with sustained 54 watts.
Actually that doesnt look nearly as bad. You will be surprised how little interface compound you need.
If you can post some benchmark numbers, that would be very useful. I am having some doubts about my copper shim replacement.
Just run Cinebench (all core) and tell me how much power it is capable of drawing. Maybe 10 minutes, but framework heat soak fast, so 3 minute will do. That first, then also run something on the iGPU if possible. Heaven will do. Or Furmark
Yep. My copper shim did not help lol.
50W on the CPU and 54+ on the package is what I get. Scores I dont really care, it is what it is. @zachary_stout thanks.
Thats the Maximum Framework configured in the Bios.
If you want more you have to overwrite with Smokeless_UMAF or X86_Universal_Utility.
But X86 is currently not working for me. Doesn’t know why.
PPT_Fast is about 60 for some seconds, PPT Slow is 54w and Stapm PPT is 45w.
50W on the CPU is not the maximum framework configured. 54W total package I dont really care.
Unless that’s two different numbers. Are they two different numbers?