Just send me a message on the forum with details what exactly you are looking for or any open questions you have.
I will then give you a price including shipping and send everything out within a few days after the payment has been made.
Just send me a message on the forum with details what exactly you are looking for or any open questions you have.
I will then give you a price including shipping and send everything out within a few days after the payment has been made.
ok if these small pieces on the backside are not structural it shouldnt matter much that they are very weak.
i dont have a FW16 to test so i dont know if my ideas would work but looking at the cover for the hinges i think it could be better if you make this into two sma ll parts that just cover the hinge and somehow hold themselves to the bezel instead of making it one very large part with a huge bridge to be printed.
Im back with some new colors, a few simple basic ones and finally the much requested translucent black.
Ive spend the last few weeks testing various different filaments until i found one thats very similar to the color framework has for their translucent black bezel.
As with most translucent filaments its a little finicky to print so its hard to get a perfect print but it came out good enough id say.
Would you be willing to ship to Canada? I’m awaiting a pre-order FW16, and I quite like the look of these pieces.
yes i can also ship to Canada, the shipping would cost ~27€ though which would be almost 44CAD at the current exchange rate.
With currency conversion from paypal or something each piece will probably be 25CAD.
If thats ok for you i can absolutely ship to Canada as well.
Unlike a certain other country over there theres no problem shipping something over the pond.
That’s good to know. Let me think about it - the shipping was a little higher than I had hoped it might be. Thank you very kindly for the prompt reply.
Hi.
I was thinking, so save on postage a bit, can I get the part printed in the UK ?
I took the design from github and tried to upload it to various 3d print companies in the UK, but it appeared to be too big.
My guess is that the design in github needs to be rotated by 45 degrees to fit in the printer.
Do you have a version of the design files, already rotated 45 degrees ?
any 3d printing service worth its money should rotate it for you automatically.
The main problem is that this is a very large part so you gonna have a hard time finding a 3d printing service that can print this for you for a competitive price so what you save in shipping you would pay extra for the part itself.
When printed flat, the part inherits the sirface finish of the print bed, while when printed at 45° angle, it will have layer lines and the finish will probably be far from ideal, IMO
Hello @Thomas_Winnerl ,
so great you are doing this kind of work, many thanks !
I would be interested for 1 piece in black (or satin black) (as much integrated into the current black keyboard and spacers), to be shipped to France ![]()
How can we proceed ? Thanks a lot
Hi @Oli_V
its usually best to send me a private message on the forum so we can discuss payment details and the address in private, shipping to France cost around 15€ with insurance, without insurance its 11€
Ill send you a message with some details.
Hi @Thomas_Winnerl,
What a cool colour collection you have there! Looking at your prints they seem to be also of high quality.
It is a hard decision for me to go for one colour, so I will take three. I’d like to have green, satin black and white transparent. (I also like the yellow, but I have to put a limit somewhere).
I guess we continue in private?
Edit: I can’t seem to find a button to write you a direct message
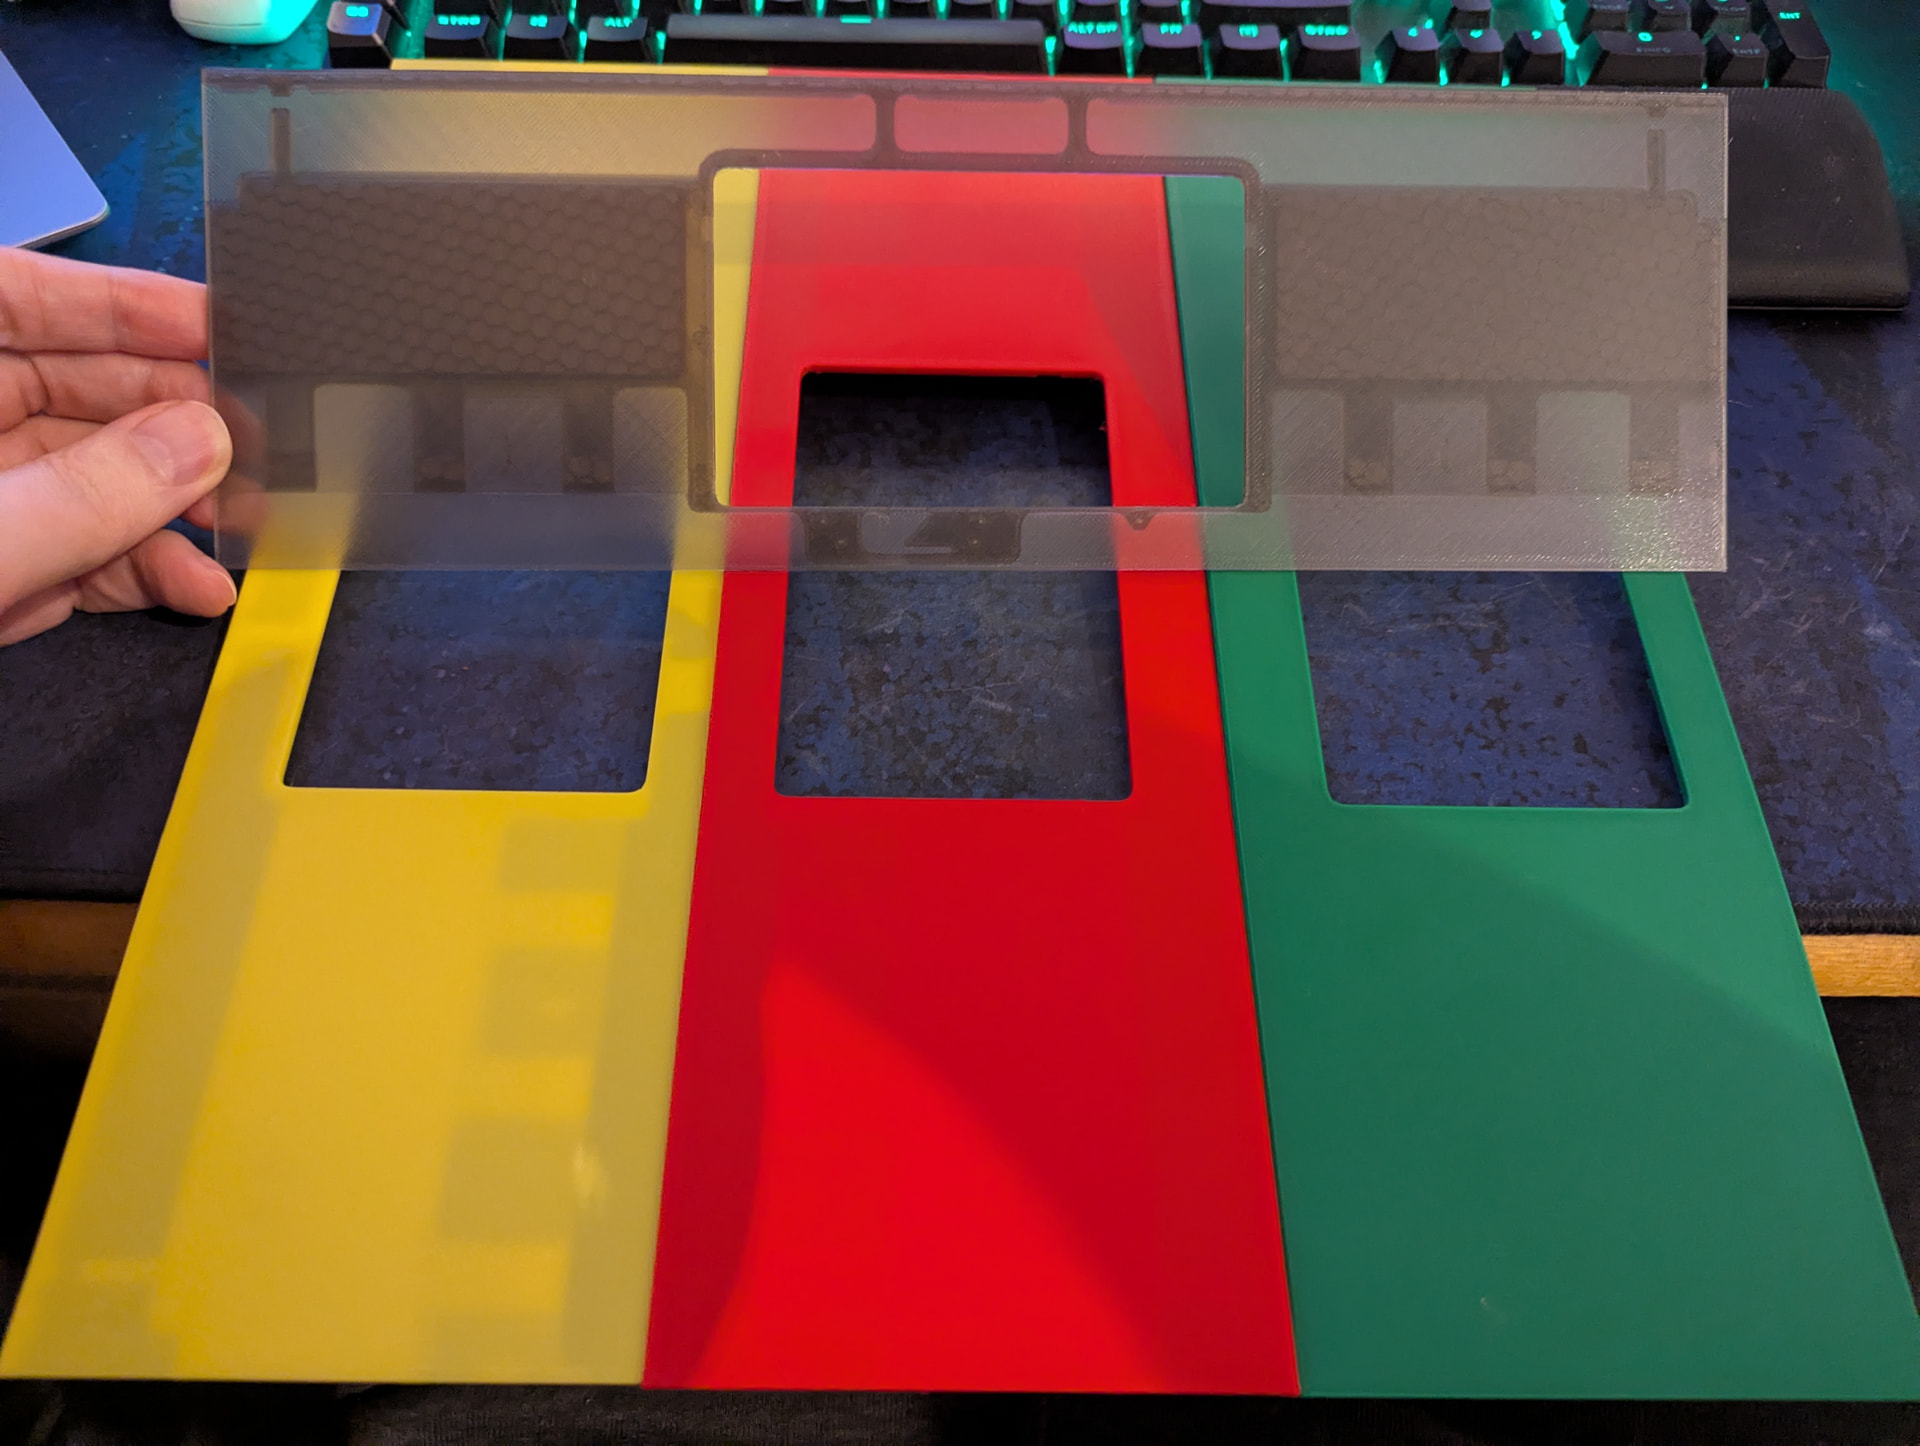
I’ve ordered some colours from Thomas, here are few pictures to see how it looks on Framework 16, the final choice was obvious ![]()
So I went for black, green and in the end I sticked with transparant white. I ordered for my brother silver-gray-metal.
I’m very happy with the quality. The black and green are a bit better than the transparent white one.
I had to polish the the touchpad cutout, the left touchpad button got stuck under the 3d printed plastic, after removing a few millimeters of the 3d printed plastic plastic its all peachy. I also learned that you can unscrew and re-screw the touchpad like 5-6 times and it still holds tight into the 3d printed plastic.
The green has a sliiightly different colour that usb-c green from framework, the framework one is little bit less green, and has in comparison a touch of orange in it. I like the green from Thomas more.
Few pictures below.
Thank you Thomas for the friendly contact and prompt delivery!
(I did not install the green or black one, I just put onto my already installed palm rest, just for reference)
the left touchpad button got stuck under the 3d printed plastic, after removing a few millimeters of the 3d printed plastic plastic its all peachy. I
I’ve started having exact same problem, left touchpad button occasionally get stucked and can’t be clicked ![]()
can you take a picture of printed plastic, and make a red circle around which exact part did you scrape a bit to get it back working? ![]()
After I installed my (beautiful, thanks OP!) transparent one, same exact problem.
Some light sandpaper in the bottom left corner fixed it. There was a very small imperfection on the inside of the touchpad “hole” that caused the touchpad module to get stuck after clicking it.
Wrapping a small piece of sandpaper around a finger and passing it along the bottom left corner solved it for me. Down, curve, right, left, curve, up… and so on ![]()
I have ordered one from Thomas and also ordered some magnets and magnetic strip. Looking at mine, it requires 8 magnets of about 10mmx6mmx1mm and two 20x10x0.5mm. The last two are for the edge furthest away from the keyboard, despite that there is non on the OEM and the magnesium is none magnetic.
Once mine arrives, I will see what is needed, take a photo and report back.
Update…despite that I ordered and have different kind of magnets sitting here, these are simply not required. At least Thomas’s plates do not require them at all.
I thought I might quickly show my new touchpad plate. Out of the 3 I picked the worse one according to Thomas. But even the worse is far better then the original setup.
I include the photo as nobody yet has shown an offset Touch plate. this one is offset to the left, so that it aligns properly will the keyboard again when using the number pad in the traditional way.
How did you solve the (what I assume) grounding problem with these 3D printed touchpad frames? I printed a couple and when using them in dry air on a couch, for example, it kills the i2c bus.