I found an SD card reader that fits

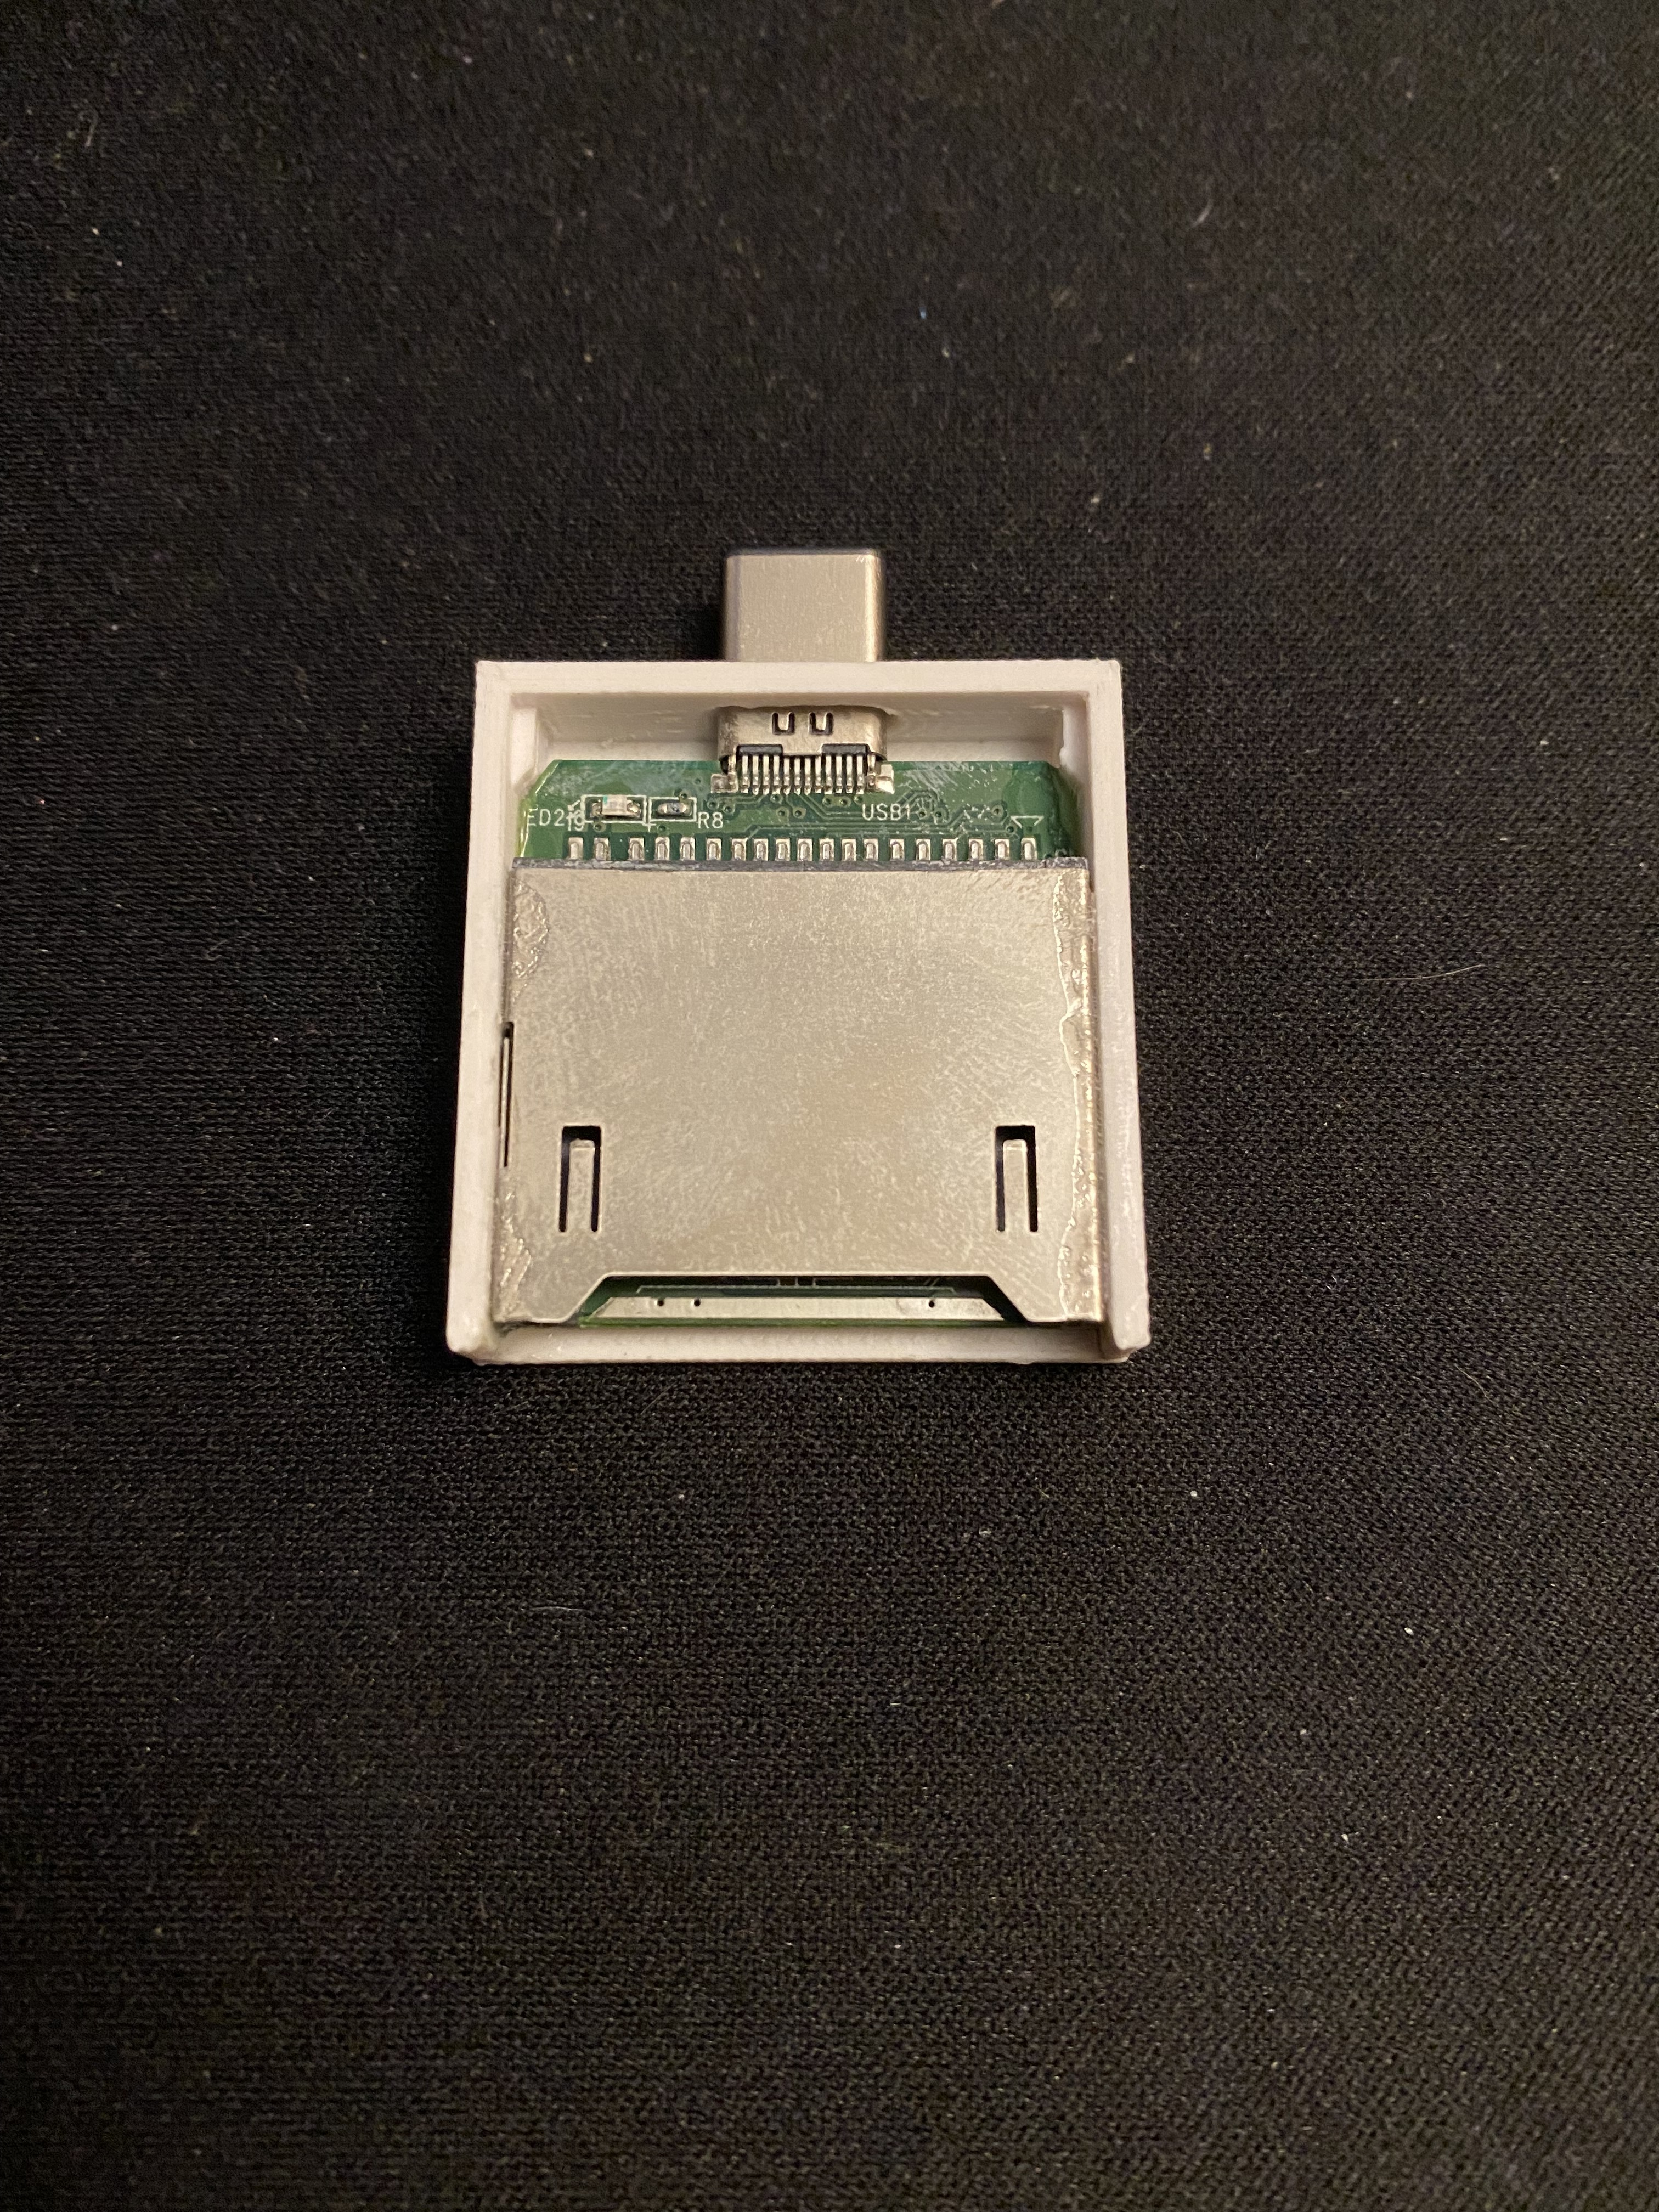
Well no. The problem is finding a part that is able to fit into that width without the manufacturer having to break out a file and grind those tabs away
plus if they ground the tabs away then there is no structural integrity on the thing
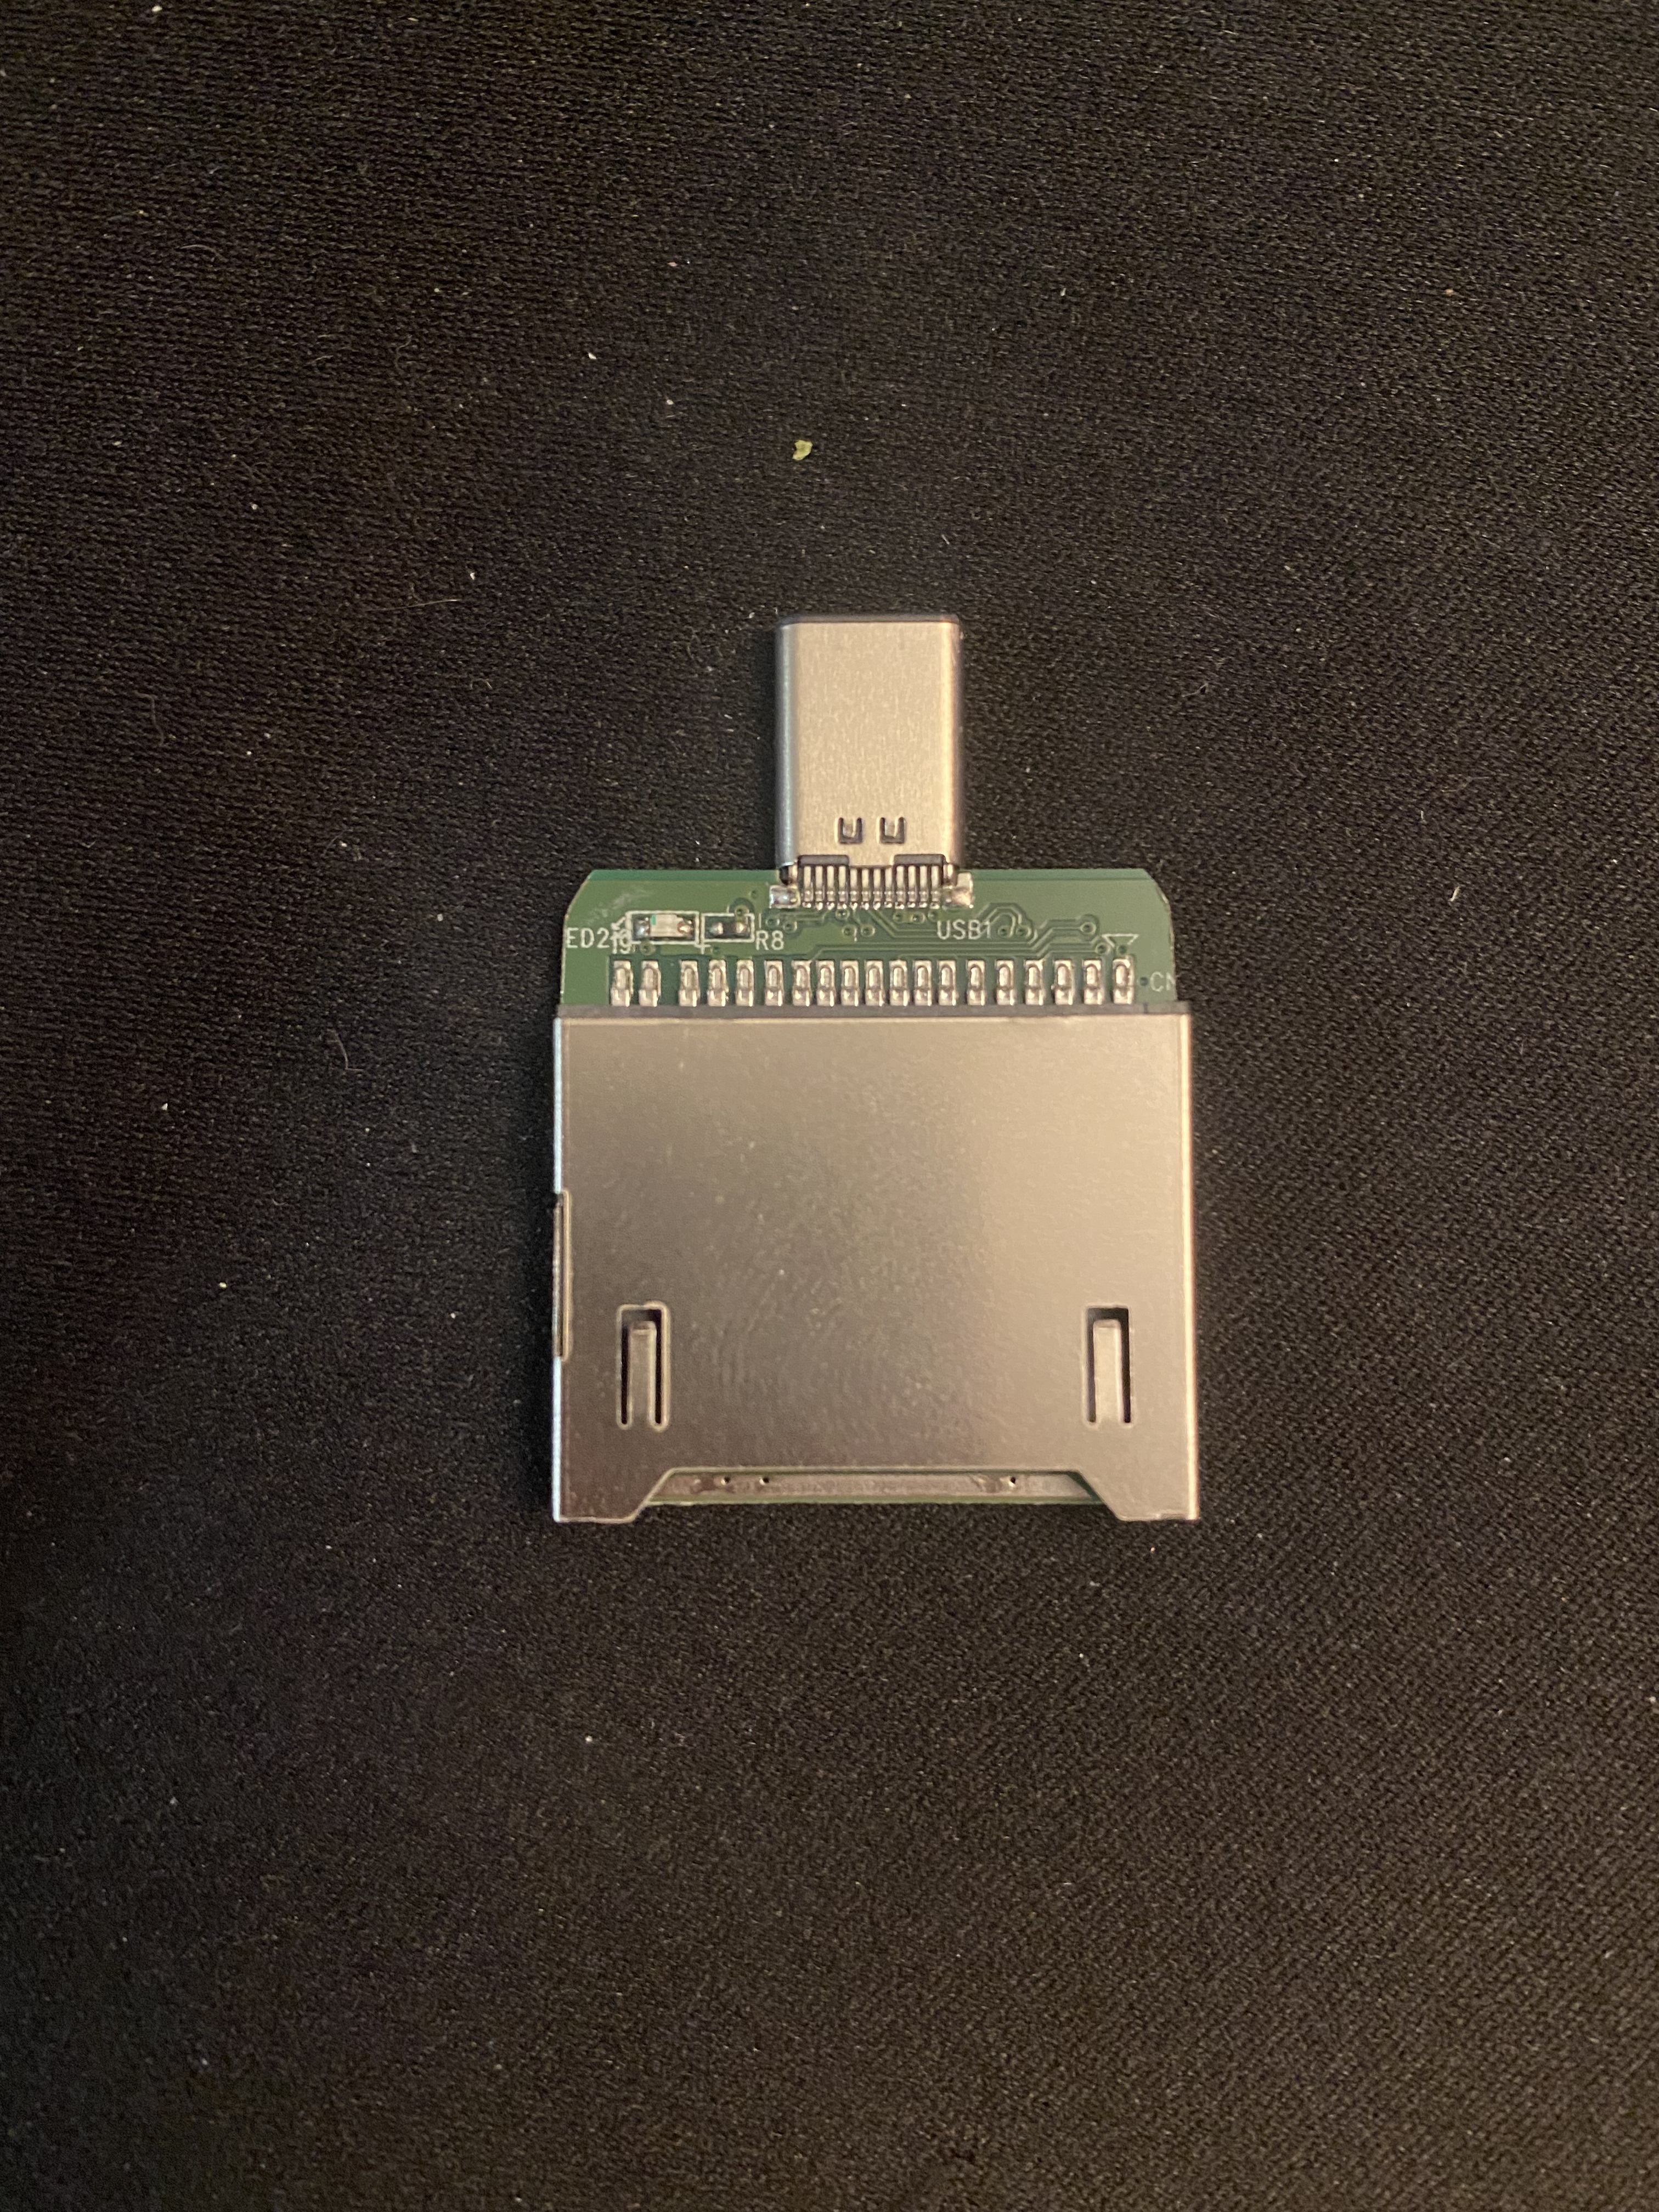
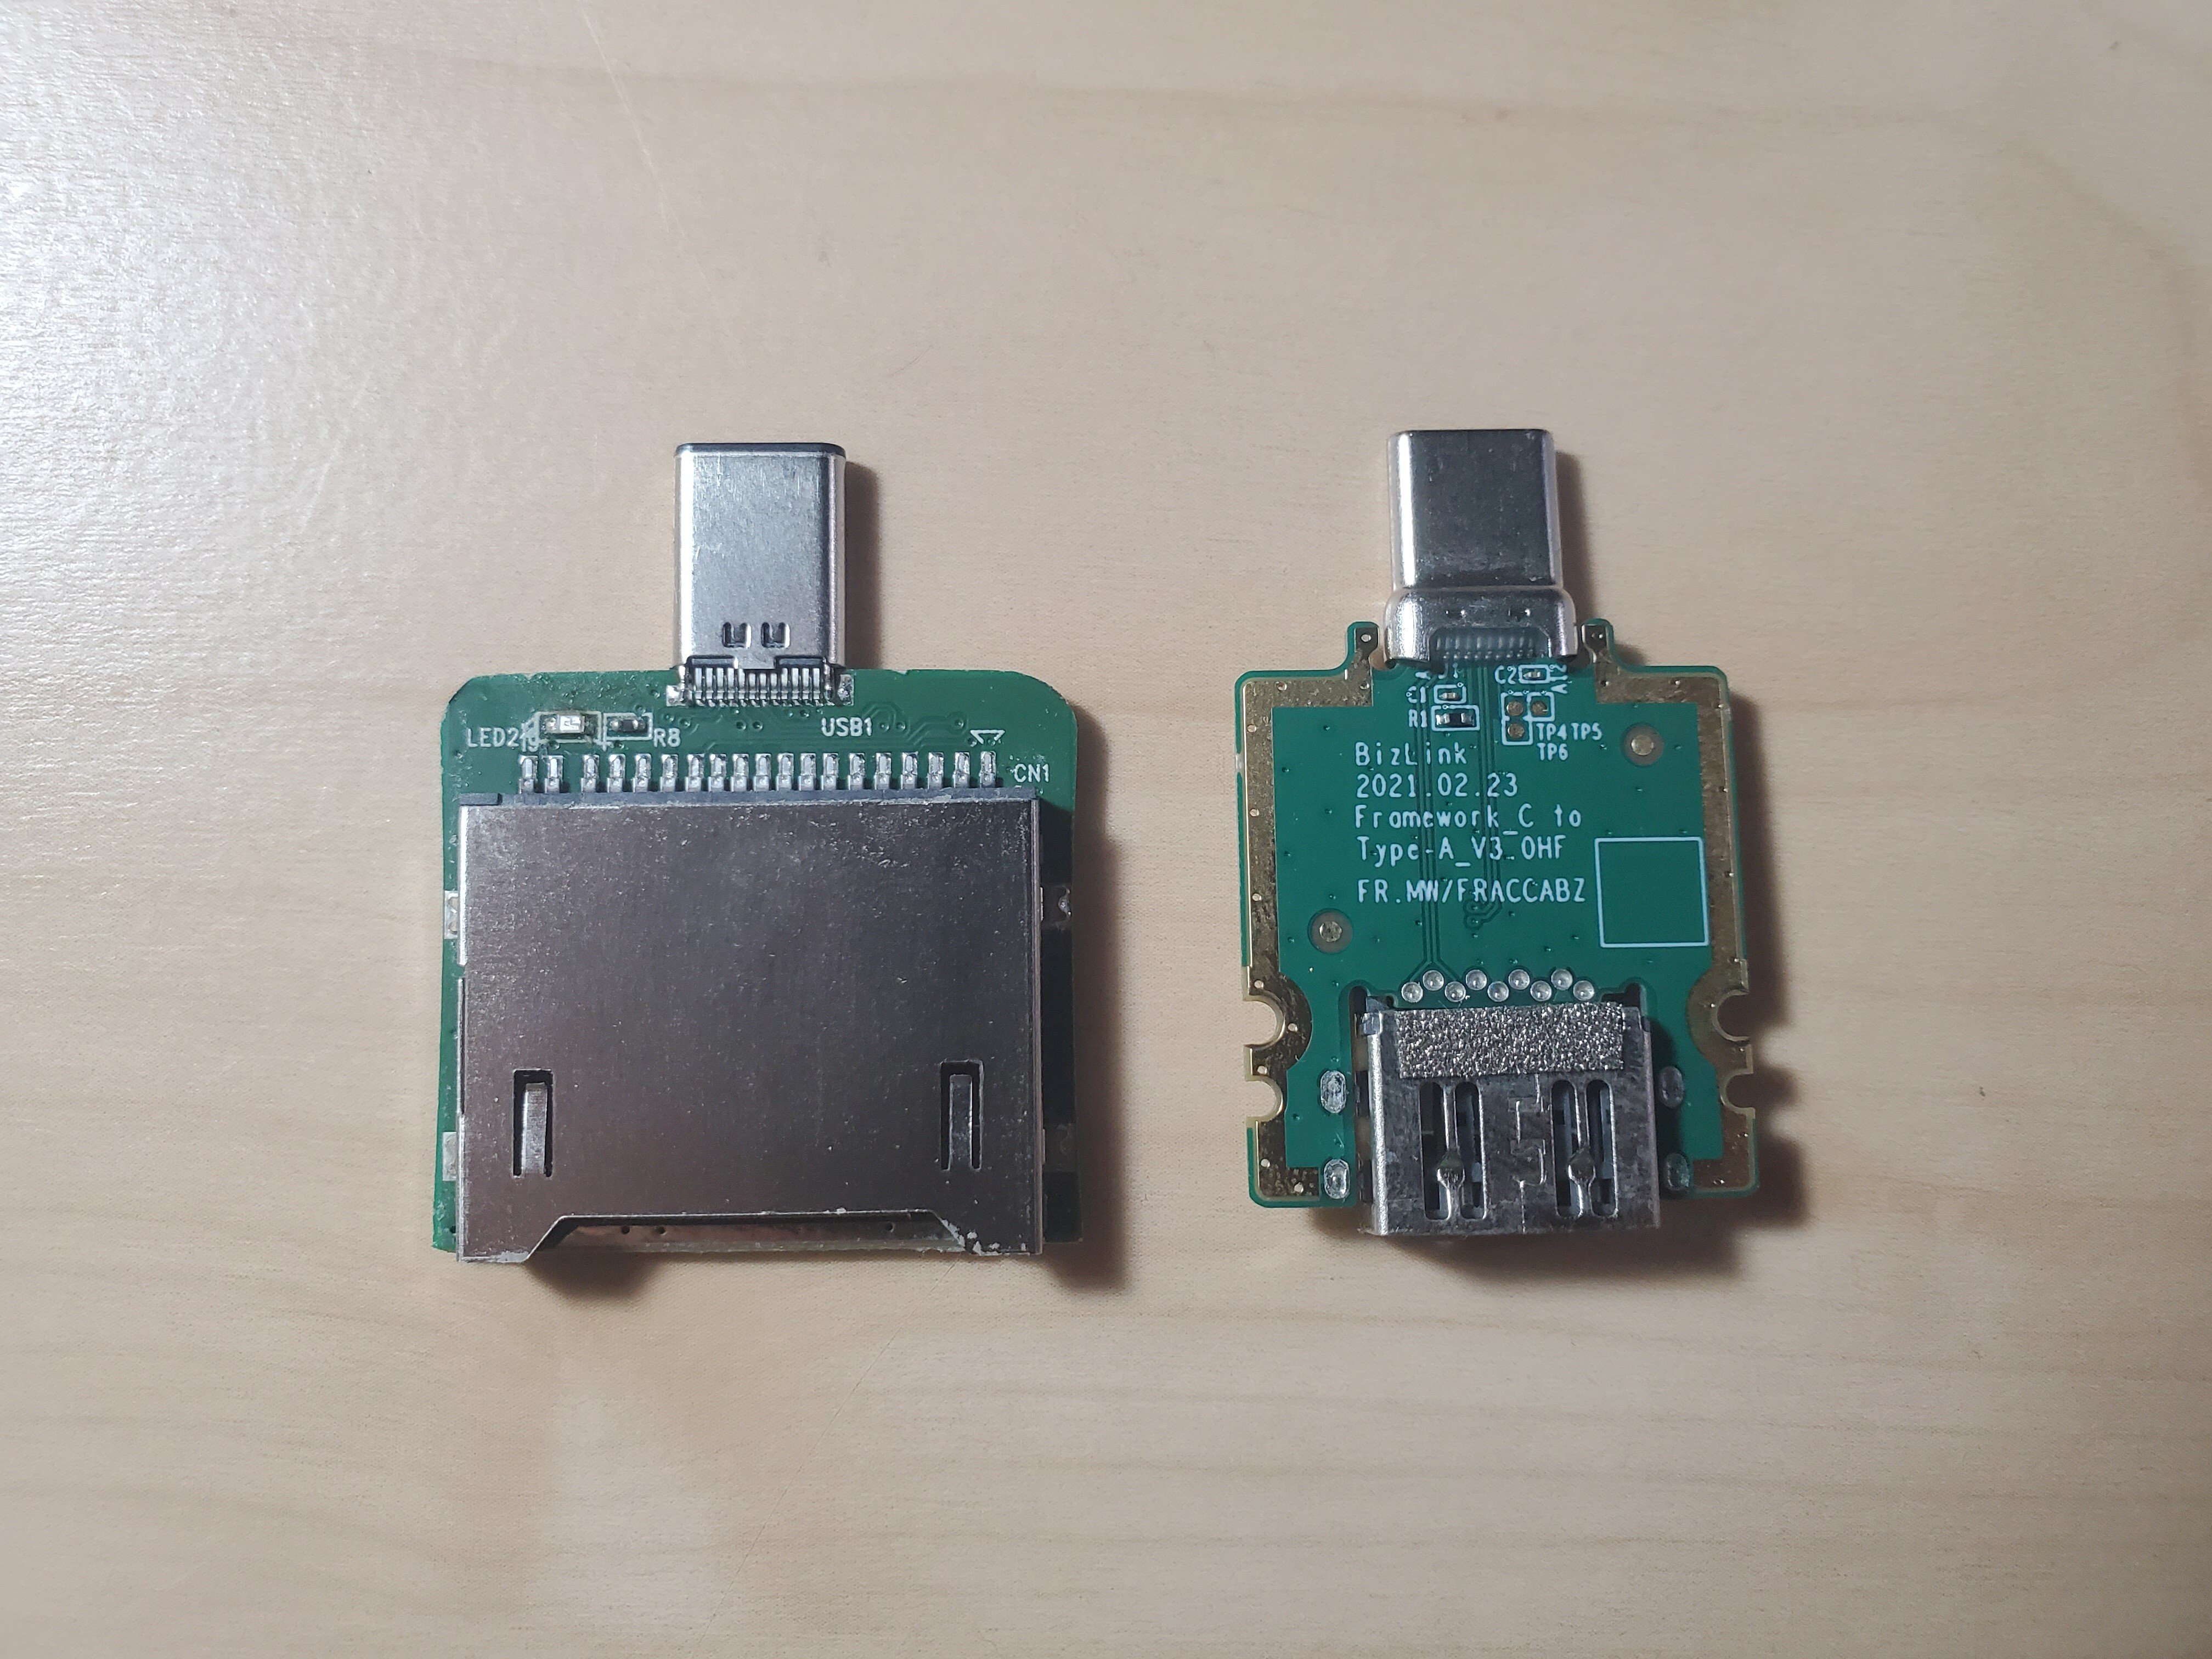
and the problem right now is that there IS those 9 pin SD card slots (with insert detection) that fits our width. However the problem is that there is no UHS SD card sockets (the one on the Nekteck have a 19 pin socket) that will fit, which means we will be making performance compromises


Except we do.

I mean the site is quite sketchy, but the idea is that these sockets are quite hard to find.
Adding to this mix is the fact that nobody know what they are called so you have a million results for SD card adapters, Micro SD card slots and SD card themselves


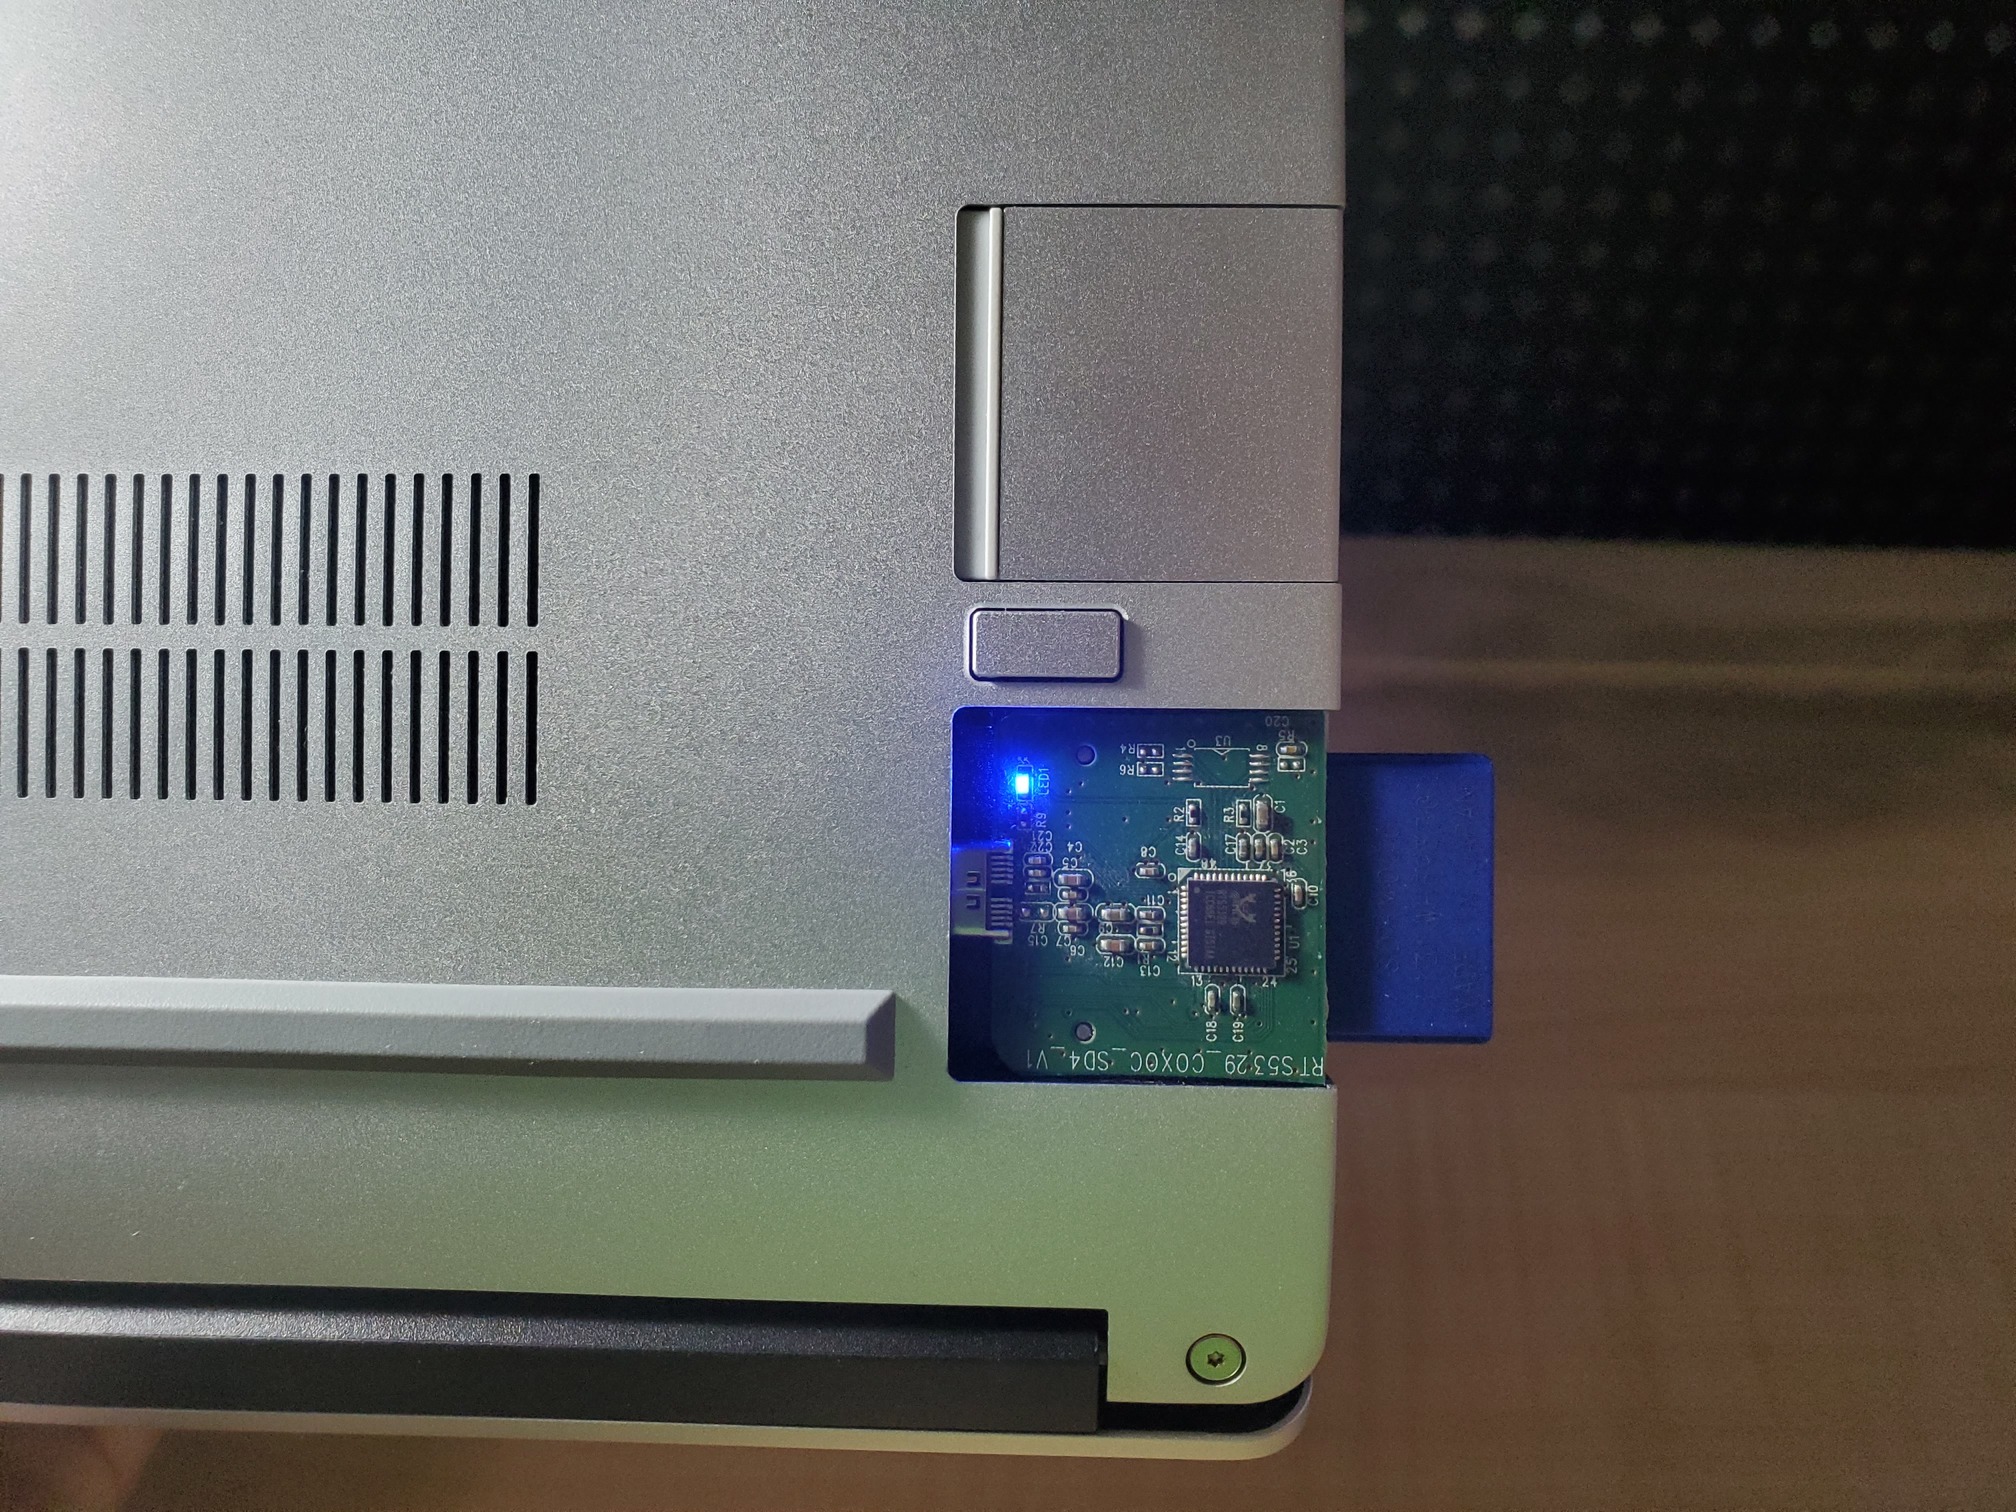
Unrelated: The UHS-II Micro SD cards look broken

2 Likes

Oh I would not suggest someone use this for manufacture, and yeah its not UHS-II (I would totally buy a faster one if available) but for $6 and some 3d printing I’ll have a full size SD card in the laptop.

And the tabs are barely touched, not structurally compromised at all.

2 Likes

That is super sketch.

And I love it. But I can see why framework decided against that one; it’s really pushing it. Of course I would love a full sized slot so I can copy the data off my camera’s high speed media faster, but at the cost of reliability, I don’t know.

3 Likes

Hi Lee,

could you please read the PN number form the Realtek IC and the SD card connector?

I don’t think anybody says the modules have to be repairable. Wonder if a few dabs of epoxy bonding the slot to the expansion card’s cover would compensate for the integrity loss of the slot having the tabs filed.

1 Like

I ordered this reader last week after seeing people post about it. It arrived today and I was able to fit it into the expansion housing provided by framework. I sanded down the sides of the PCB until they were just about flush with the metal cover of the SD card slot and it just fits in the 3D printed housing. Somehow the Metal cover still remained soldered to the PCB, but I imagine there isn’t much left so the structural integrity is probably compromised until it is glued in place. I then needed to sand down the front corners to clear the little bumps in on the housing for the latch mechanism. It ends up perfectly level in the housing with the top of the metal piece aligned with the edges of the housing and is held in place with a few dabs of super glue.


33 Likes

:skull:

In all seriousness, as I mentioned earlier we can use a different type of SD slot that do not use the surface mount pads (instead the thru-hole ones that go through the PCB in a very narrow hole, which can be right on the edge but soldered)
Also, the thickness of the side of the case can be slightly reduced to provide structural integrity for the PCB.
A custom board with custom shape, thickness and components will be guaranteed to fit.

And lastly, the cover and bottom side can be made of a single piece of aluminum wrapped around the card insert side, which can be made thin yet strong, to provide vertical room to fit the entire module in.

Instead of epoxy or superglue (which will spread around and coat everything in plastic), you can use hotglue and, due to its viscous nature, will not seep into small holes like connectors and furthermore do not generate fumes.

To assemble, I would imagine that you would put the PCB in the plastic mid-frame thing, put a dummy SD card in, put hot hotglue on both sides, then chuck the entire thing into the metal casing and extract the dummy SD card.

To disassemble (for recycle), just pull very very hard (or push) to eject the midframe PCB and stuff. The hotglue do not adhere strongly (but rather due to the large surface) and therefore can be removed in chunks. Then the PCB, the frame, the case and the glue can all be recycled.

Very nice work. Look, it even come with a LED. How cool is that?


This card reader if I am not wrong here actually interface via UHS-II. It’s just that the bandwidth is limited elsewhere (controller speed, USB speed, etc).
Depend on the controller, but the socket break out all the UHS-II pins.

1 Like

This is a really great find, thank you!

1 Like

This is amazing and terrifying and I hope that something like this can be improved upon by the Framework team. Amazing find and amazing card… Maybe you could even sell that until one becomes available :smirk:

1 Like

For those interested in this reader but found its out of stock, this Monoprice reader seems to be identical, down to the clear endcaps.

3 Likes

@RandomUser, given the size of that port, they gonna have to use glue to keep that housing closed; which is a non starter.

Woohoo! So I bought this SD card reader (I’m sure many vendors using different names are selling the same product).
https://amazon.com/dp/B071FBSVWJ
and this file set
https://amazon.com/dp/B07FJQ9XKG
and these are my results (so far).

Getting the cover off took a bit of force, but I got it off with my iFixit Jimmy tool.


Then, I started filing down the sides and front corners of the PCB so that it would fit in the expansion card bay.

I’m sure I’ll need to file the adapter more when I put it in a proper enclosure, but for now, this is the filed down PCB side-by-side with the PCB of a USB-A expansion card.
20211108_180423

One thing that worries me is that this SD card PCB has no structural reinforcement on the USB-C plug’s solder points, unlike the Framework expansion cards.

Here is the adapter plugged into my laptop. It’s a very snug fit, but it is in there.


And here is how it looks in normal use.

I have already sent in an order for a 3D print of an expansion card enclosure to my school’s library, so as soon as I have that I will file down the PCB even more and glue it to that enclosure (like @maybeRui did).
ExpansionCard.stl (51.3 KB)
Overall, this was a very cool find on @Lee_Holbrook’s part, and I’m super happy with it!

16 Likes

Another update. So my 3D print came in, and I filed the PCB down even more.


Here is the final size of my PCB before it was inserted into the expansion card housing. I may have gone a bit overboard on the front corners.


And here it is in the housing.


After I confirmed that the PCB fit and the USB-C port went through the hole, I took out another expansion card so I had a reference for how far out I should let the USB-C plug stick out. Then, I put super glue on the bottom and sides of the SD PCB and set it in place on the 3D printed housing.

Here is the finished result. It’s a bit more work to get it in and out, but it’s totally doable and I’m very happy with it. It even fits in my unofficial expansion card carrying case (available here), and I now have a USB-C to SD adapter that I can use with my phone too!


One downside when using this adapter in Windows is that after ejecting it, the expansion card must be unplugged and reinserted in order for the computer to recognize an SD card from it again. This is not a problem I noticed in Linux (Pop!_OS for me). Again, thank you to everyone in this thread for your findings, this is awesome!

19 Likes

it depend on the controller. if it is appearing as a mass storage device then yes the computer need to detect that the device have disappeared (from the connected list of devices) before allowing it to reconnect. some card reader I have (some chinese SSK models) have the IC configured so you need to disconnect the cards instead of the actual adapter (which does utterly nothing when plugged into the computer without a card in it)
but that’s easily solvable.

1 Like

Is this something you’d still be interested in?

This is no longer happening to me on Windows 11 OS Build 22000.434

2 Likes

Don’t eject SD’s.

-20 characters-

You should absolutely eject any removable storage, as it might not be configured for “fast removal.” If you confirm that it is configured for fast removal, you can remove it without ejecting it.

4 Likes

No and yes. If it is configured for fast removal, it does not mean that under all circumstances (even during read/write operations) removing the drive will not corrupt the drive. It just means that the drive will be ok if there are no write operations the drive can be removed because the cache (which require power) is not utilized. It will usually be a minor corruption (if any), but it could be worse.

When you eject a drive in Windows, Windows will first check to see if there is any read/write operation (and attempts to stop it, which usually fails), and then it will “demount”/uninstall (different from uninstalling a driver) the device/drive (which basically remove it from “list of attached system resource” so it can no longer be accessed). Then it sends a “stop” command to the device (which may or may not power off), and then it says “you can safely remove the device”.
Mac operates similarly, although I think it demounts instead of tries to stop read/write.

The reason you can’t eject the SD card on its own is because Windows see the entire SDcard+reader as one “mass storage device” instead of a “USB Card Reader” with an “eMMC card” attached underneath it. As a result, it will stop the entire “mass storage device” rather than stopping the eMMC card. And it will refuse to install/connect the SD card reader until it sensed that the device is unplugged and plugged in.

Usually, more “fancy” readers (such as new ones from SSK and Kingston) have them configured as a “card reader” while some old/cheap ones have them configured as “mass storage devices” that merely translates the read/write operations.

2 Likes

I made a copy of this - for me, thanks to the work and writing here, I was able to “just buy the adapter” basically. Bought that item on Amazon, then printed the bracket, chopped the edges off with some tin snips, and jammed it in there. Works a perfect treat. Twitter’s eating it up :joy:

1 Like