Proceed at your own risk
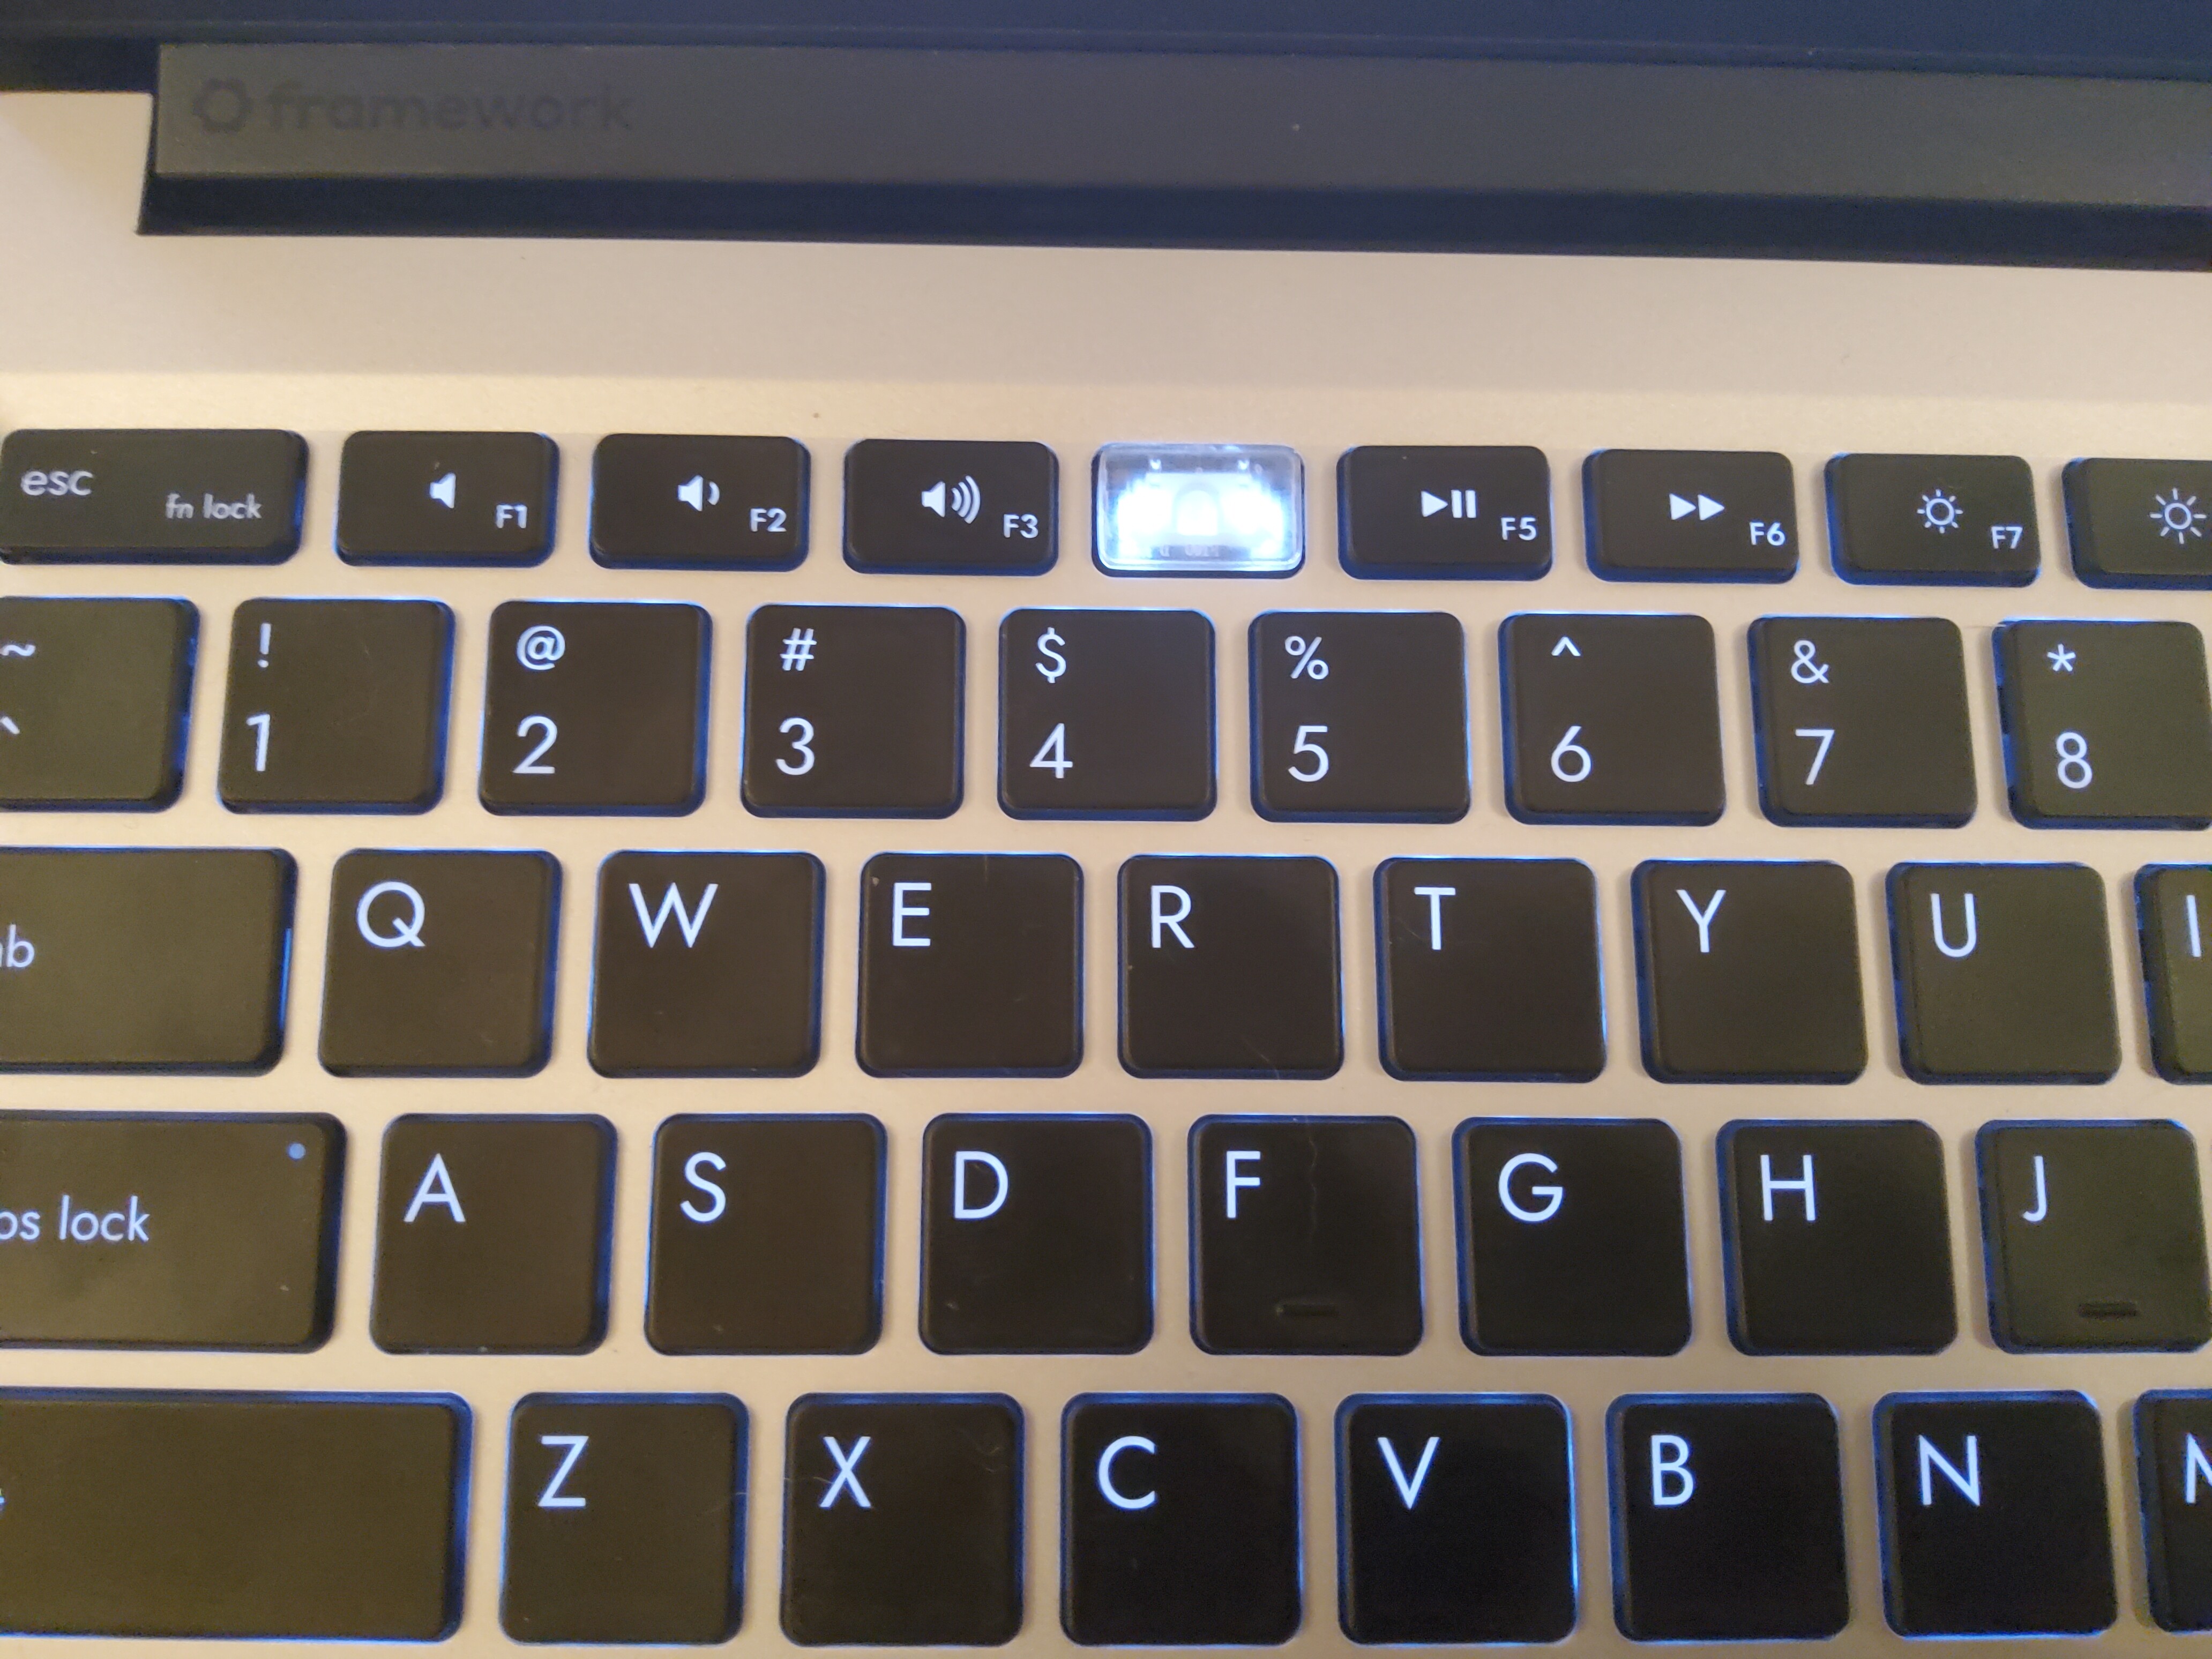
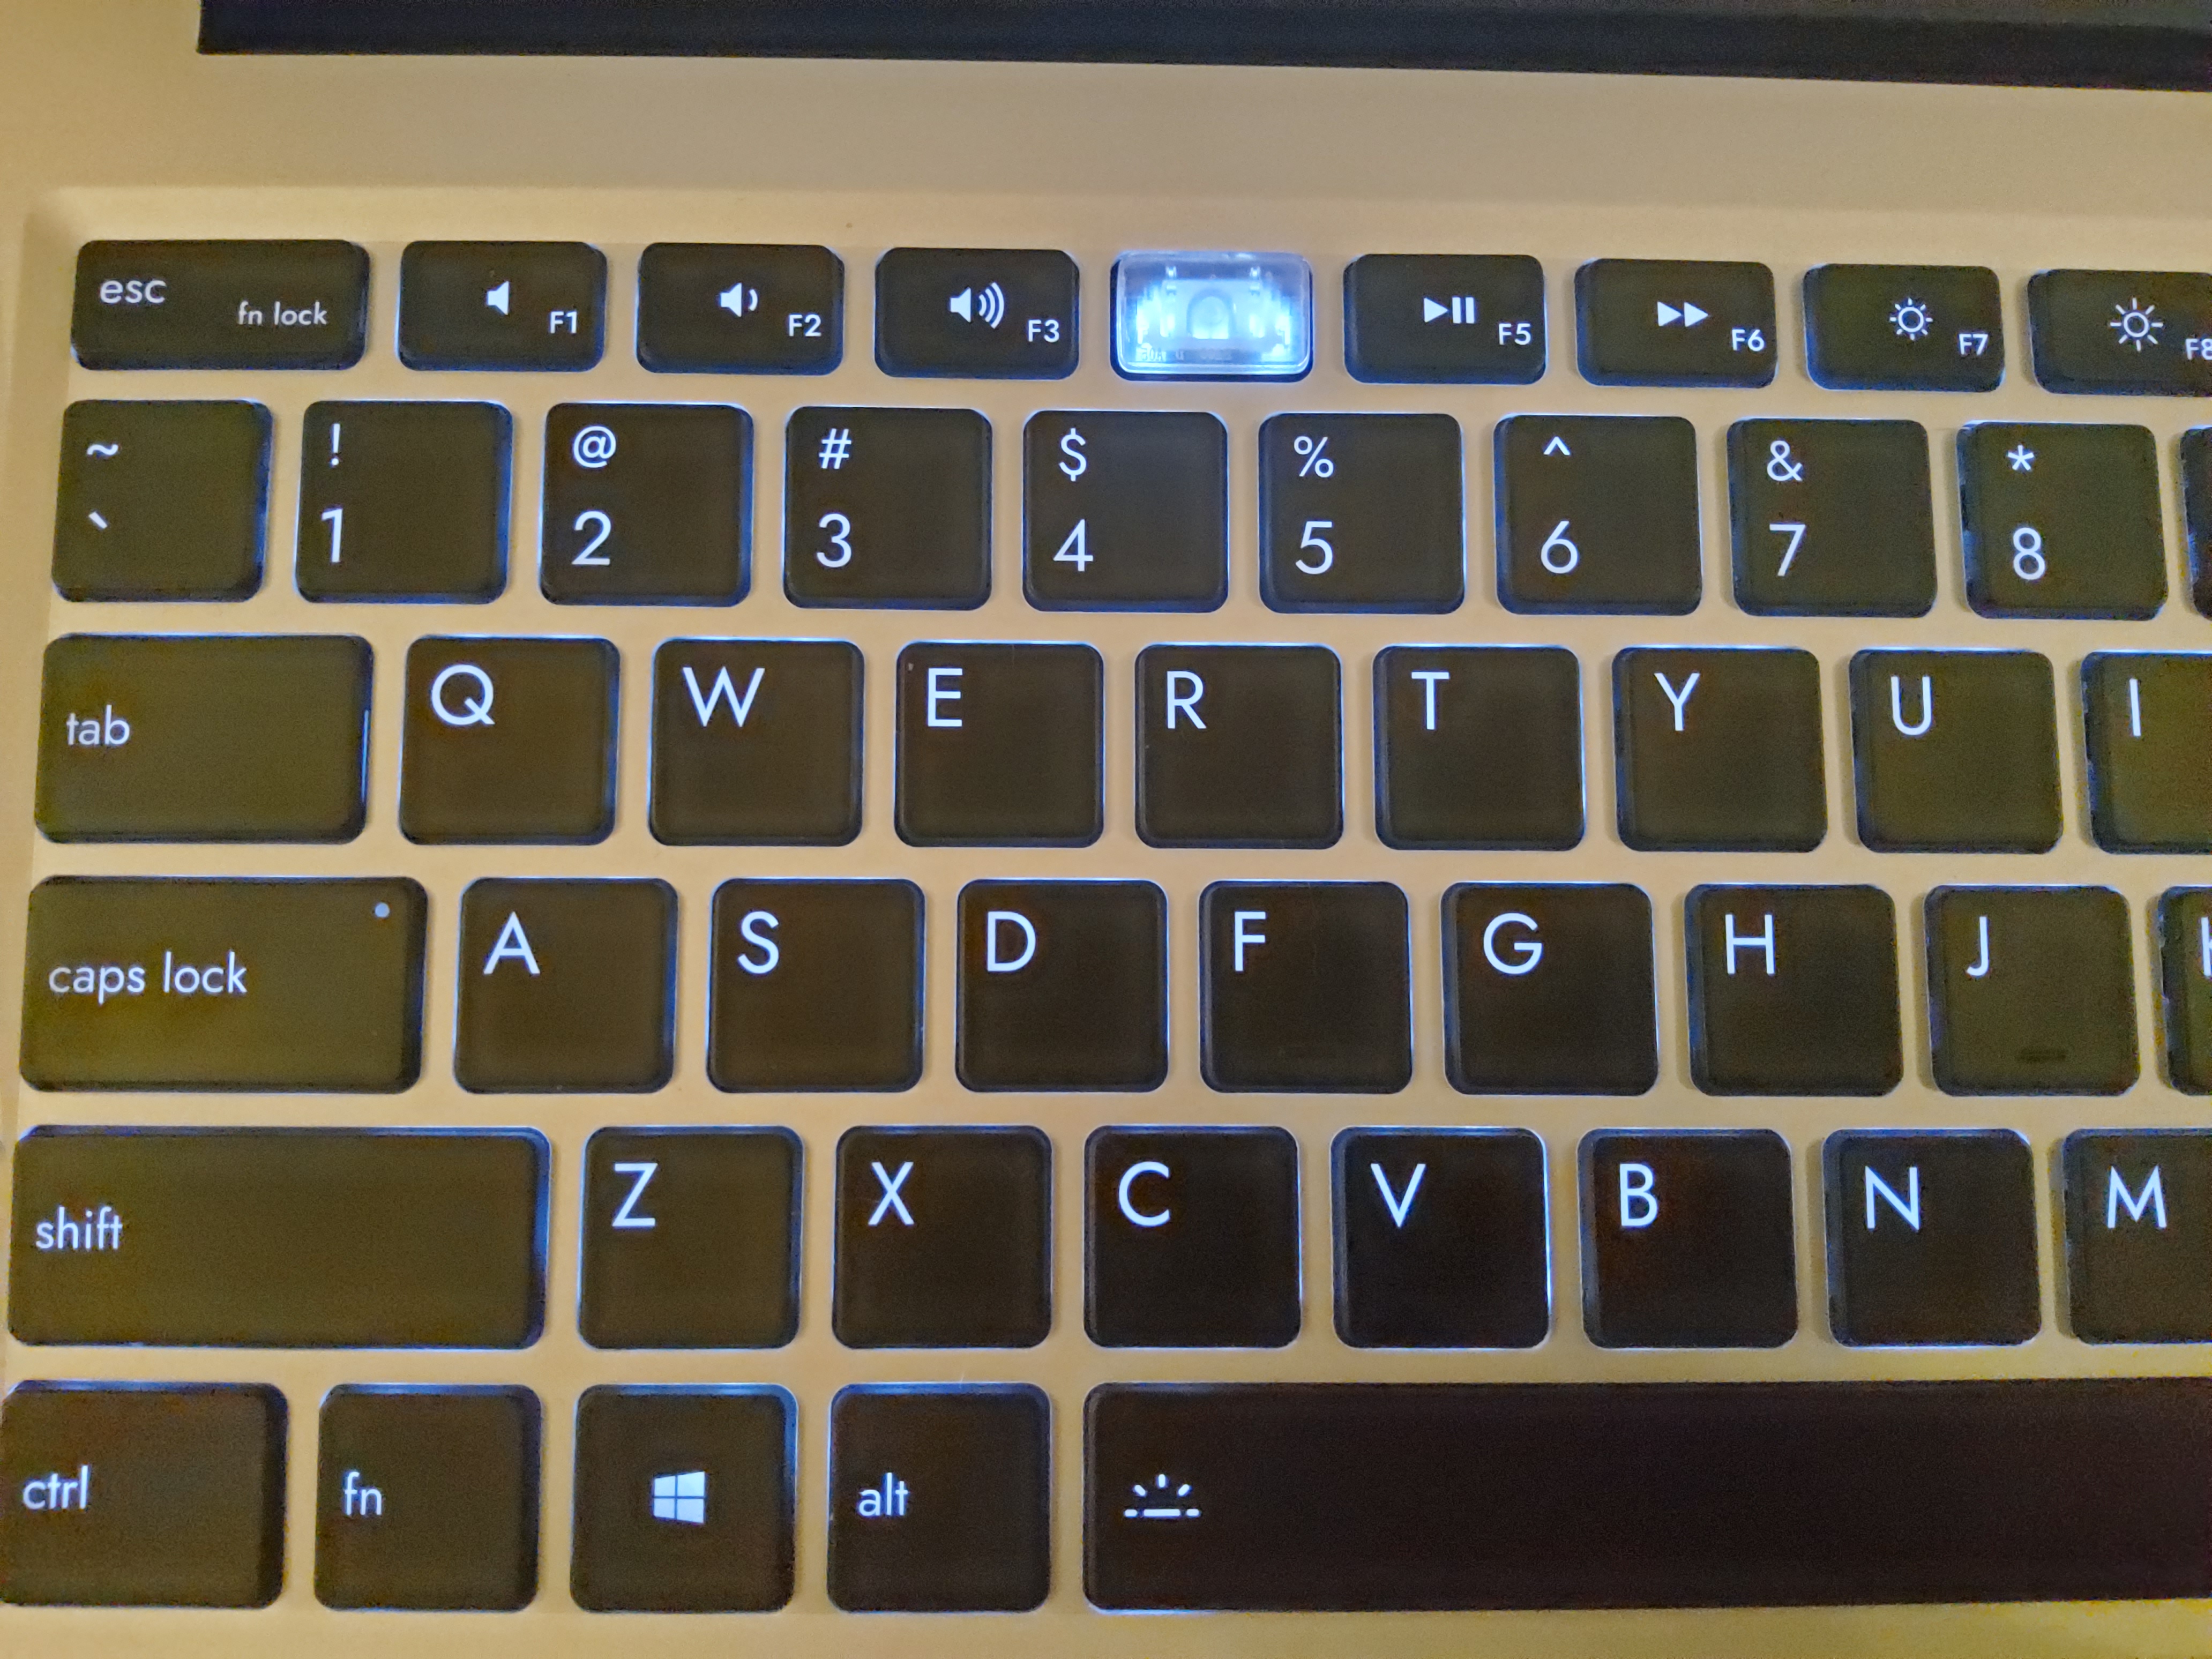
Having worked on many laptop keyboards over the years, I was interested in how both the keys were attached and how the coating/paint was applied.
If you are used to Macbook Air style switched (Friction captured on one side, slid on the other) then you will know how to work with these.
The paint is layered: Clear plastic > white coat > black coat.
This was wet sanded with 2000, 2500, 3000 wet/dry silicon carbide cloth. Keys are dished so the top is a pain (paint is super on there so kudos Framework)
As for removal (I have seen around the forum it said that individual keys are not replaceable so again, proceed at your own risk) I made a quick gif of me removing and attaching the cap.
The “north” (towards screen) side clicks up, then you slide south to release the bottom. To re-attach, sit the key in, angle slide south, then push down lightly at the north side (you will feel the click)
With the keyboard launches, I may or may not just wait for the blank white keys (I need more expansion cards anyways )
Did everybody just gloss over the fact that @Davy_Bell just used the included framework tool to remove the keycaps?! That is truly the only tool you need!
After seeing this, I feel like this is something I didn’t know I wanted. I can just imagine the whole board being transparent. Once I build some muscle memory on this board I would love to do this.
Last word from @nrp was that it would be a few days/ a week late from the 21 Sept. goal date, but I expect they’re a bit shortstaffed and it could be a little bit. I’d guess once batch 4 is mostly out, they can shift their attention to polishing and putting the Marketplace up.
Definitely think twice before removing a key. I tried with one of the keys that I do not use (right “alt”) and internals were fragile enough to be frightened. I had to put both parts of the plastic “scissors” on the key cap first and then to put it on the keyboard.
I do not want to repeat that with other keys, although I have them remapped in software now and it looks super confusing. Blank keyboard and laser engraving is still an option, but we have no high quality layout file available. Most places work with typical popular keyboard models.

 )
)