Seen a few people around asking for a solution for where to put the pen, I think I’ve found a workable solution until someone develops something proper. You can buy adhesive pen loops for cheap (specifically I got these ones to colourmatch the pink) which can then be cut down and stuck onto the inside of the top cover of an expansion card. You will need to remove the padding foam on top of the port, and cut a little notch in the sheet metal casing to let the elastic poke through. I used a USB-A card, because it’s one I’ll always have in the laptop and it’s cheapest to replace if I messed up, but this is probably easiest done with a wide connector such as SD or HDMI.
(Please excuse the awful job I did keeping the metal intact, I seem to have misplaced all my pliers to bend it back into shape)
6 Likes
Following in mynotaurus’s footsteps, here’s my step by step guide.
- - -
- On your expansion card (I used USB-A) locate and remove these silver screws
- Using your thumbs, slide the cover off (can be a bit difficult)
- Remove the black screws and the electronics from the expansion card body
- Using wire cutters, cut the top bar from the expansion card body. I recommend filing down any sharp edges that result
- Cut the adhesive pen loop down to the size of the expansion card cover. (I cut notches into the tops so it will fit snugly through the size of the USB-A opening)
- Peel the padding / leather from the top of your adhesive pen loop
- Replace the internals and black screws of the expansion card
- Replace the cover and secure with the silver screws. Make any final resizes to your adhesive pad. Remove the paper and attach it to the top of the cover. I recommend cleaning the top of adhesive pad with an alcohol wipe after attaching to clear any residue from the removed padding / leather
- Now you can place your expansion card back into your laptop, and you’re done!
(Sorry for the post format, I’m restricted to 2 images)
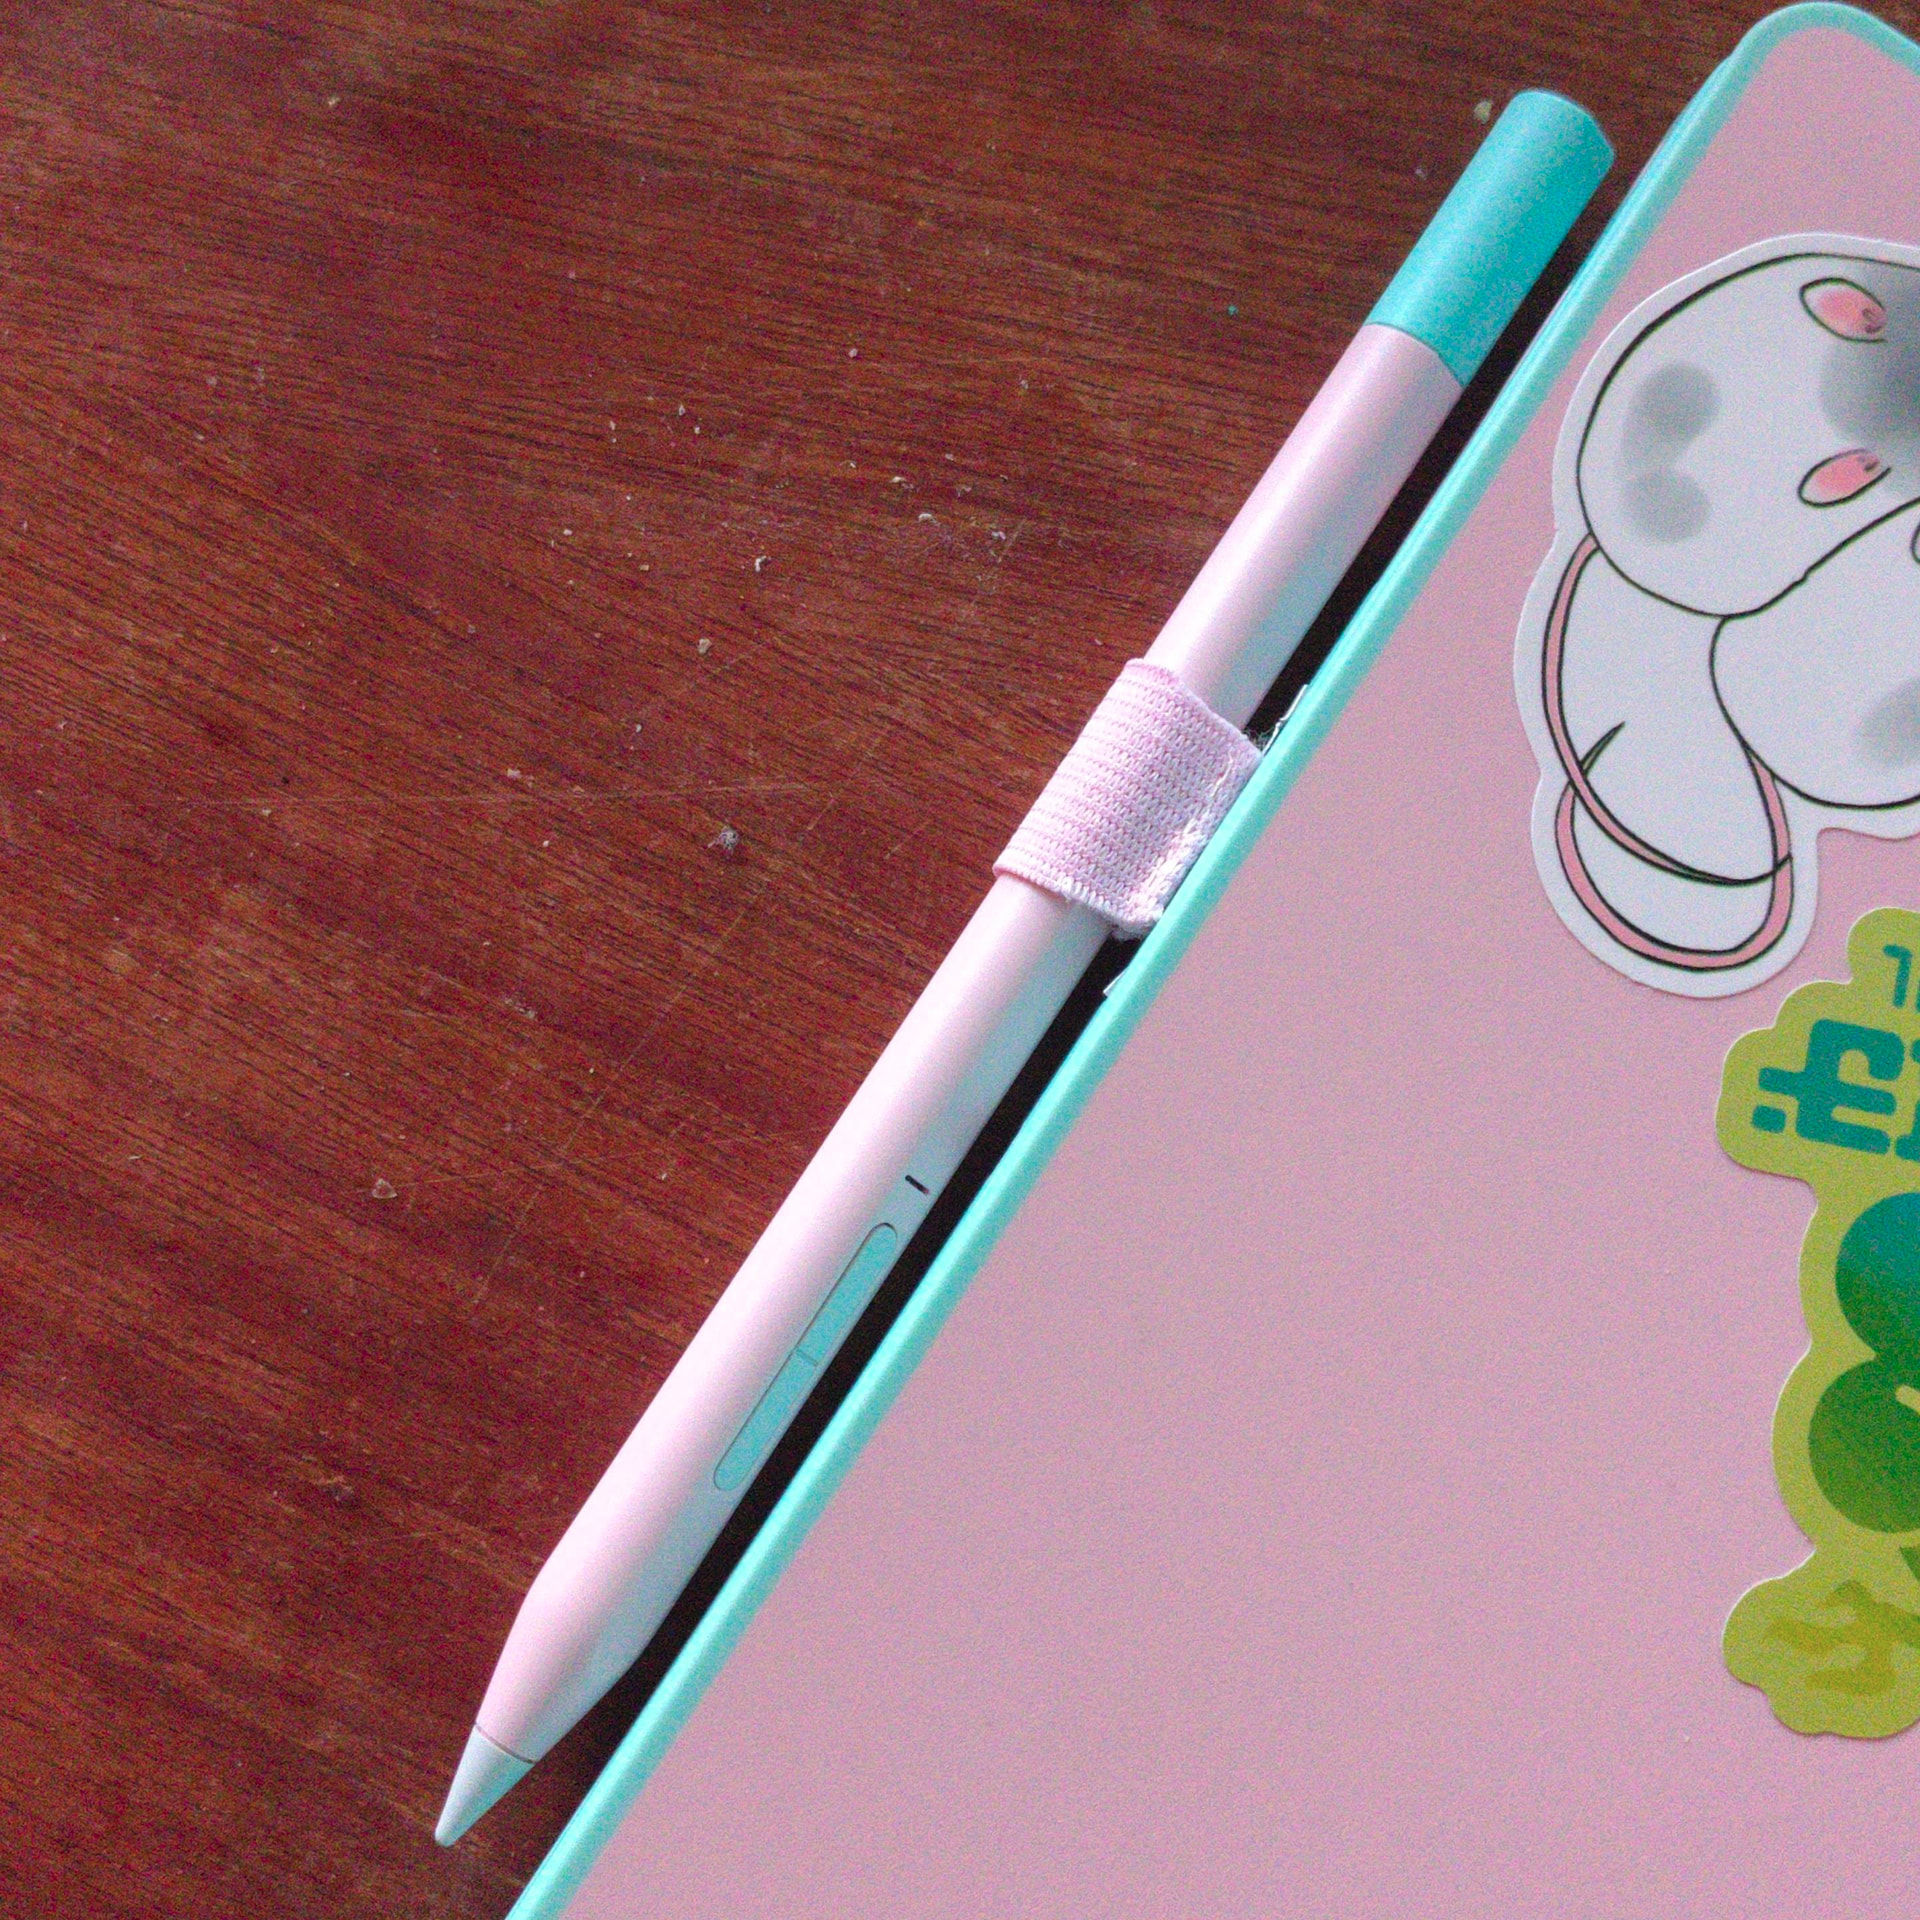
* I also had to sew some stiches into my pen loop to better secure my stylus, but this may depend on the specific product you purchase
4 Likes
good shout on the extra stitches, several months in and the manufacturer stitches holding it to the adhesive tab have started to break, so I’m about to go back and reinforce mine myself
1 Like
Cool stuff, I also just found this stylus holder. I am not sure if the dimensions work though: